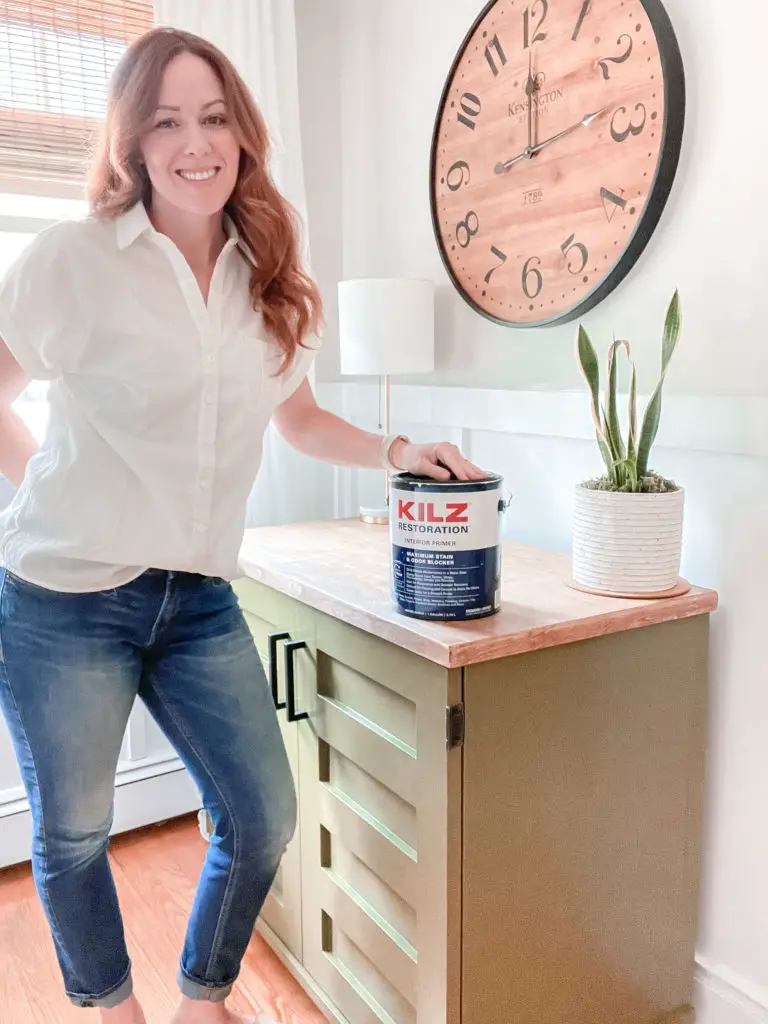
Family Room Furniture Flip- the Right Way to Prep and Paint with KILZ®
The family room is the heart of our home. We hang out here. Entertain here. And it’s the first room you see when entering our home. Sadly there is an area in this space that needs a little love. So with the help of KILZ Restoration® Primer, I was able to transform this little corner into a gorgeous focal point in the space.
This post is sponsored by KILZ®, but the content and opinions expressed here are my own.
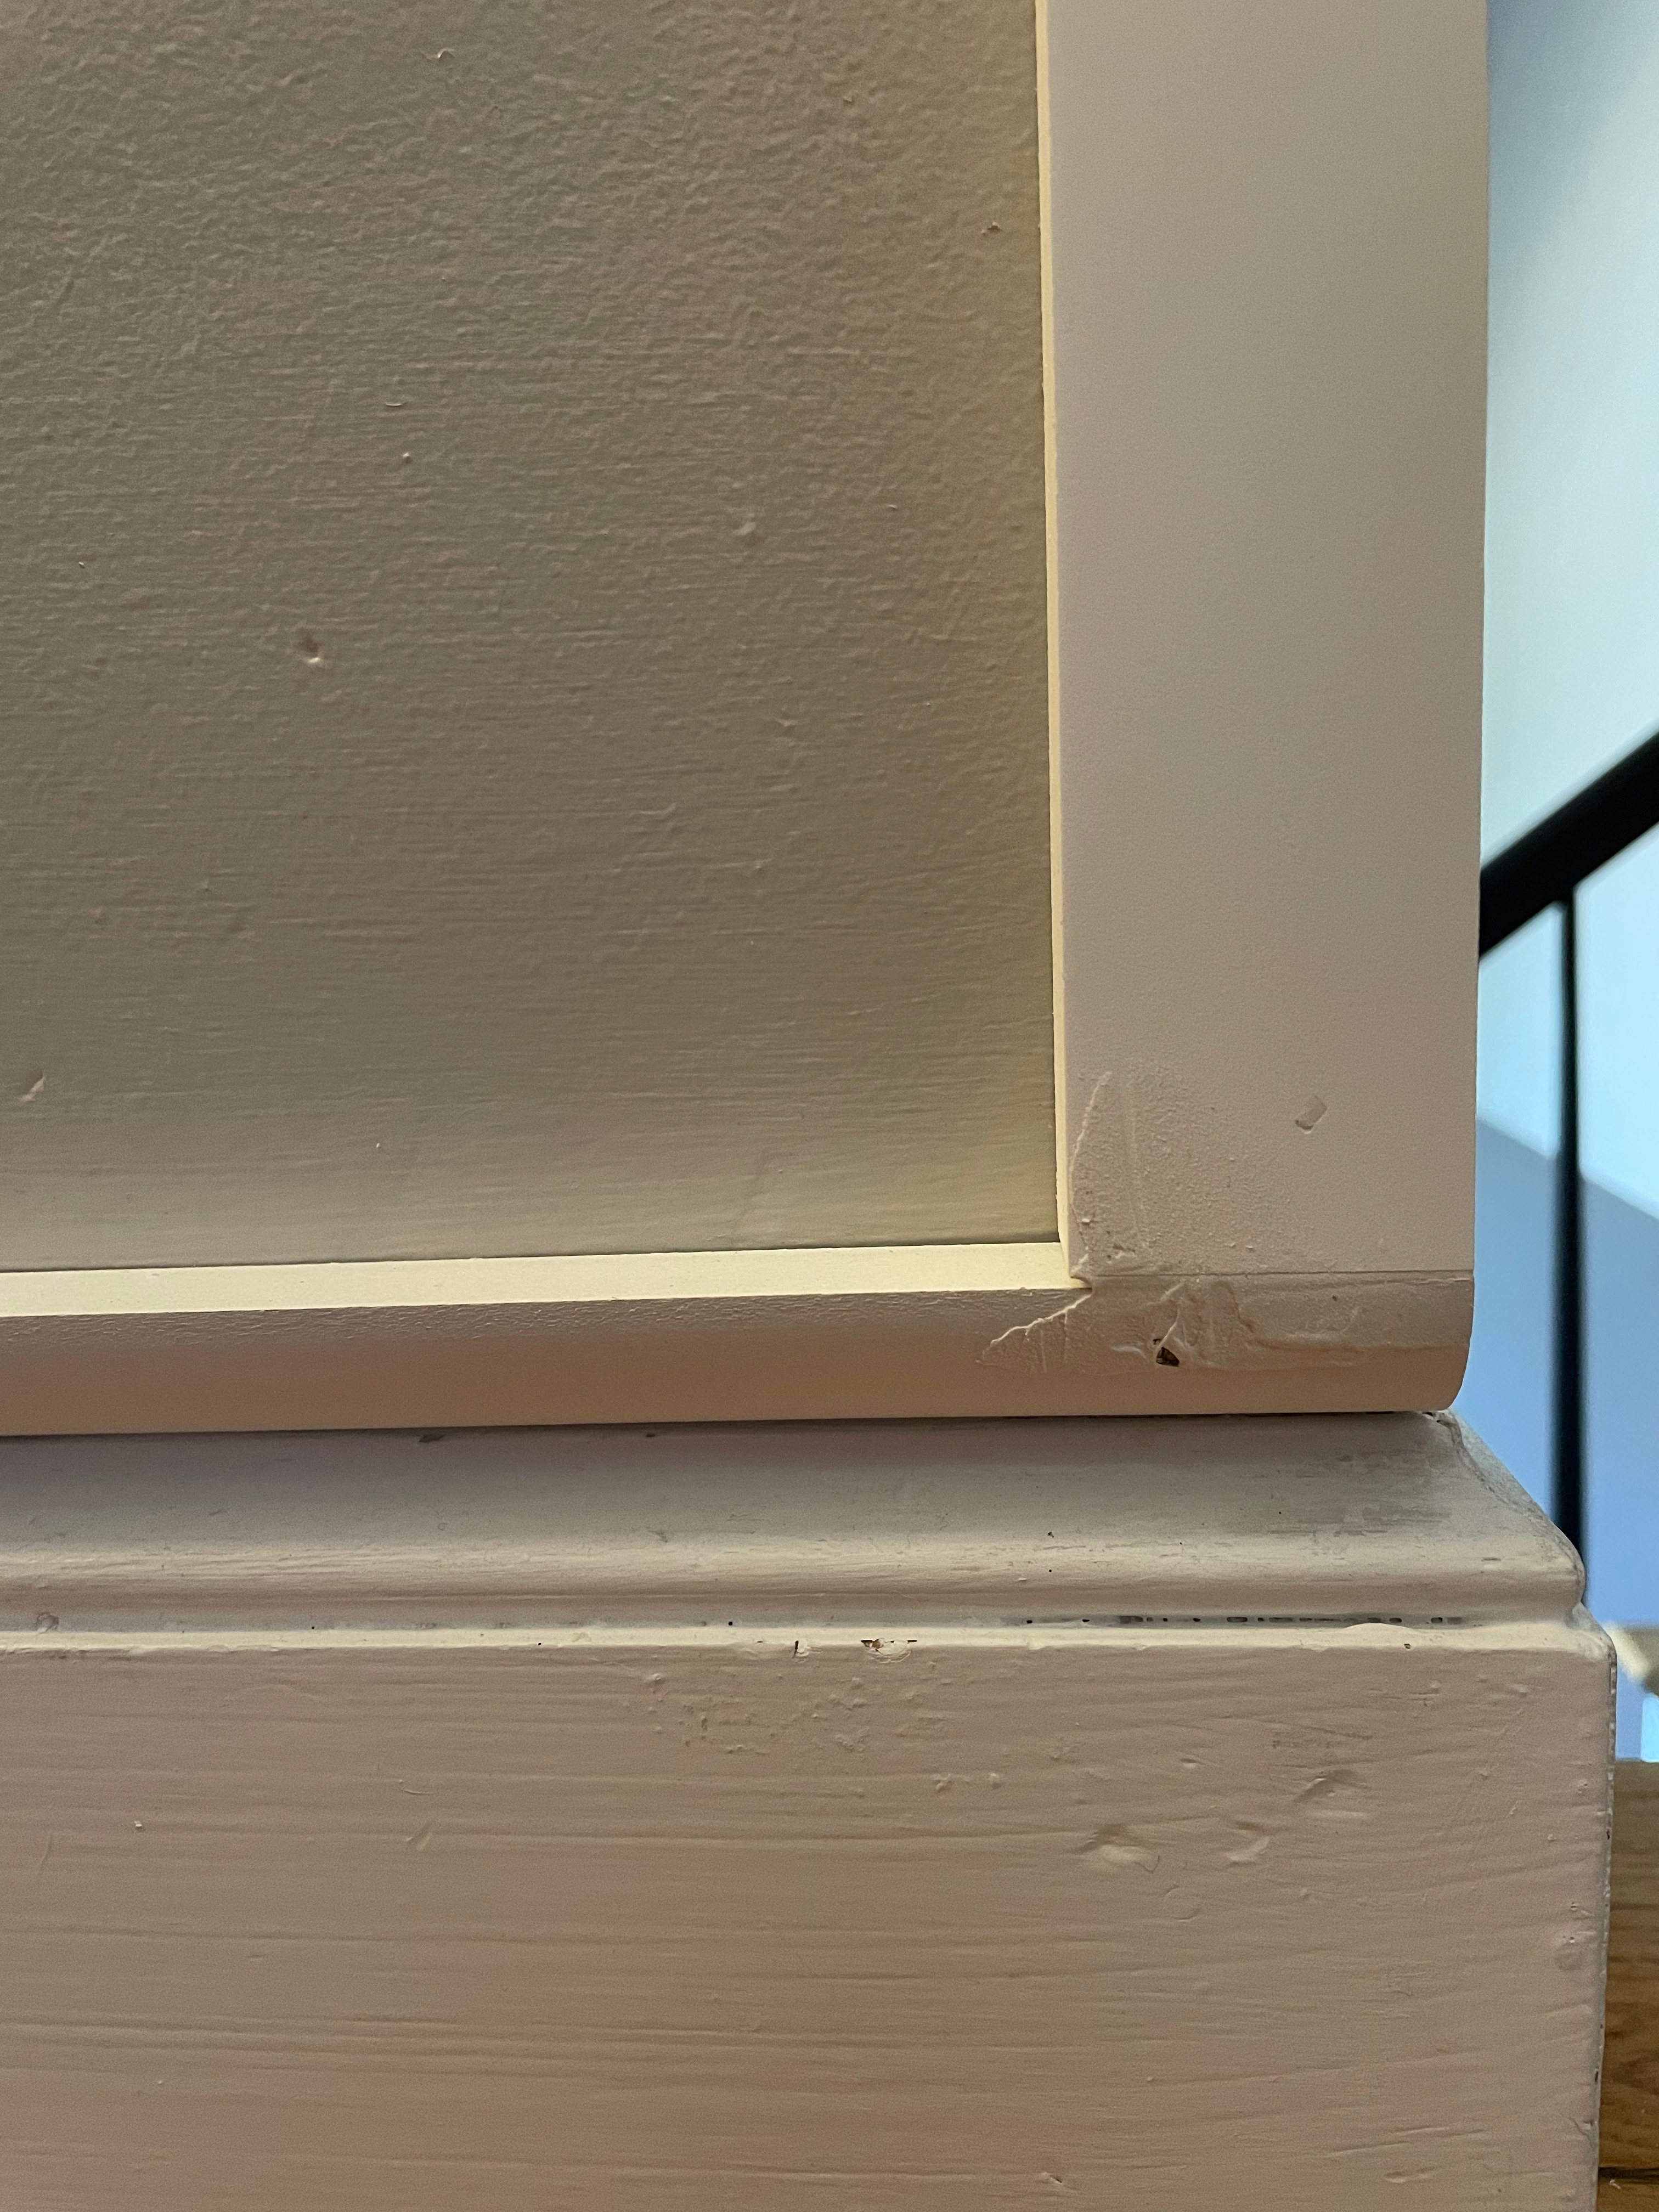
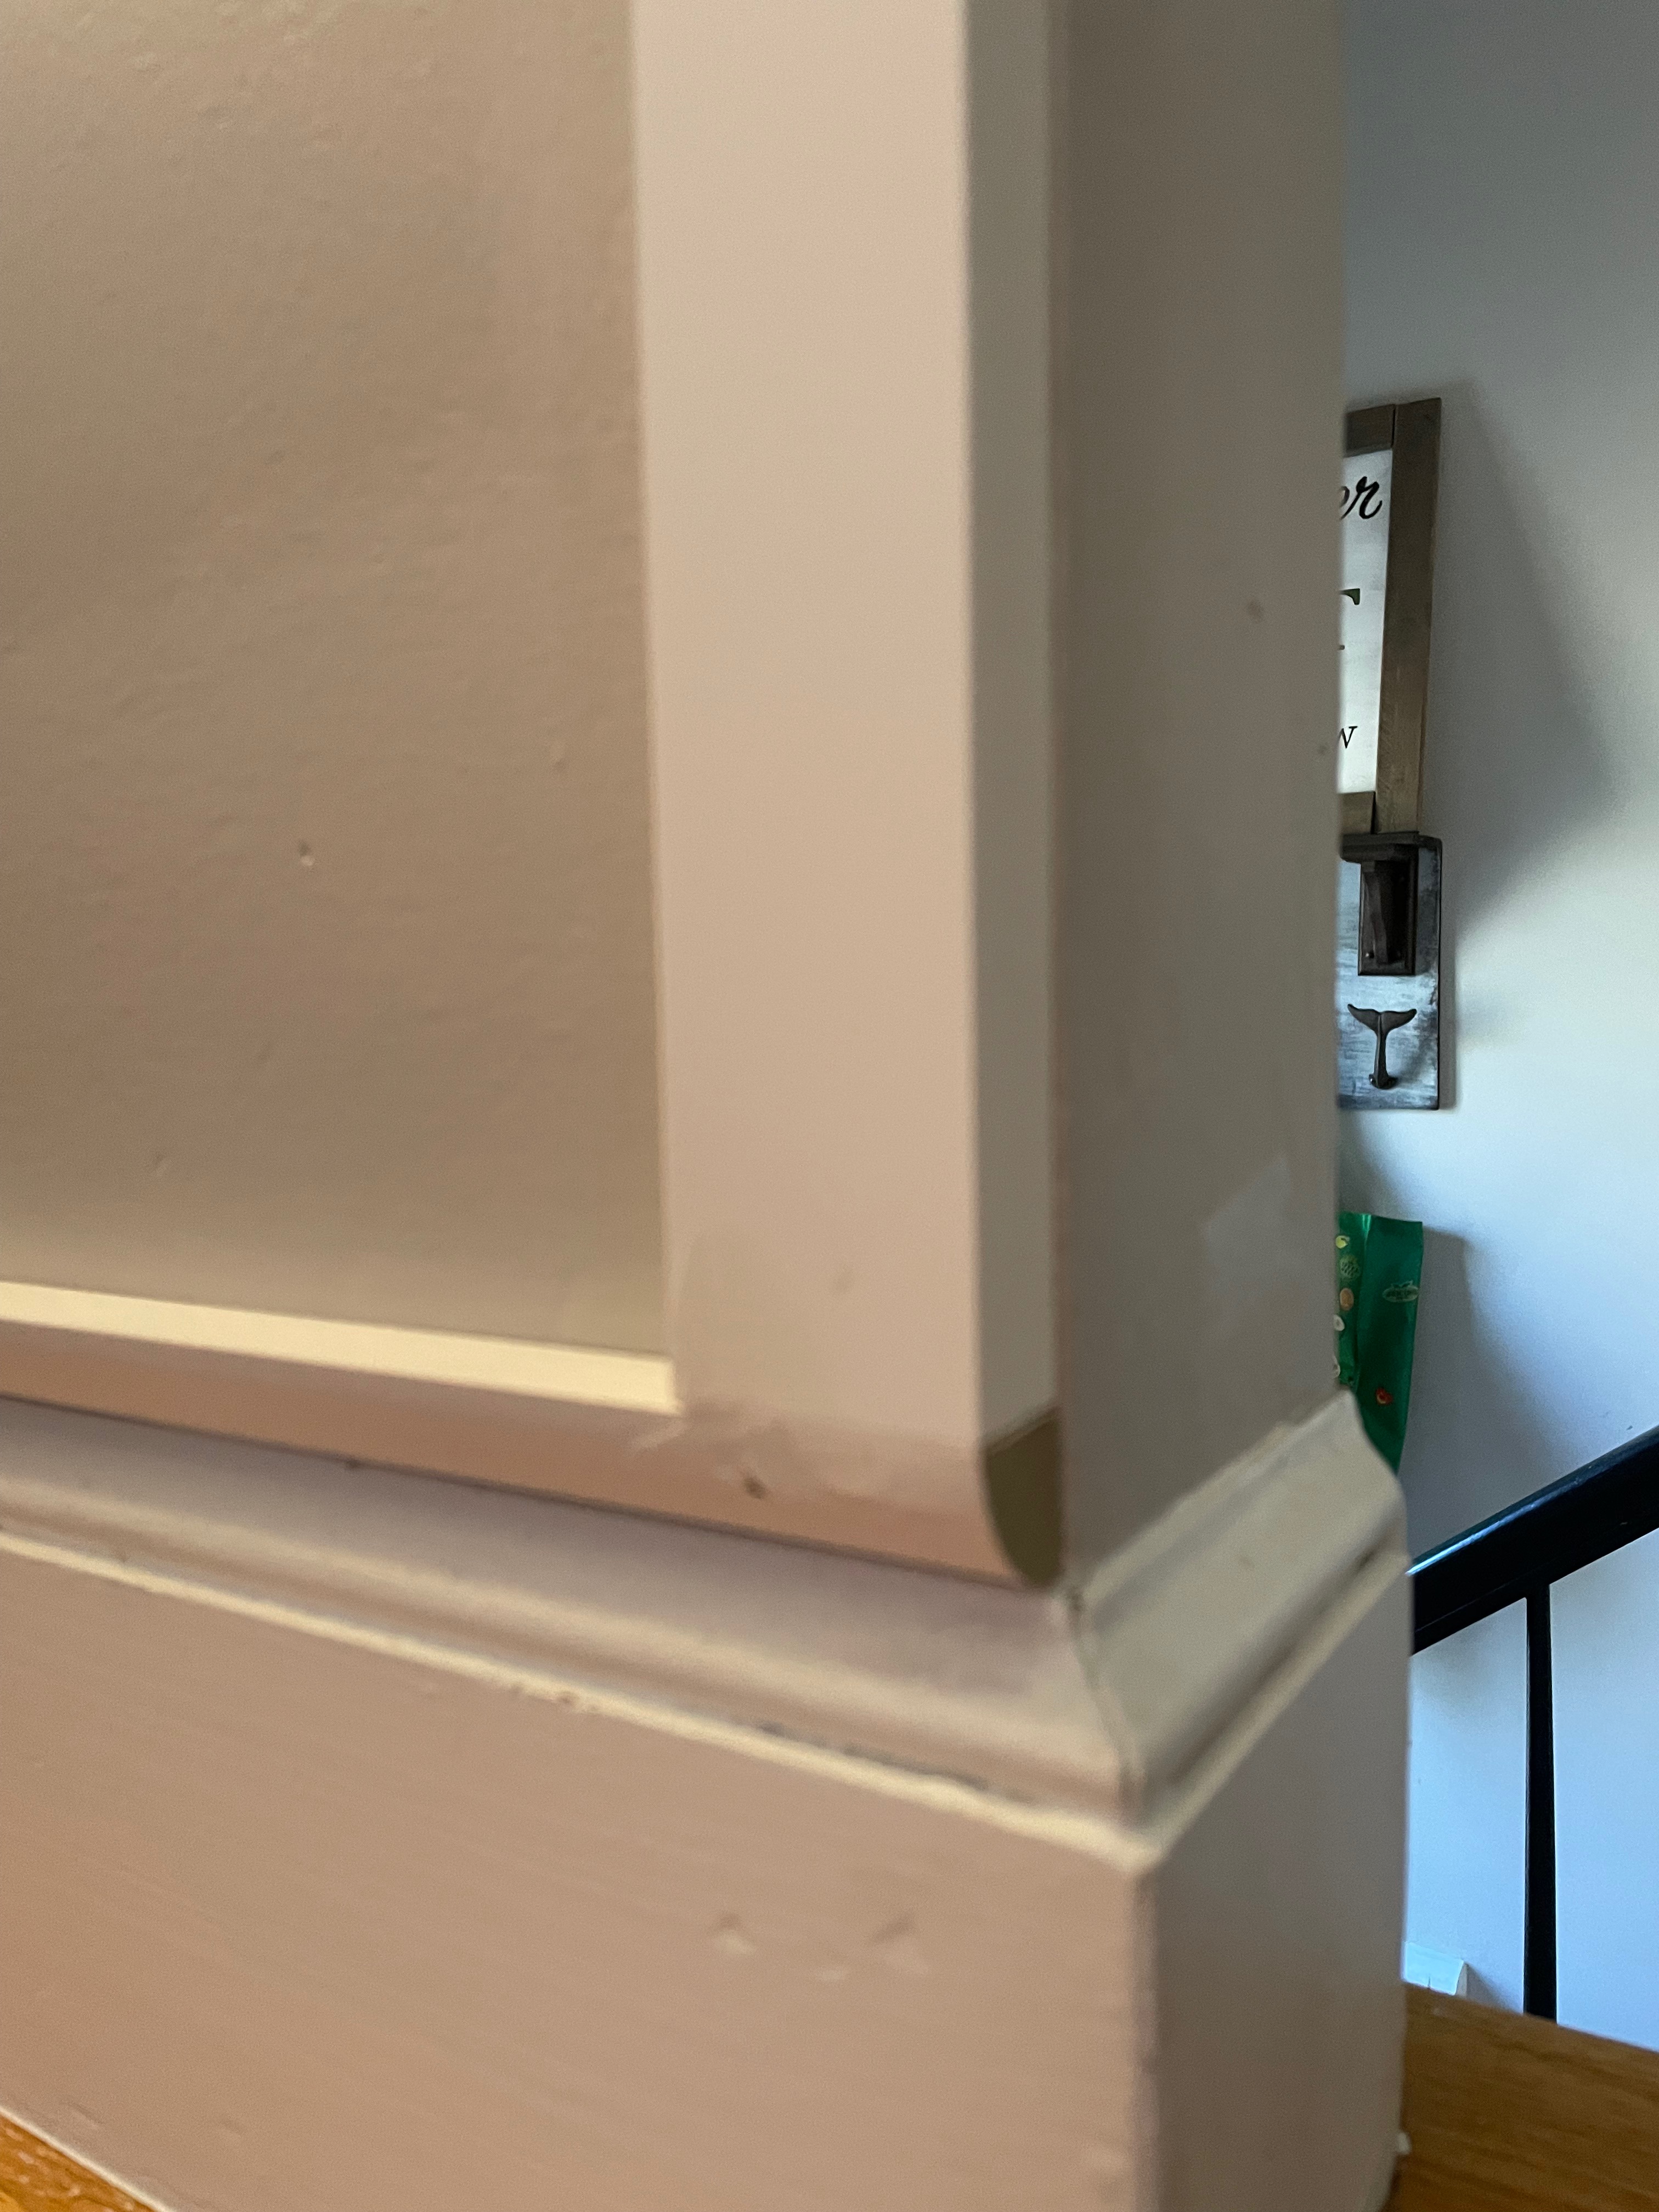
Step 1: Board and Batten
The first portion of this project was to wrap around the board and batten onto this wall. No clue why I didn’t do this originally but it looks SO much better with it! Anyway, using a 1×4 I carried around the top railing and then added 1X2s vertically to create the panels. Quick tip: you can add upside down quarter round to the top of your baseboard as a way to create a seamless look between your 1×2 boards and the baseboard.
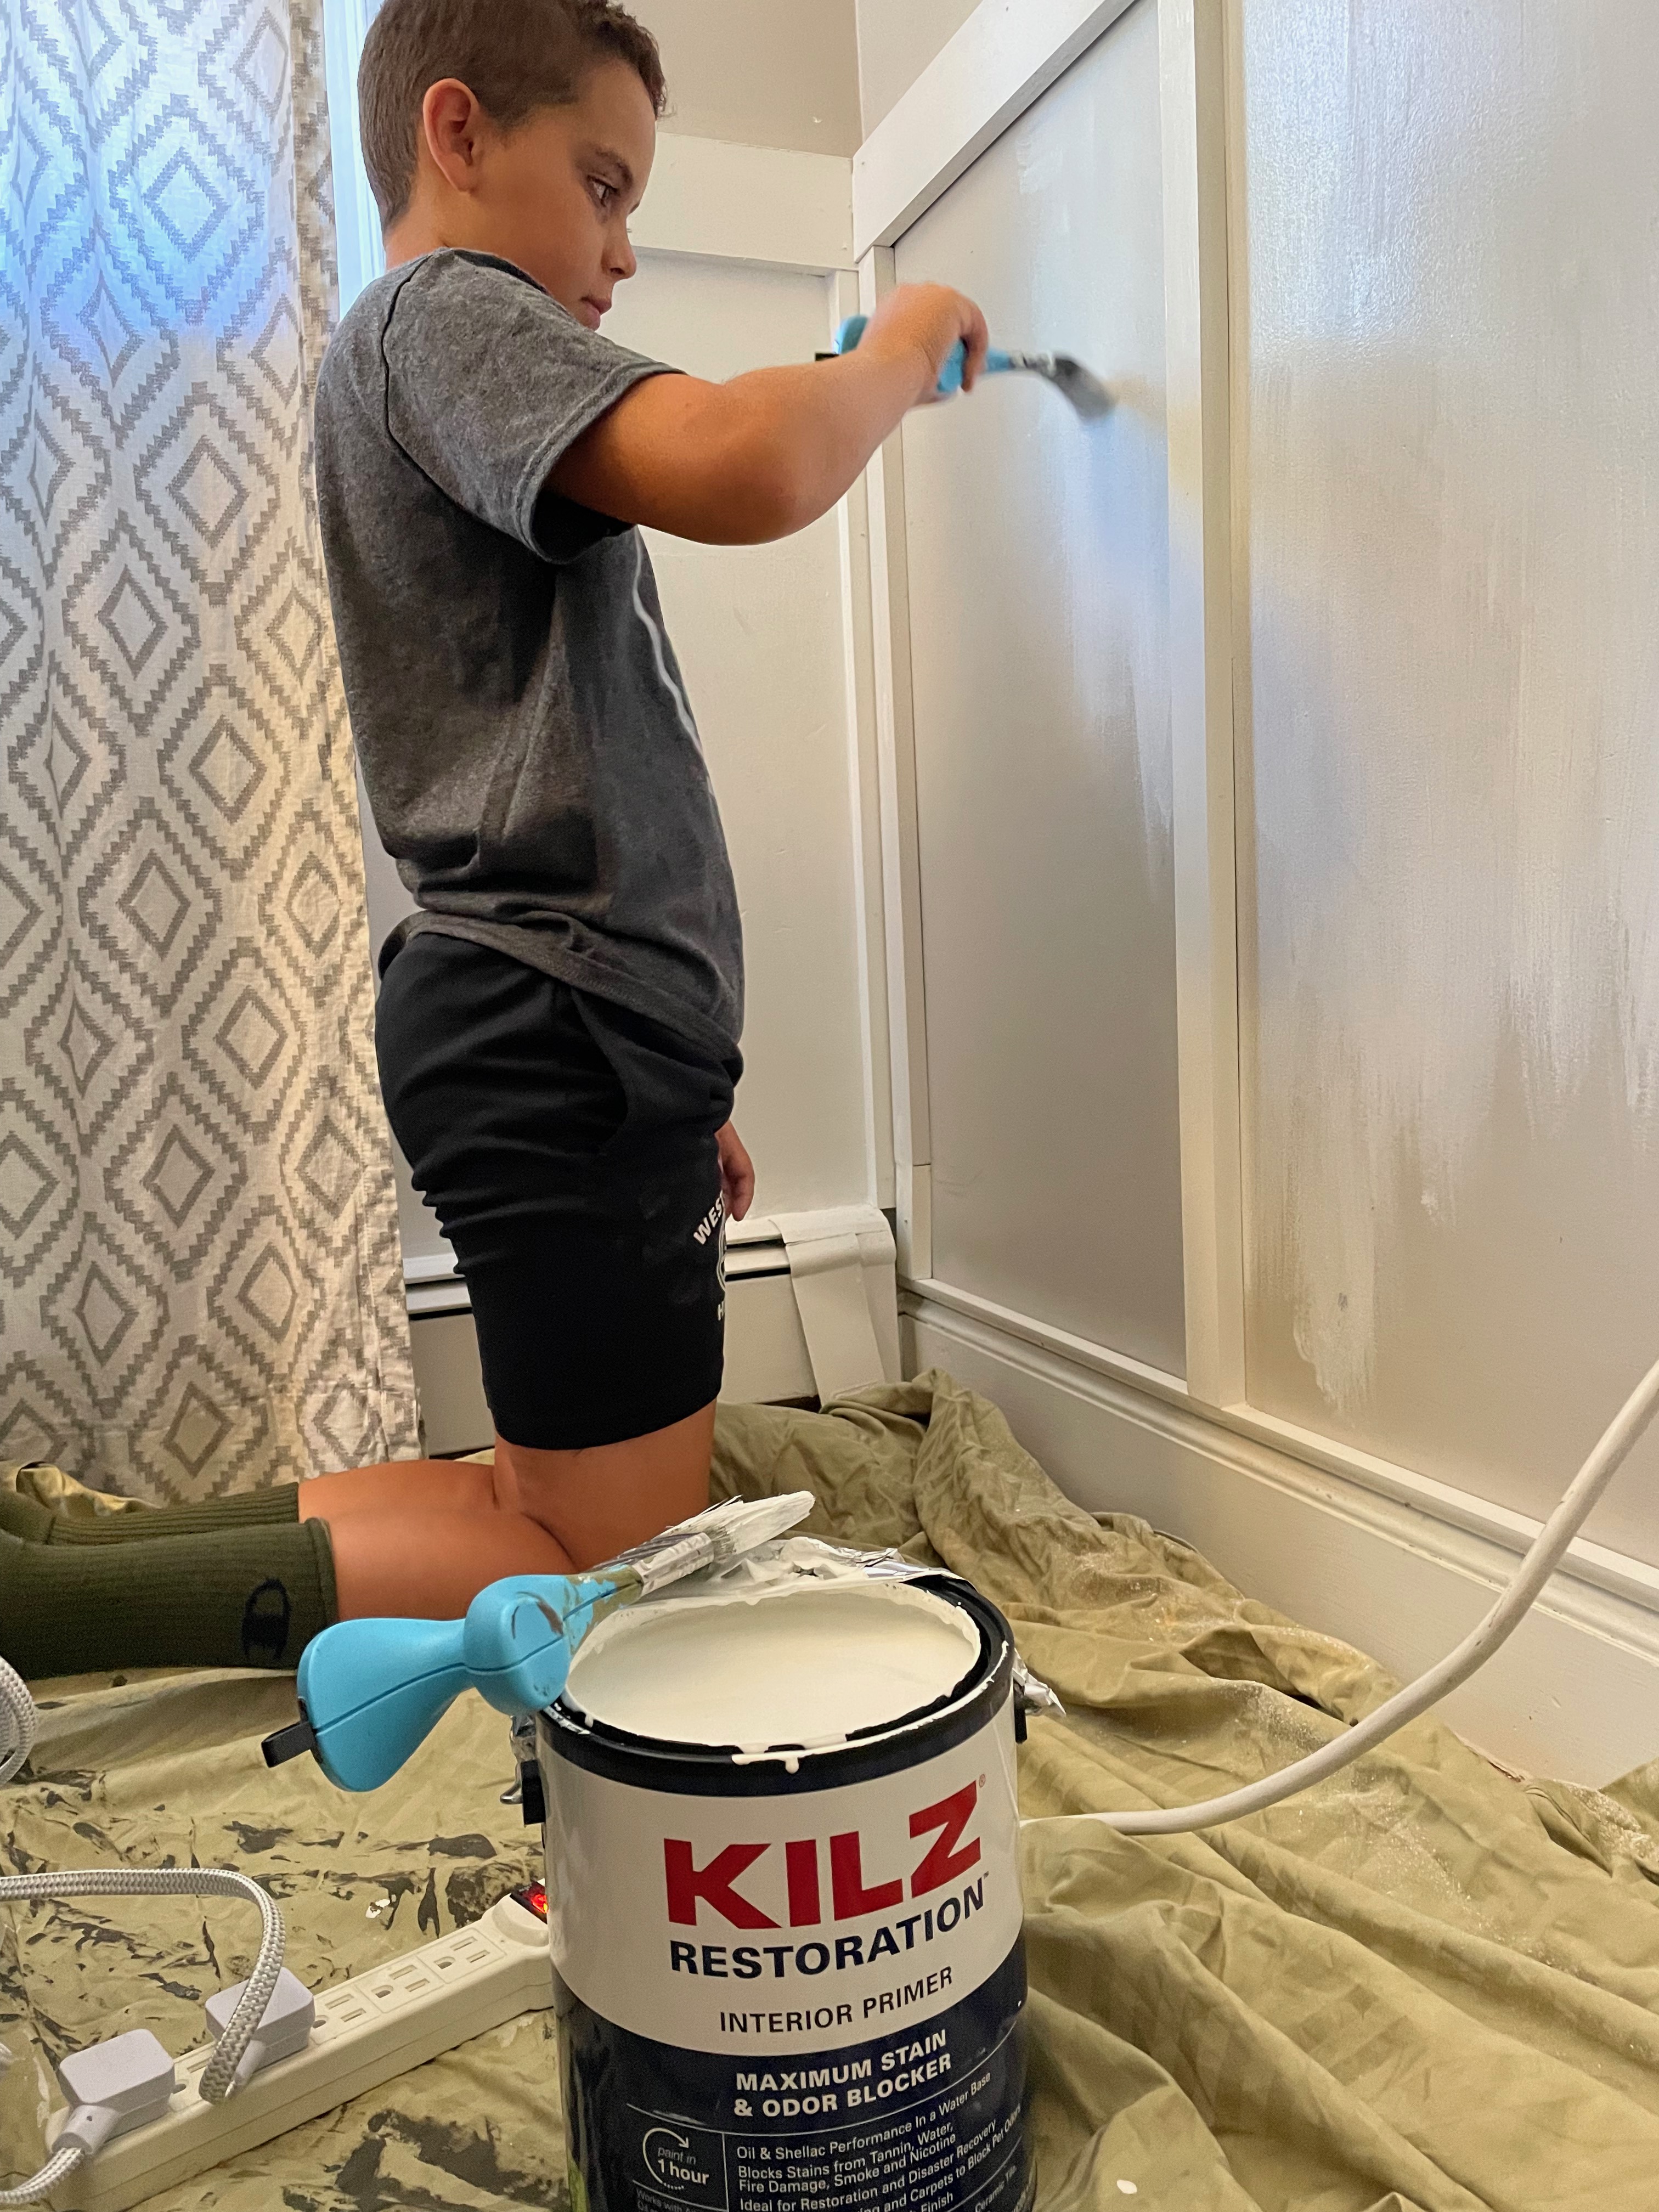
Priming the walls and boards with your KILZ Restoration® Primer before painting is ideal because it gives good coverage over any underlying paint allowing you to use less paint and get better coverage and color. I’m going lighter on this wall, so priming first was key. Typically I would use a roller on drywall, but my son wanted to help me transform this space, and I knew he would get better control with a brush.
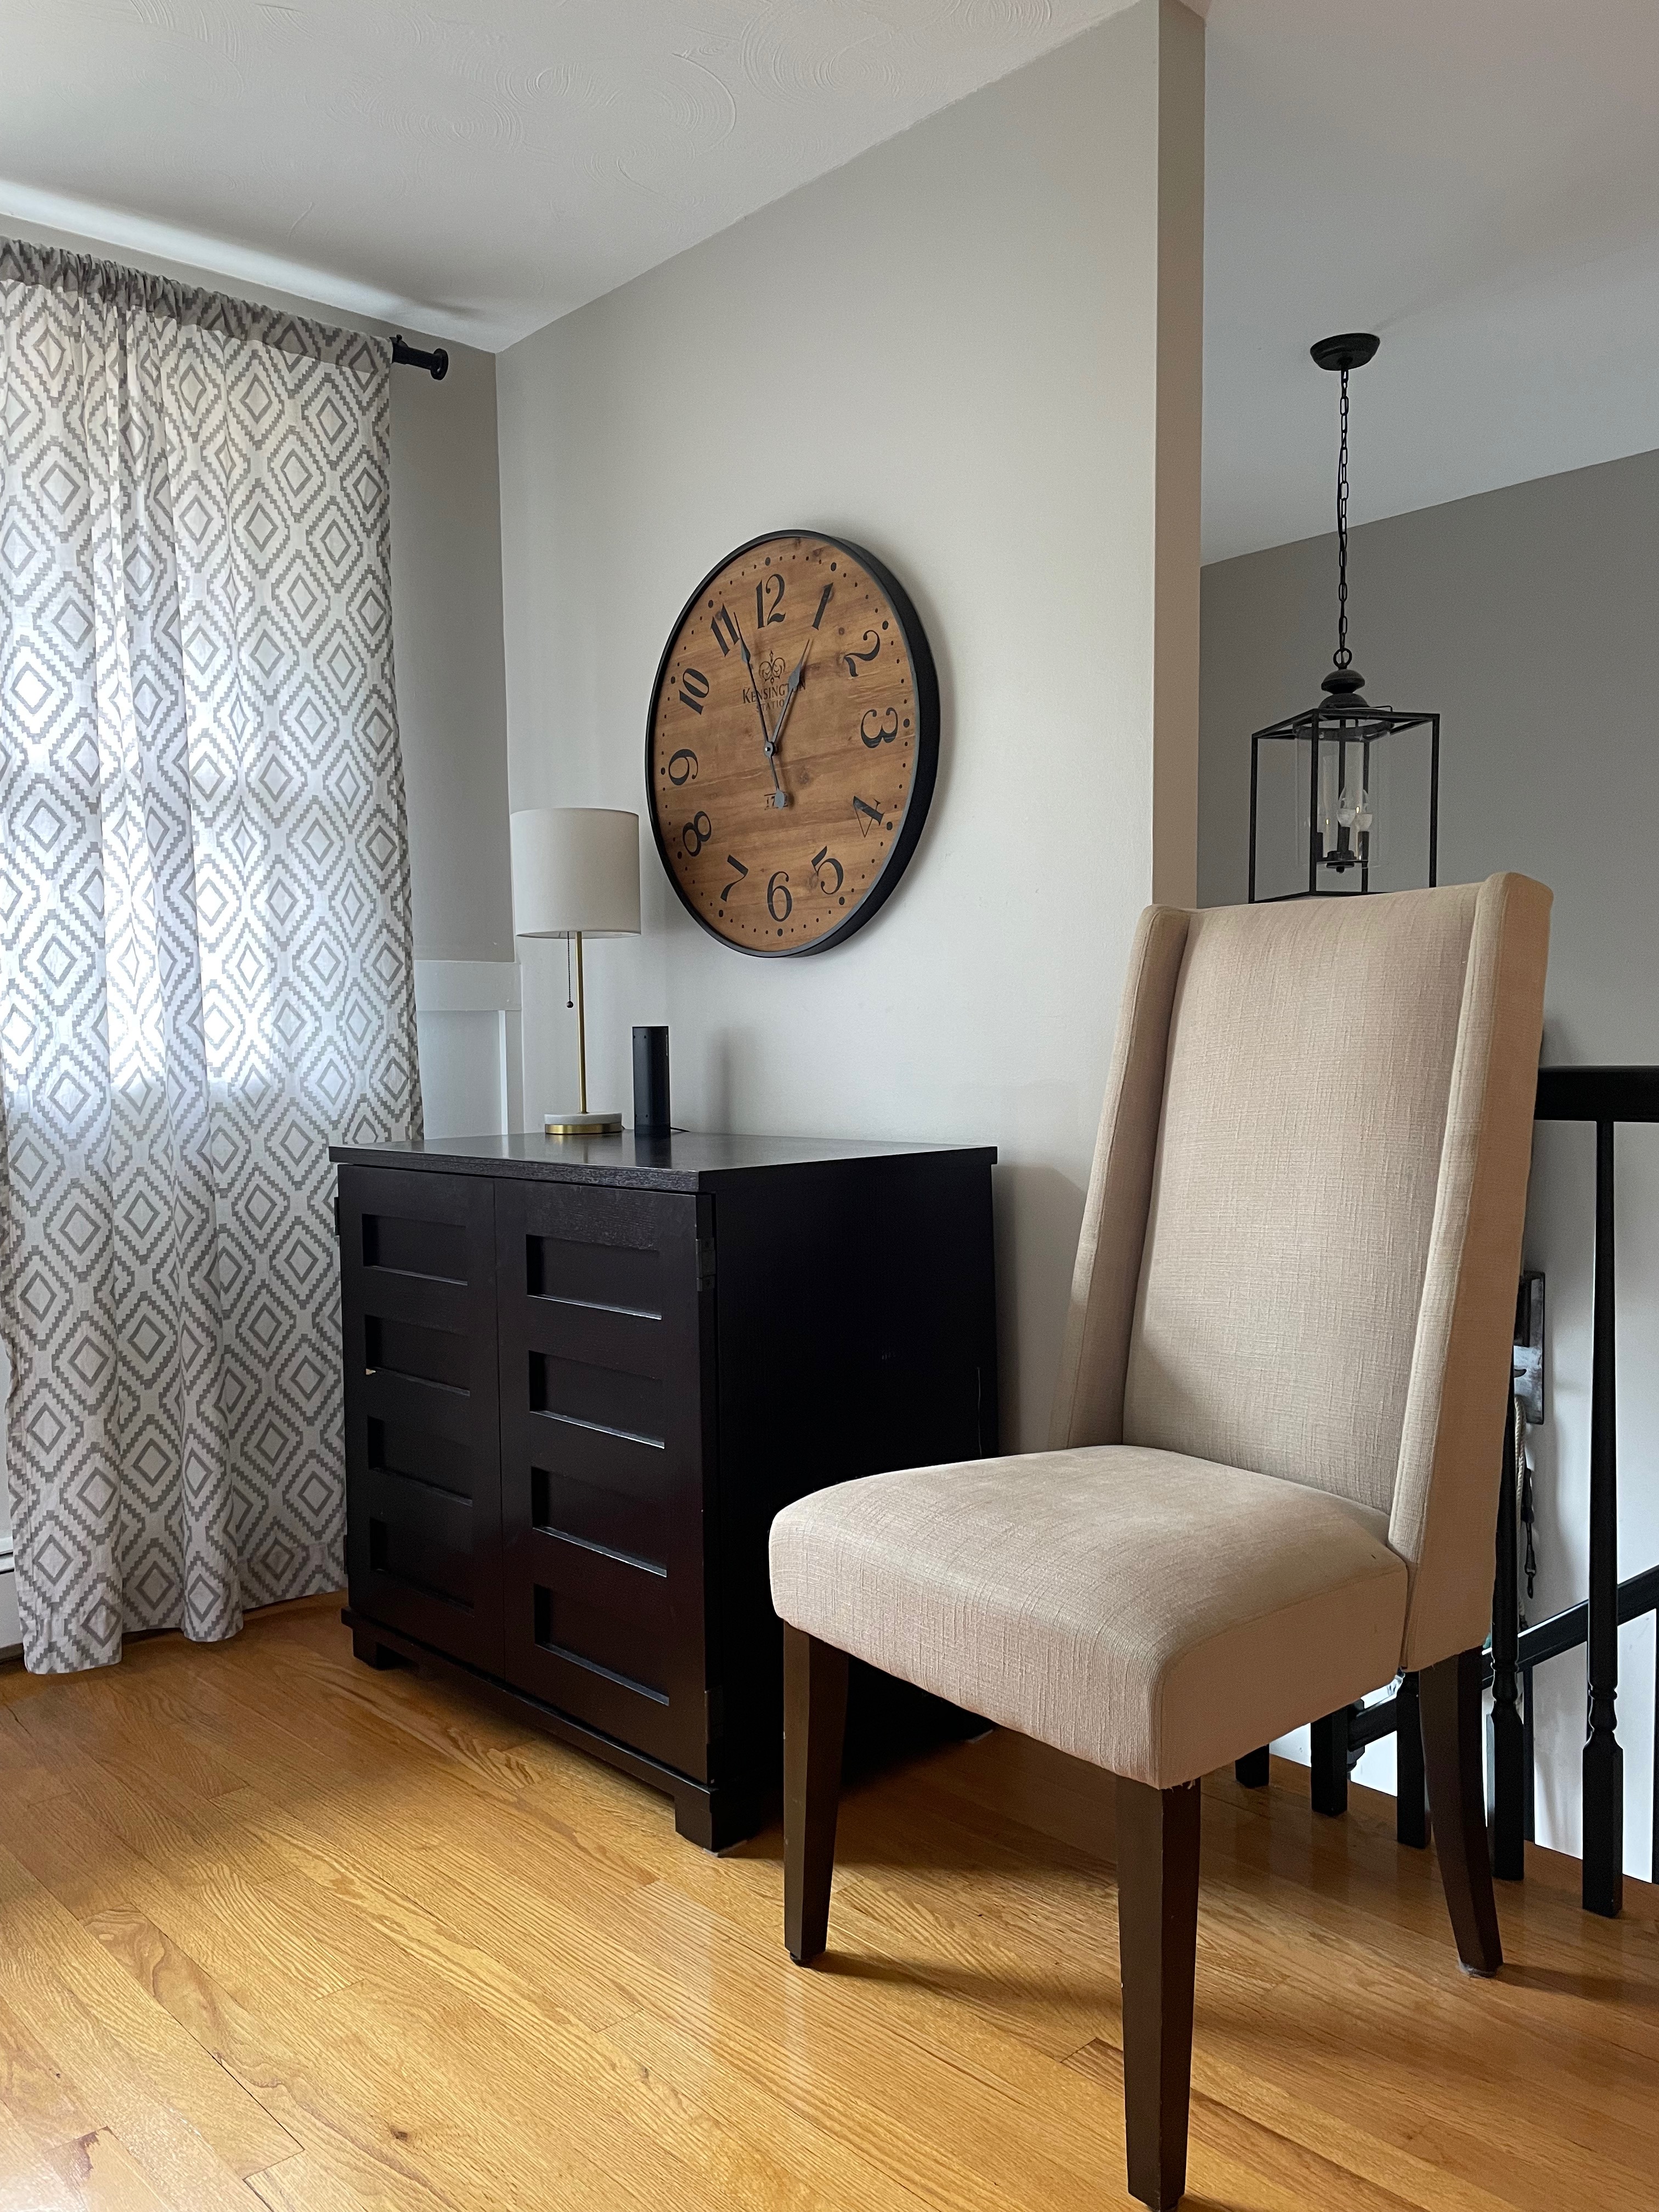
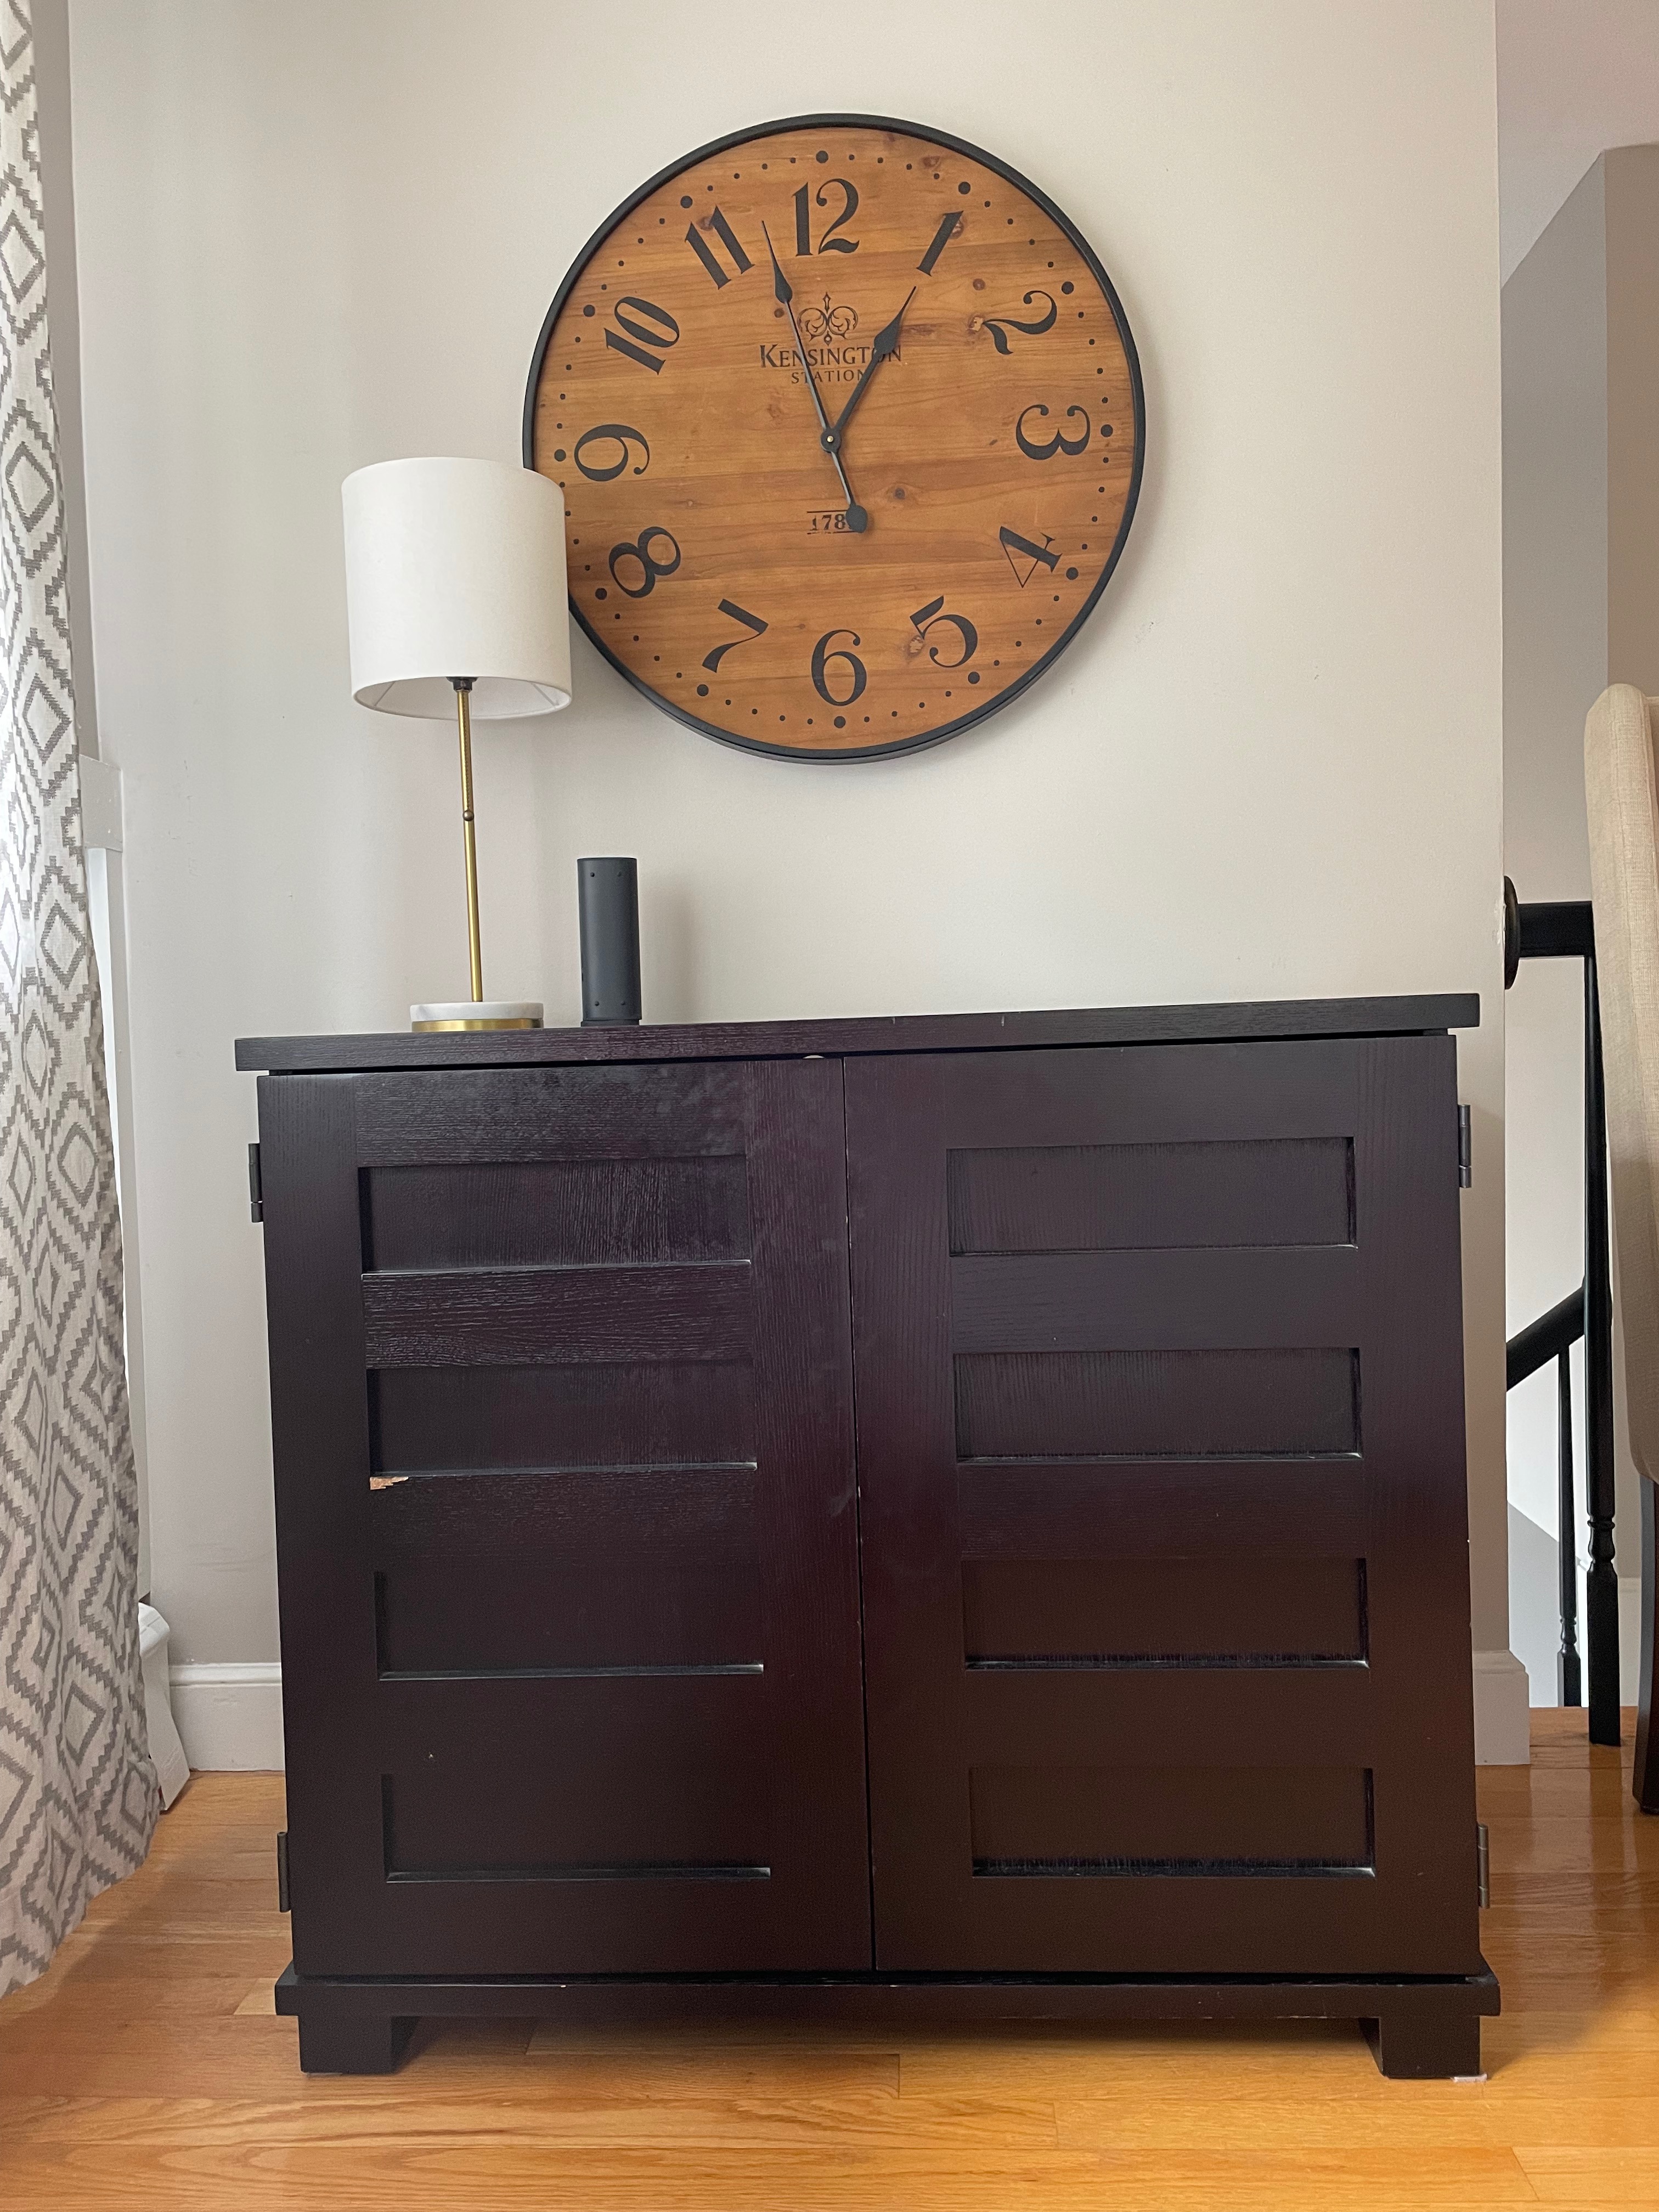
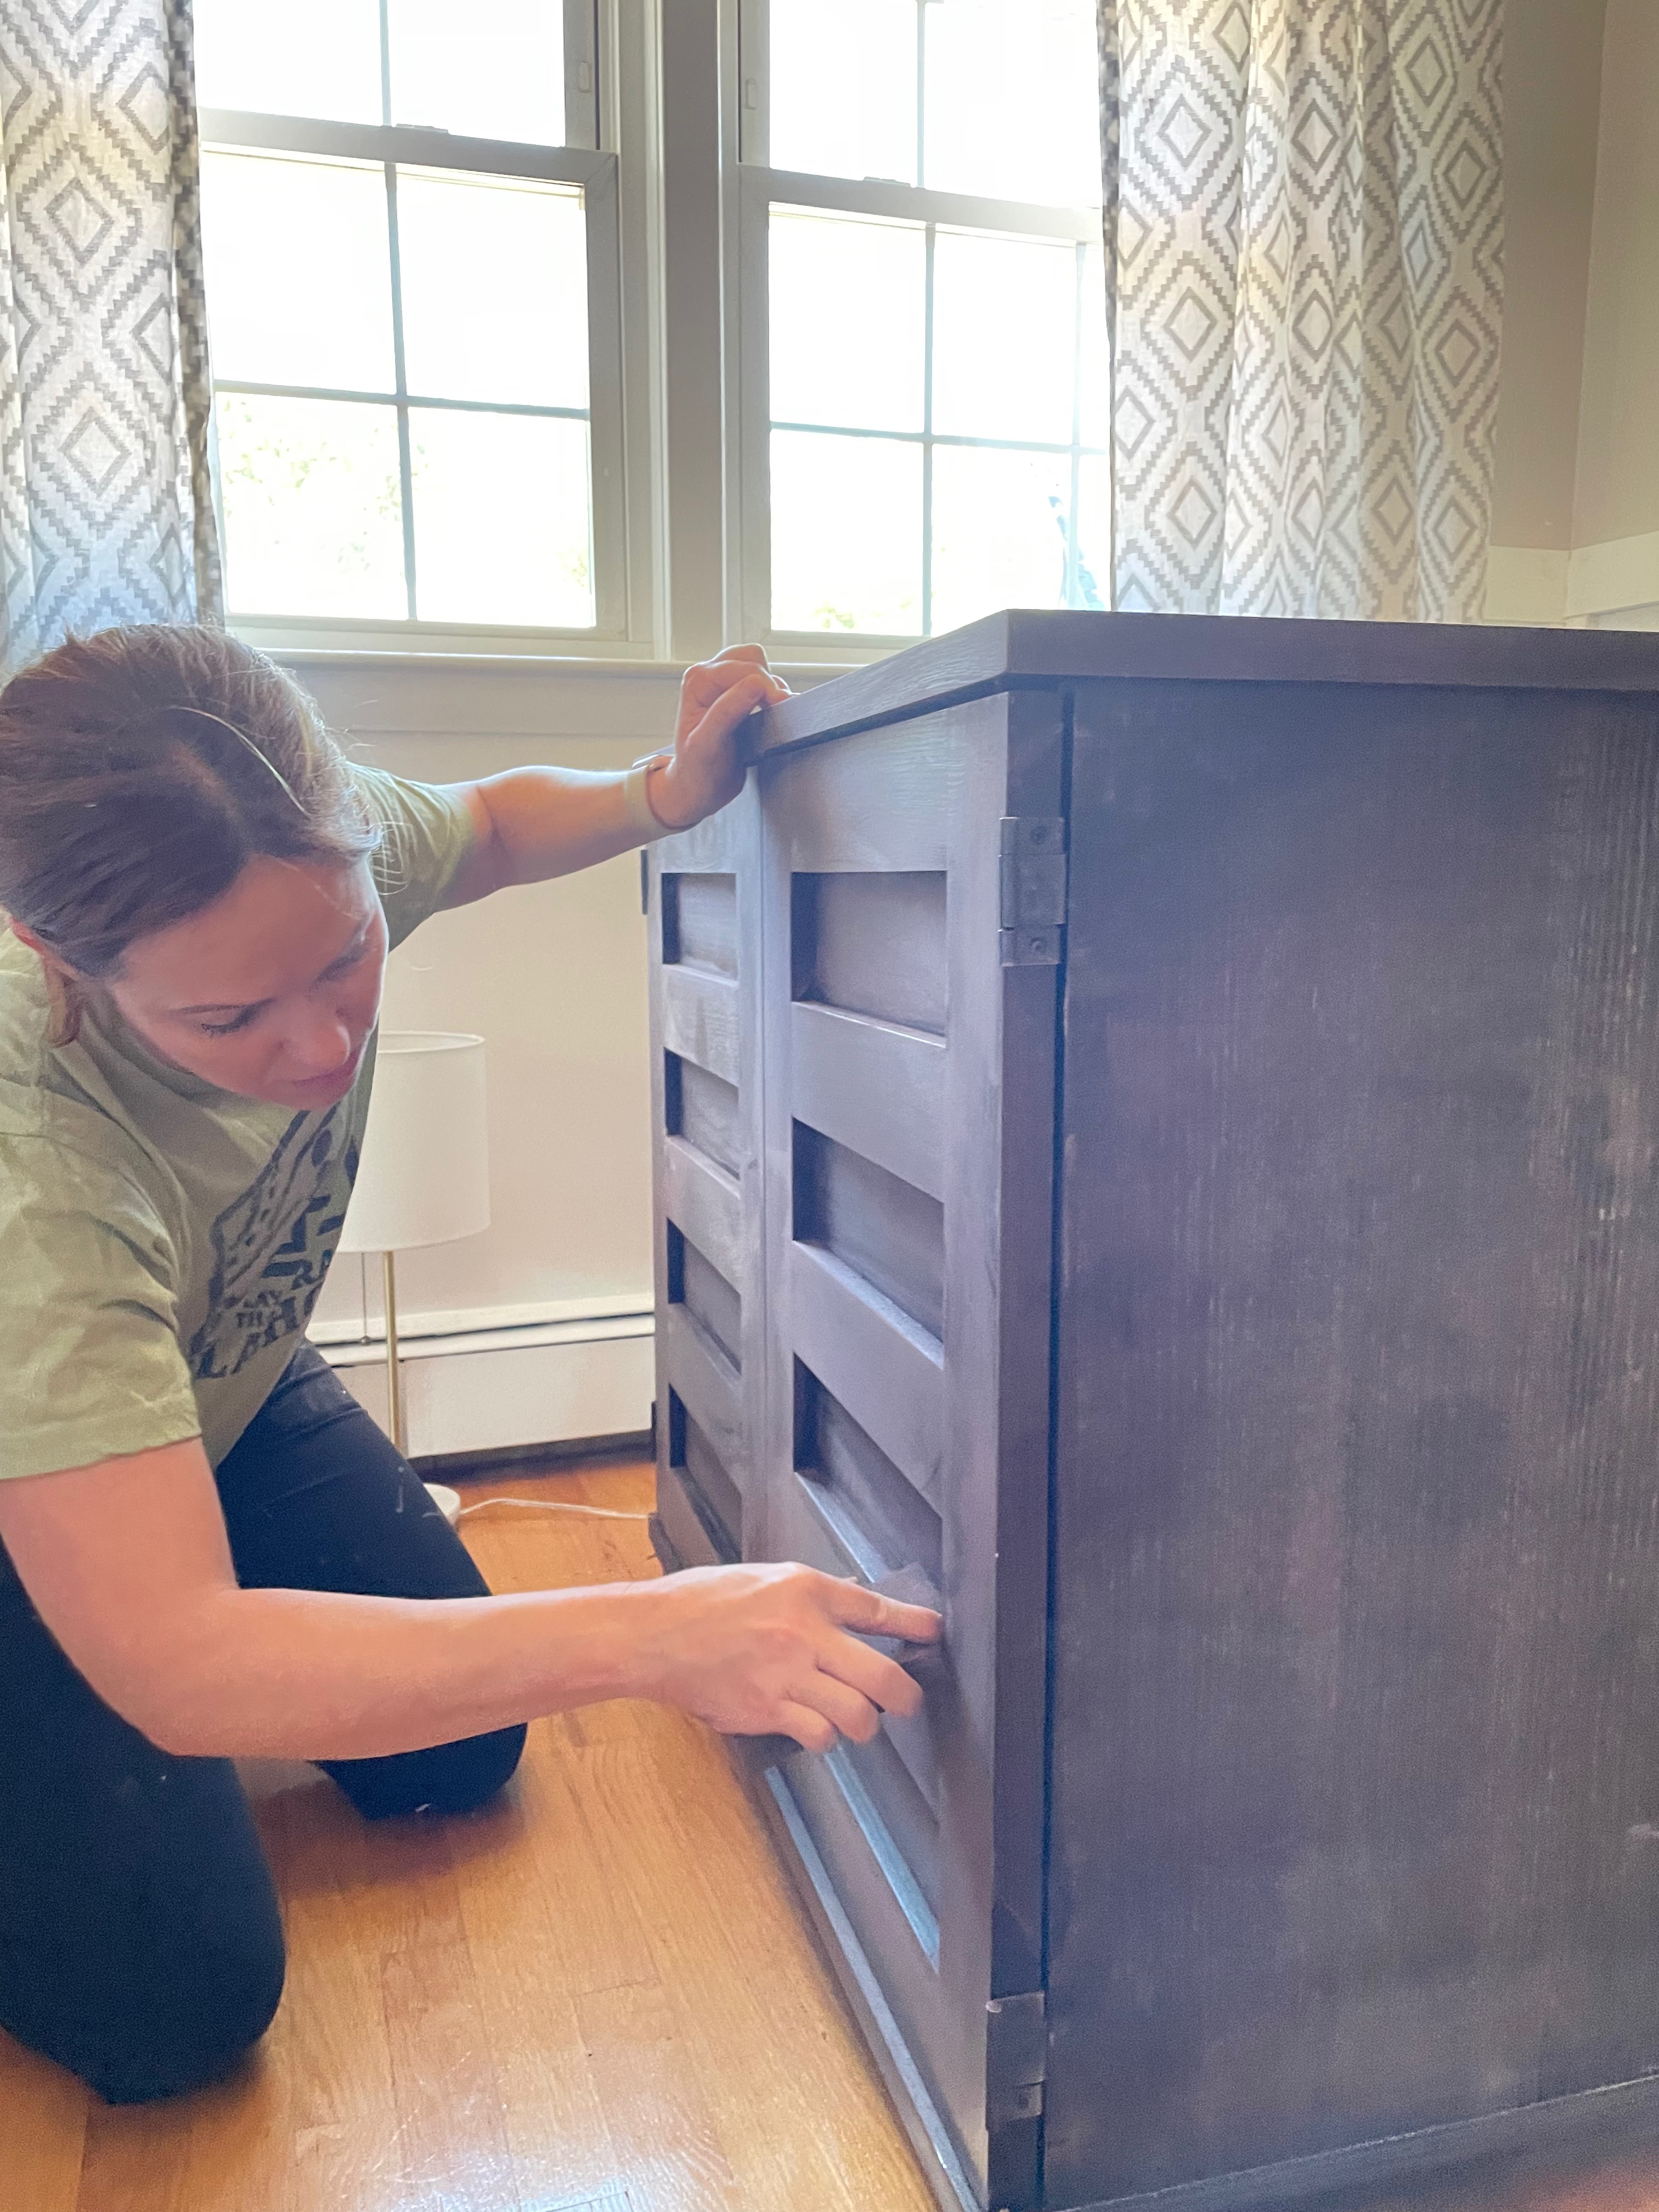
Step 2: Prep and Paint the Desk
Next up: time to give this dated enclosed desk a fun new look! This desk has a bit of a shiny finish so I started with a rough sand to remove some of that shine and prep the surface for painting.
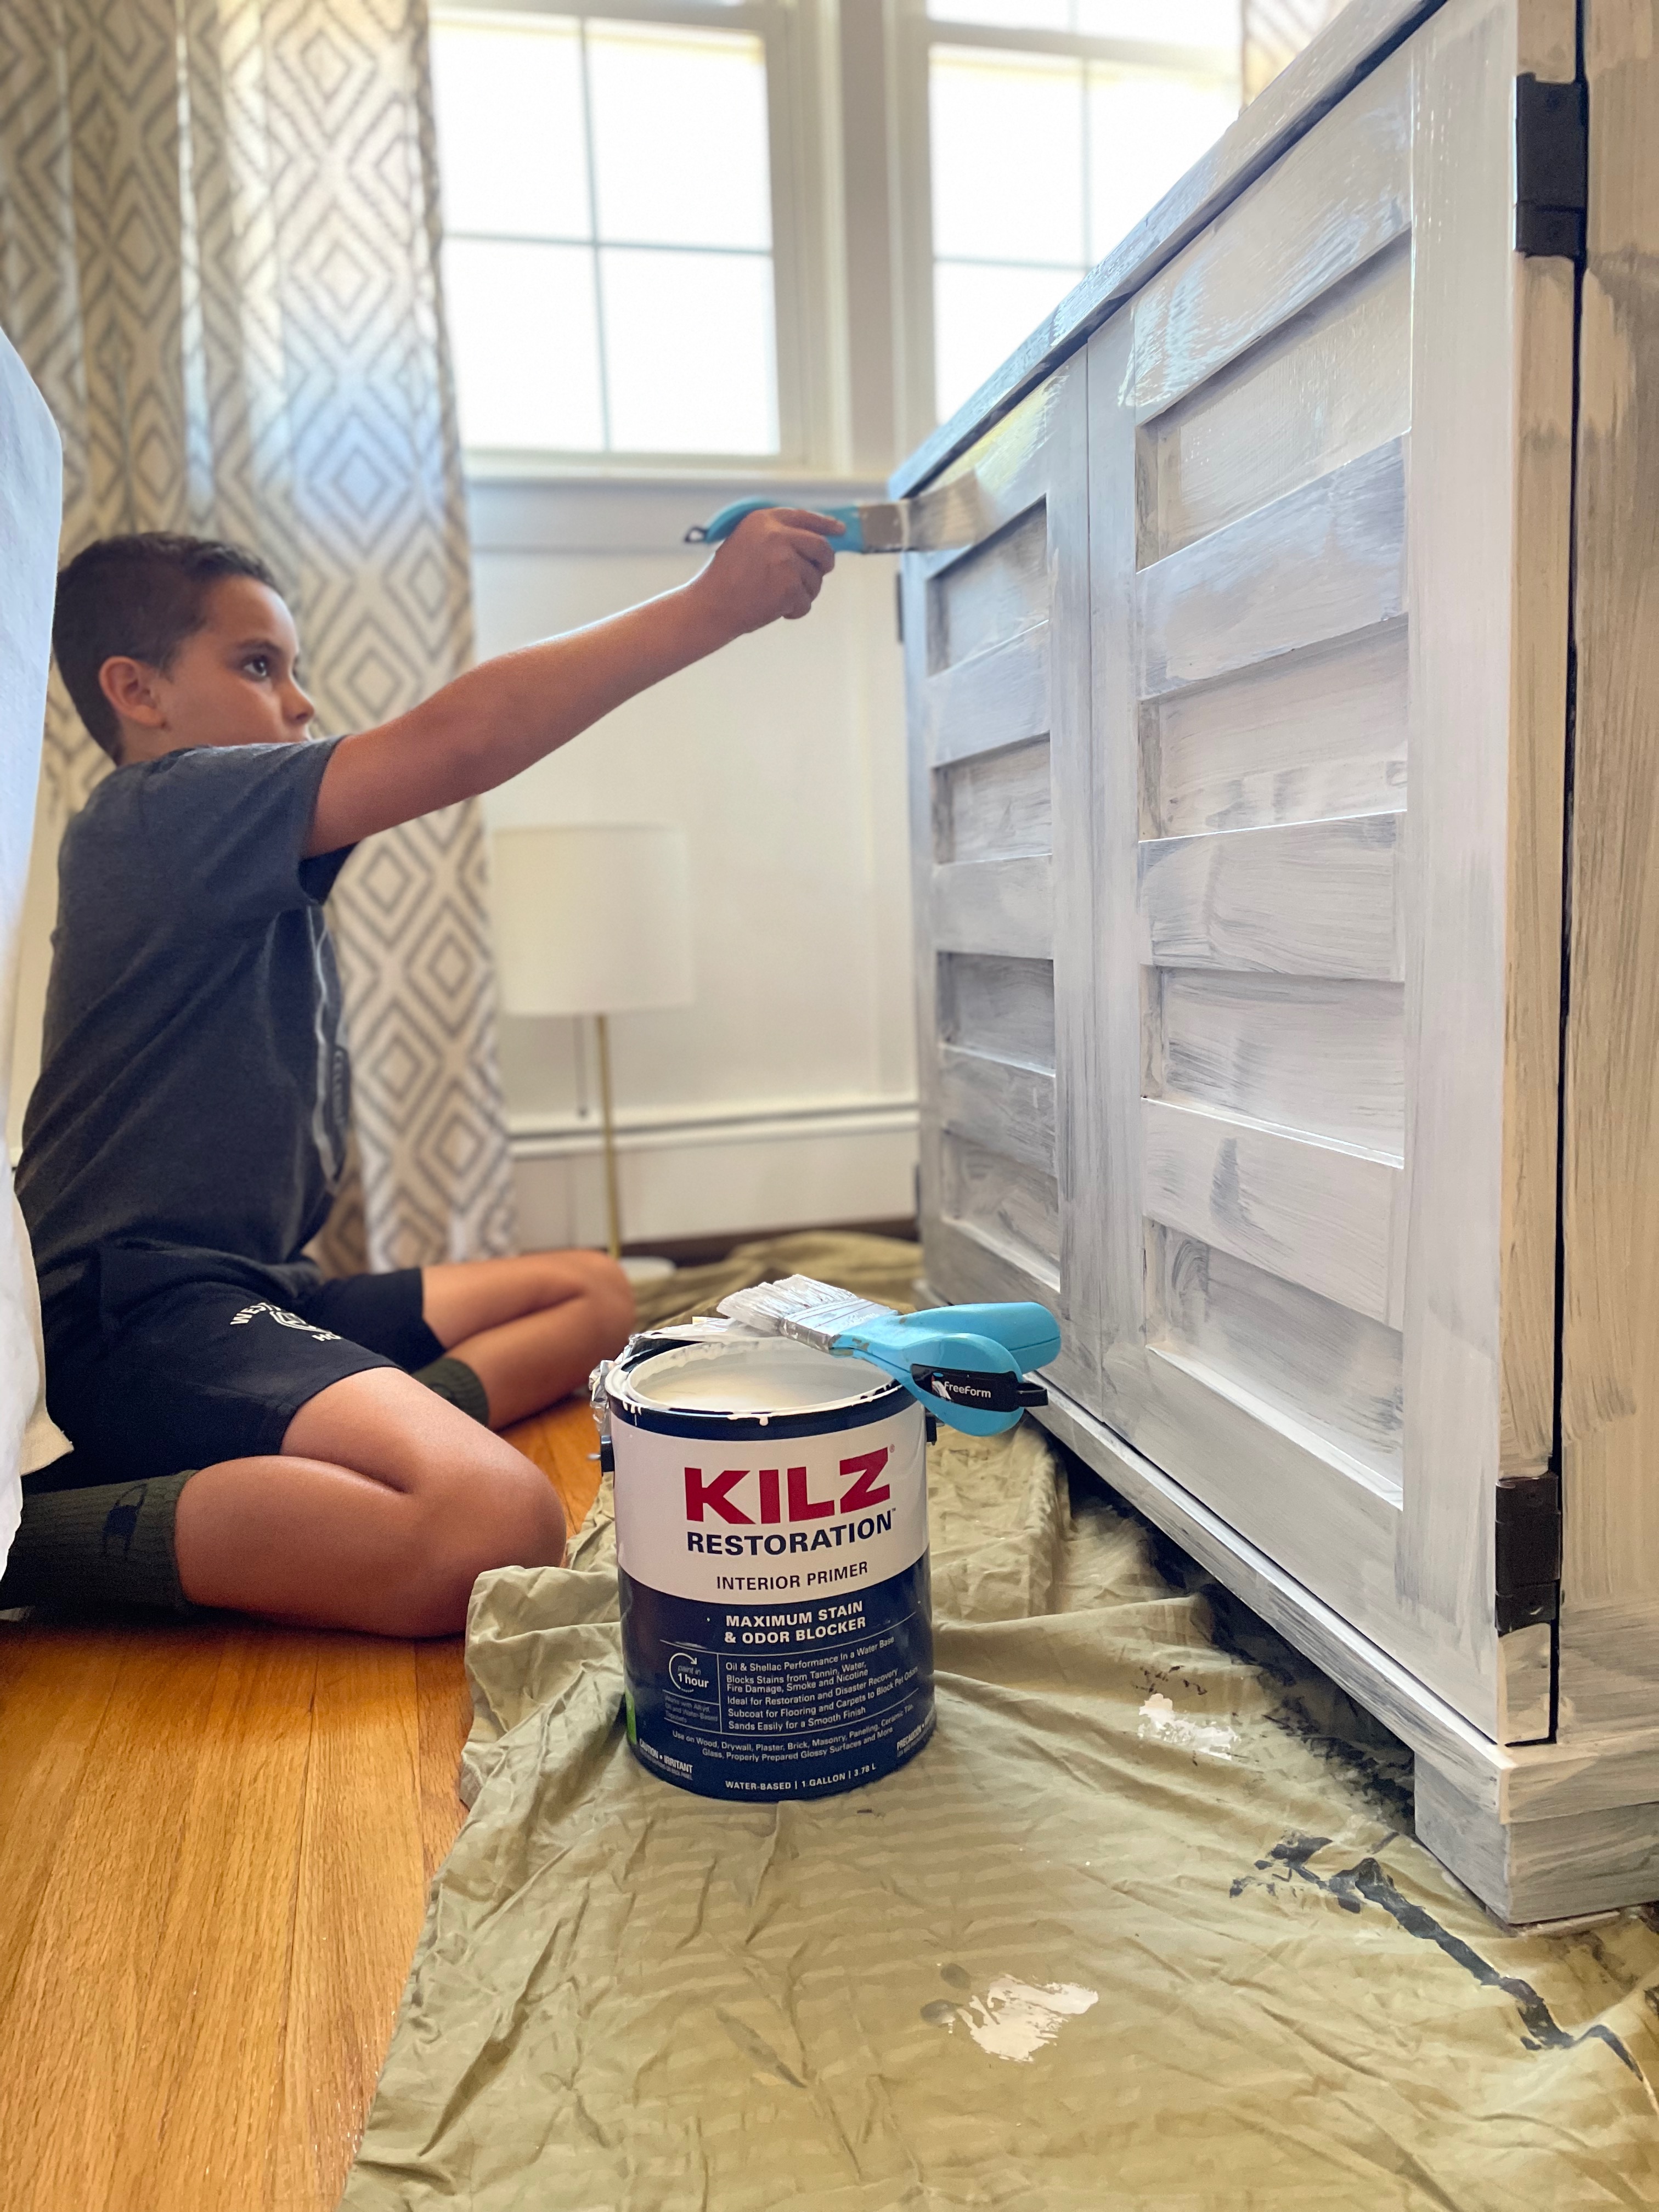
Using KILZ Restoration® Primer, which is great for glossy surfaces (among lots of other surfaces), I applied two coats of primer before starting to paint. I opted to brush on the primer and paint rather than roll or spray. Mostly this application was chosen again because my kids really wanted to pitch in on this project, and I wanted to allow them to help! Under other circumstances, I would typically do both brush and roller application for furniture pieces.
For color, I chose Landscape from the Magnolia Home by Joanna Gaines® collection. This color brings a nice pop of olive green color. Not only is the color gorgeous, but it also gives awesome coverage and a smooth finish!

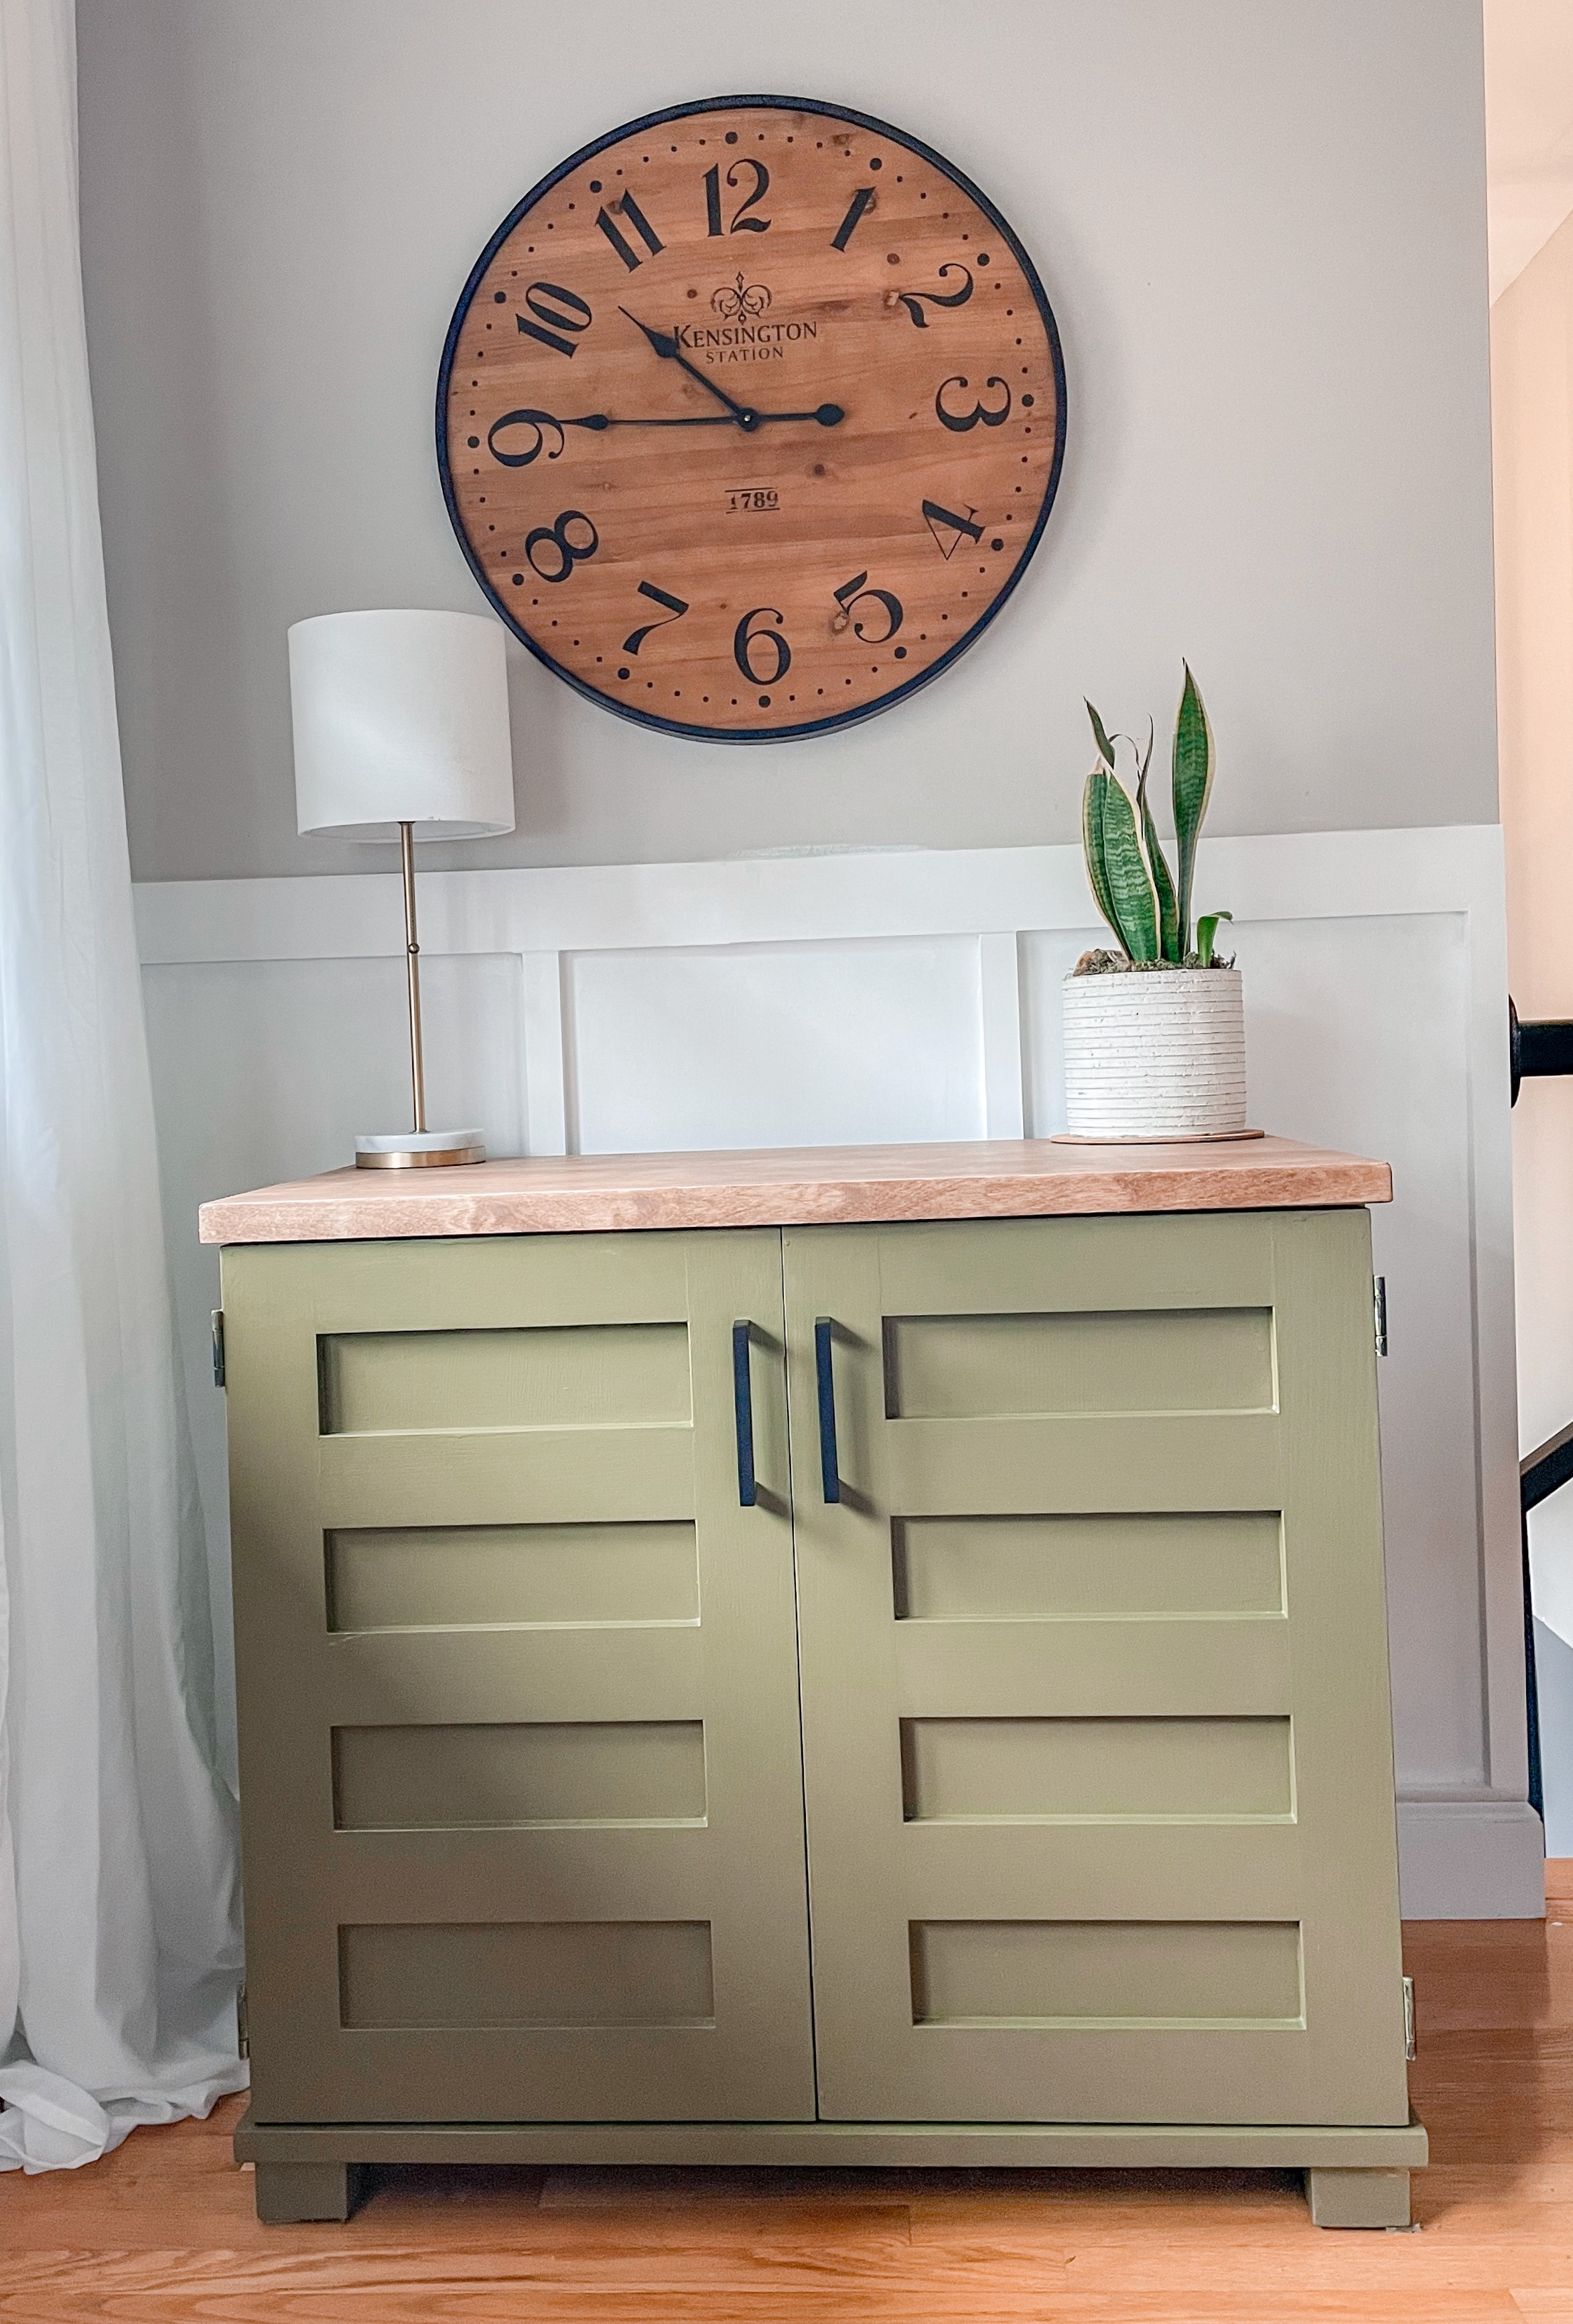
Step 3: Finishing Touches
After the piece was painted I added a thin sanded and stained piece of plywood to the top to bring in more wood tones. To finish the edges, 1.5” edge banding was added for a perfect finished look! The edge banding can be stained either before or after application. I opted to iron it on first, do a light sand, and then stain the desired color.
Finally, some beautiful modern black cabinet pulls were added to wrap up this piece. I couldn’t be more thrilled with how this turned out! Now this corner of our family room is bright, colorful, and so much more inviting for our family and friends.