How to Transform Your Space with Wall Treatments
This week of the Jeffrey Court Renovation Challenge is all about walls and wall treatments! I’m adding paint and pattern and prepping for flooring. Let’s walk through the steps so you can see the process.
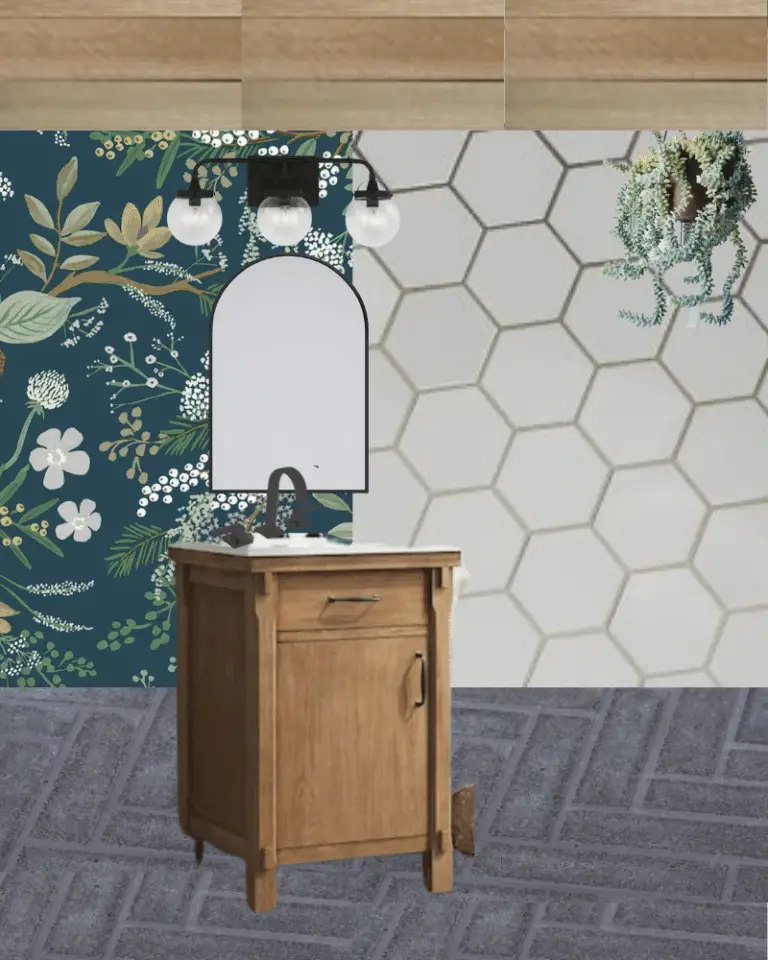
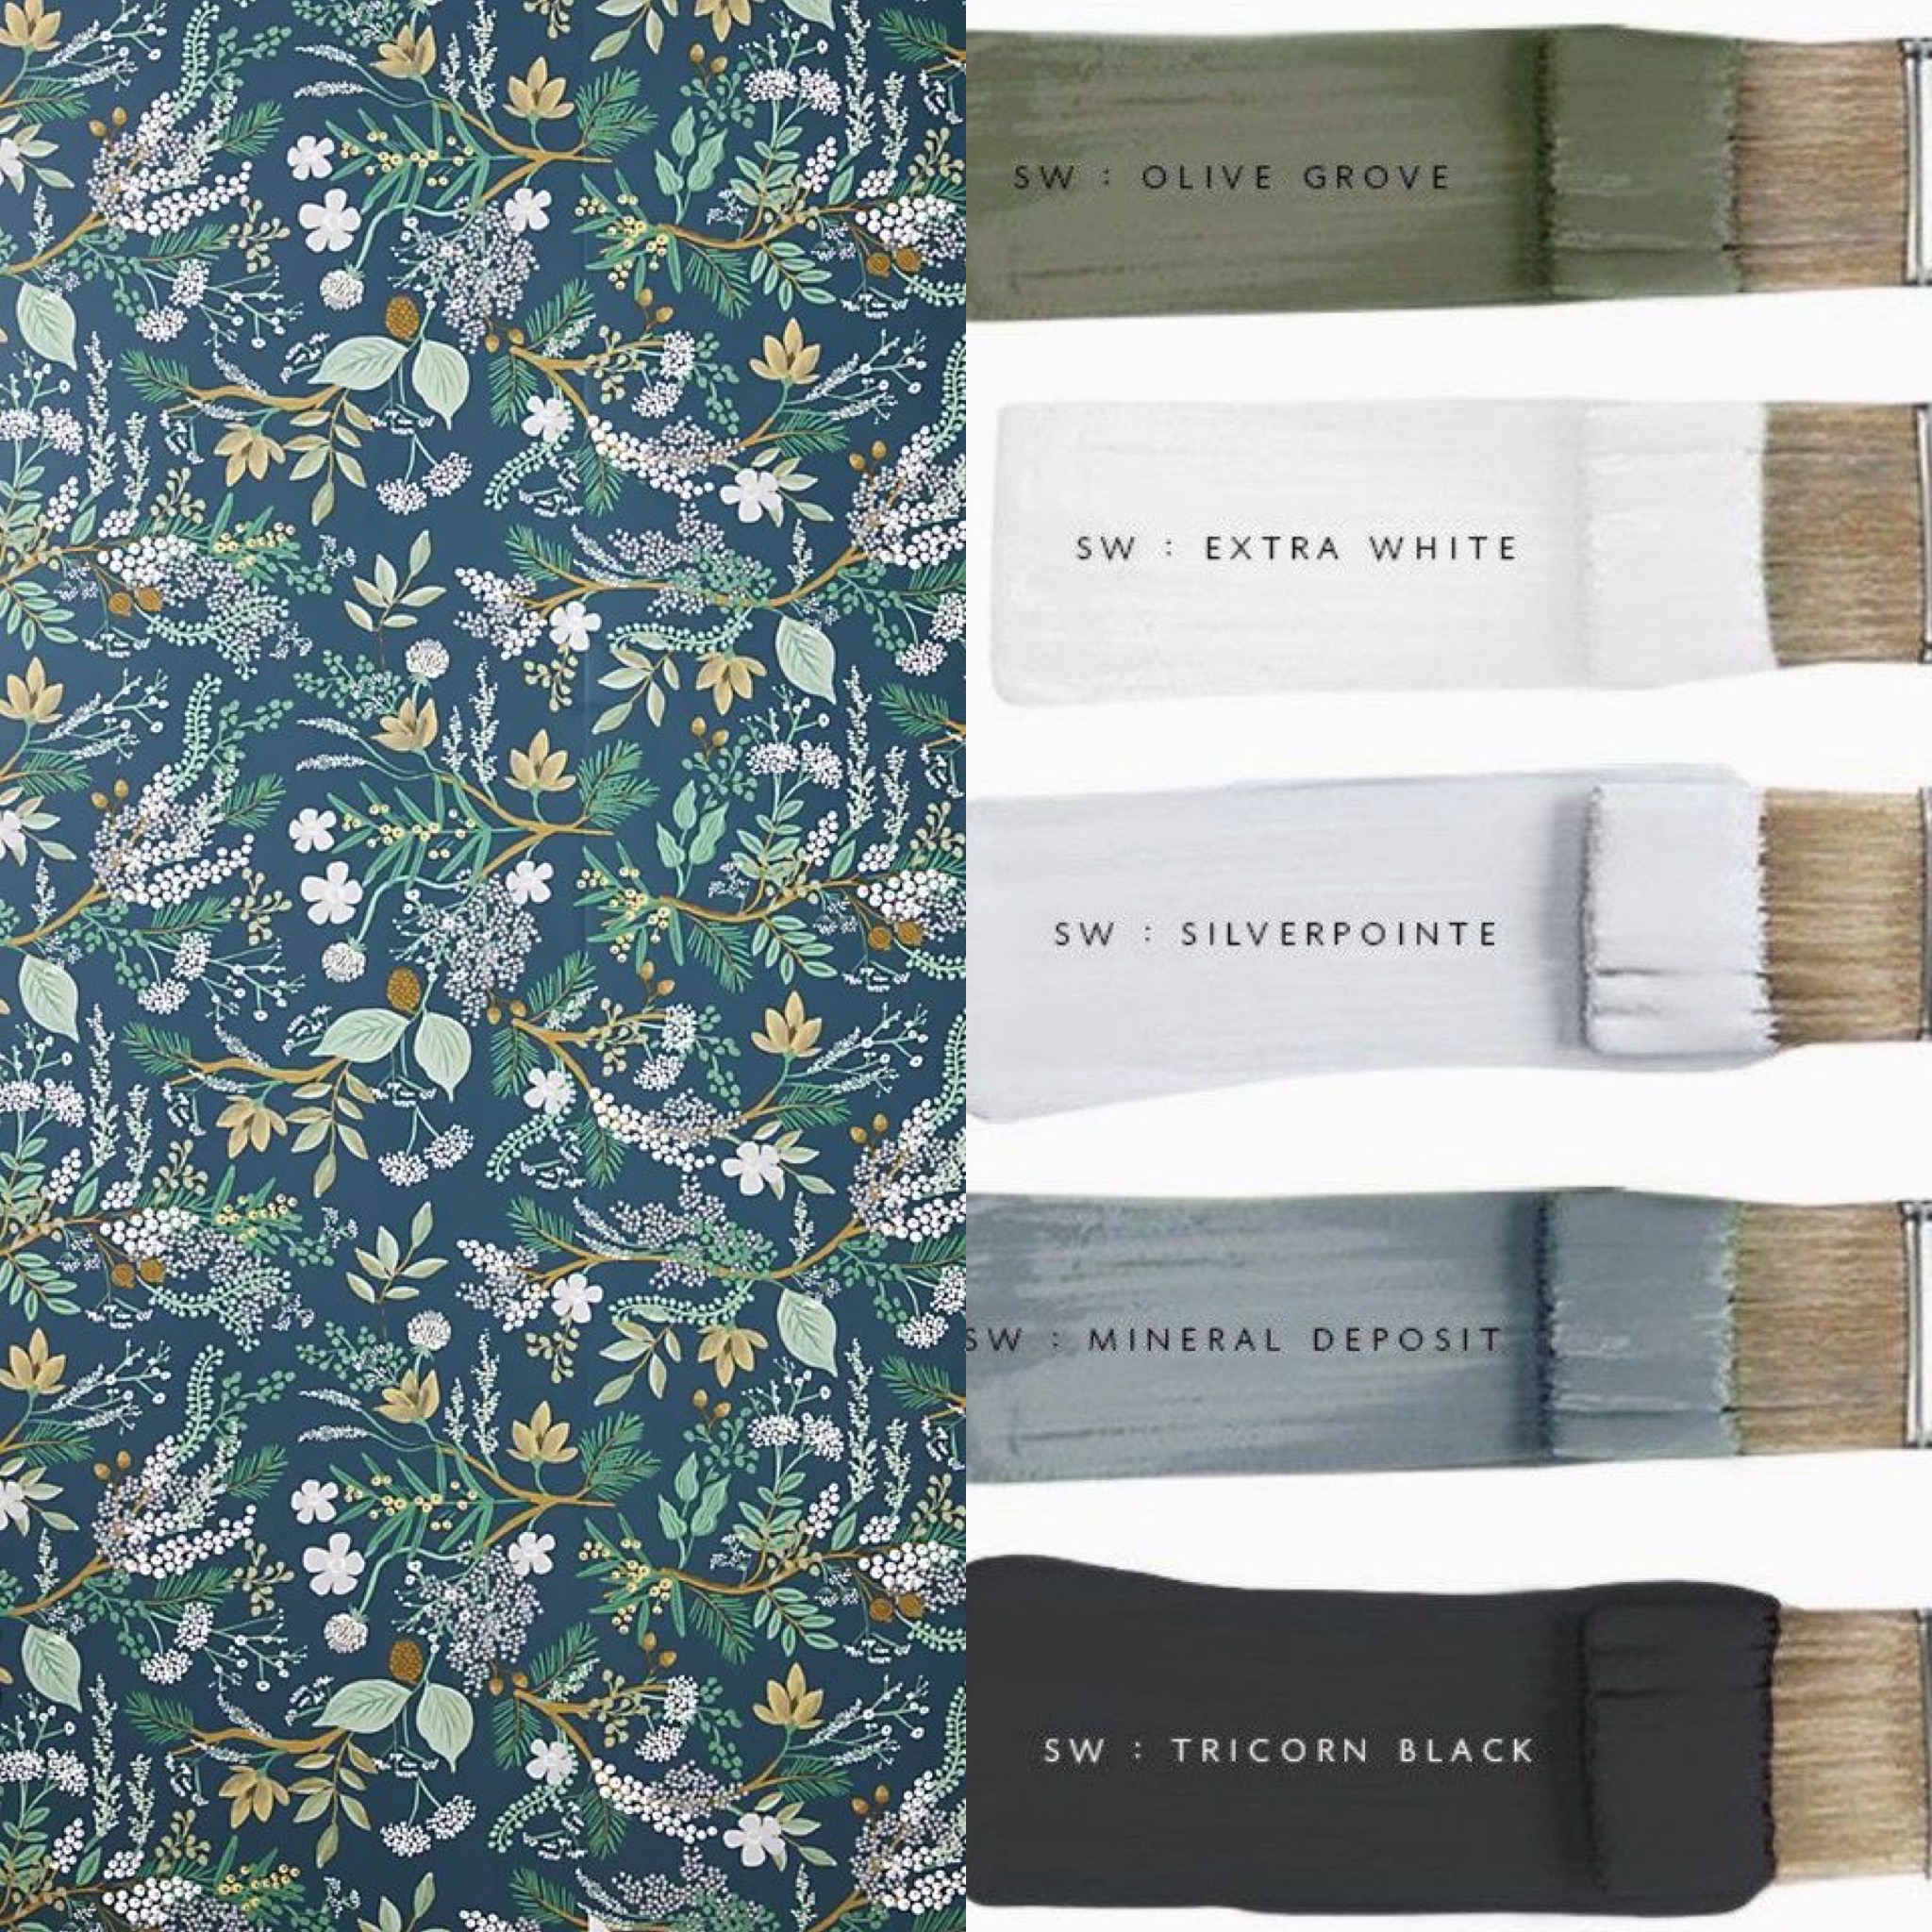
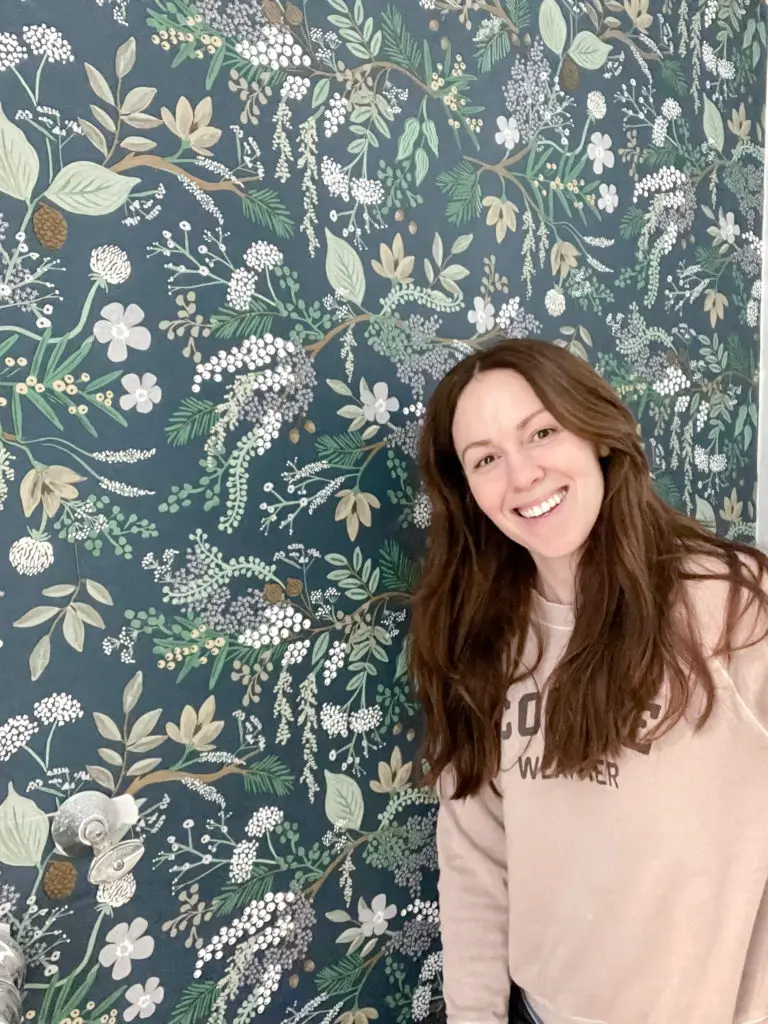
First up: Here is my wall paper and paint palette. Aren’t they stunning?!

Step 1: Prep
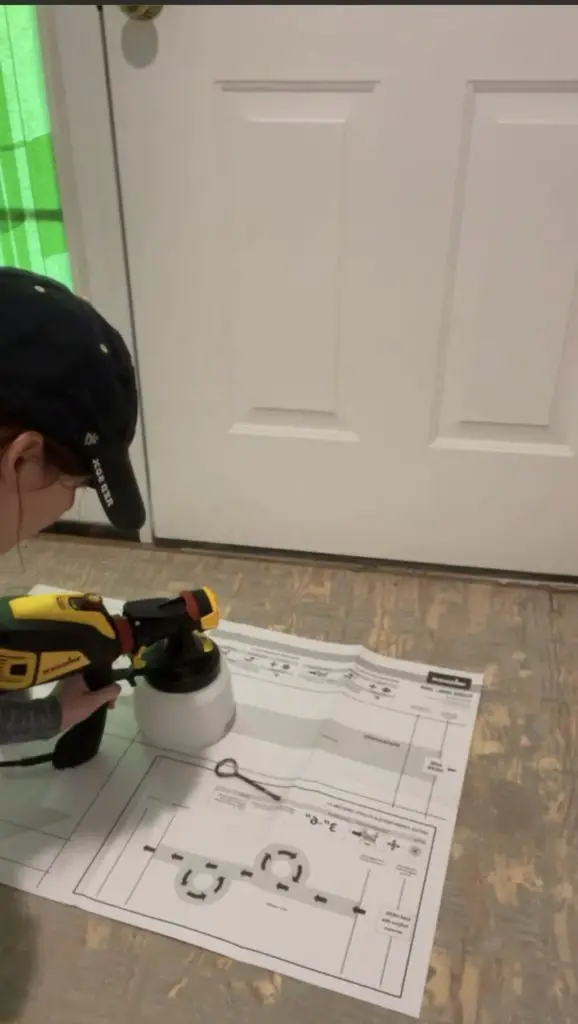
I’ll admit, I am typically not the best at prepping spaces for paint. If I can cut corners, I will. Luckily in my current space there are no floors or fixtures to protect so it is the best time to paint! To get a smooth finish in a short amount of time I decided to pull out my new Wagner Flexio 3500 paint sprayer.
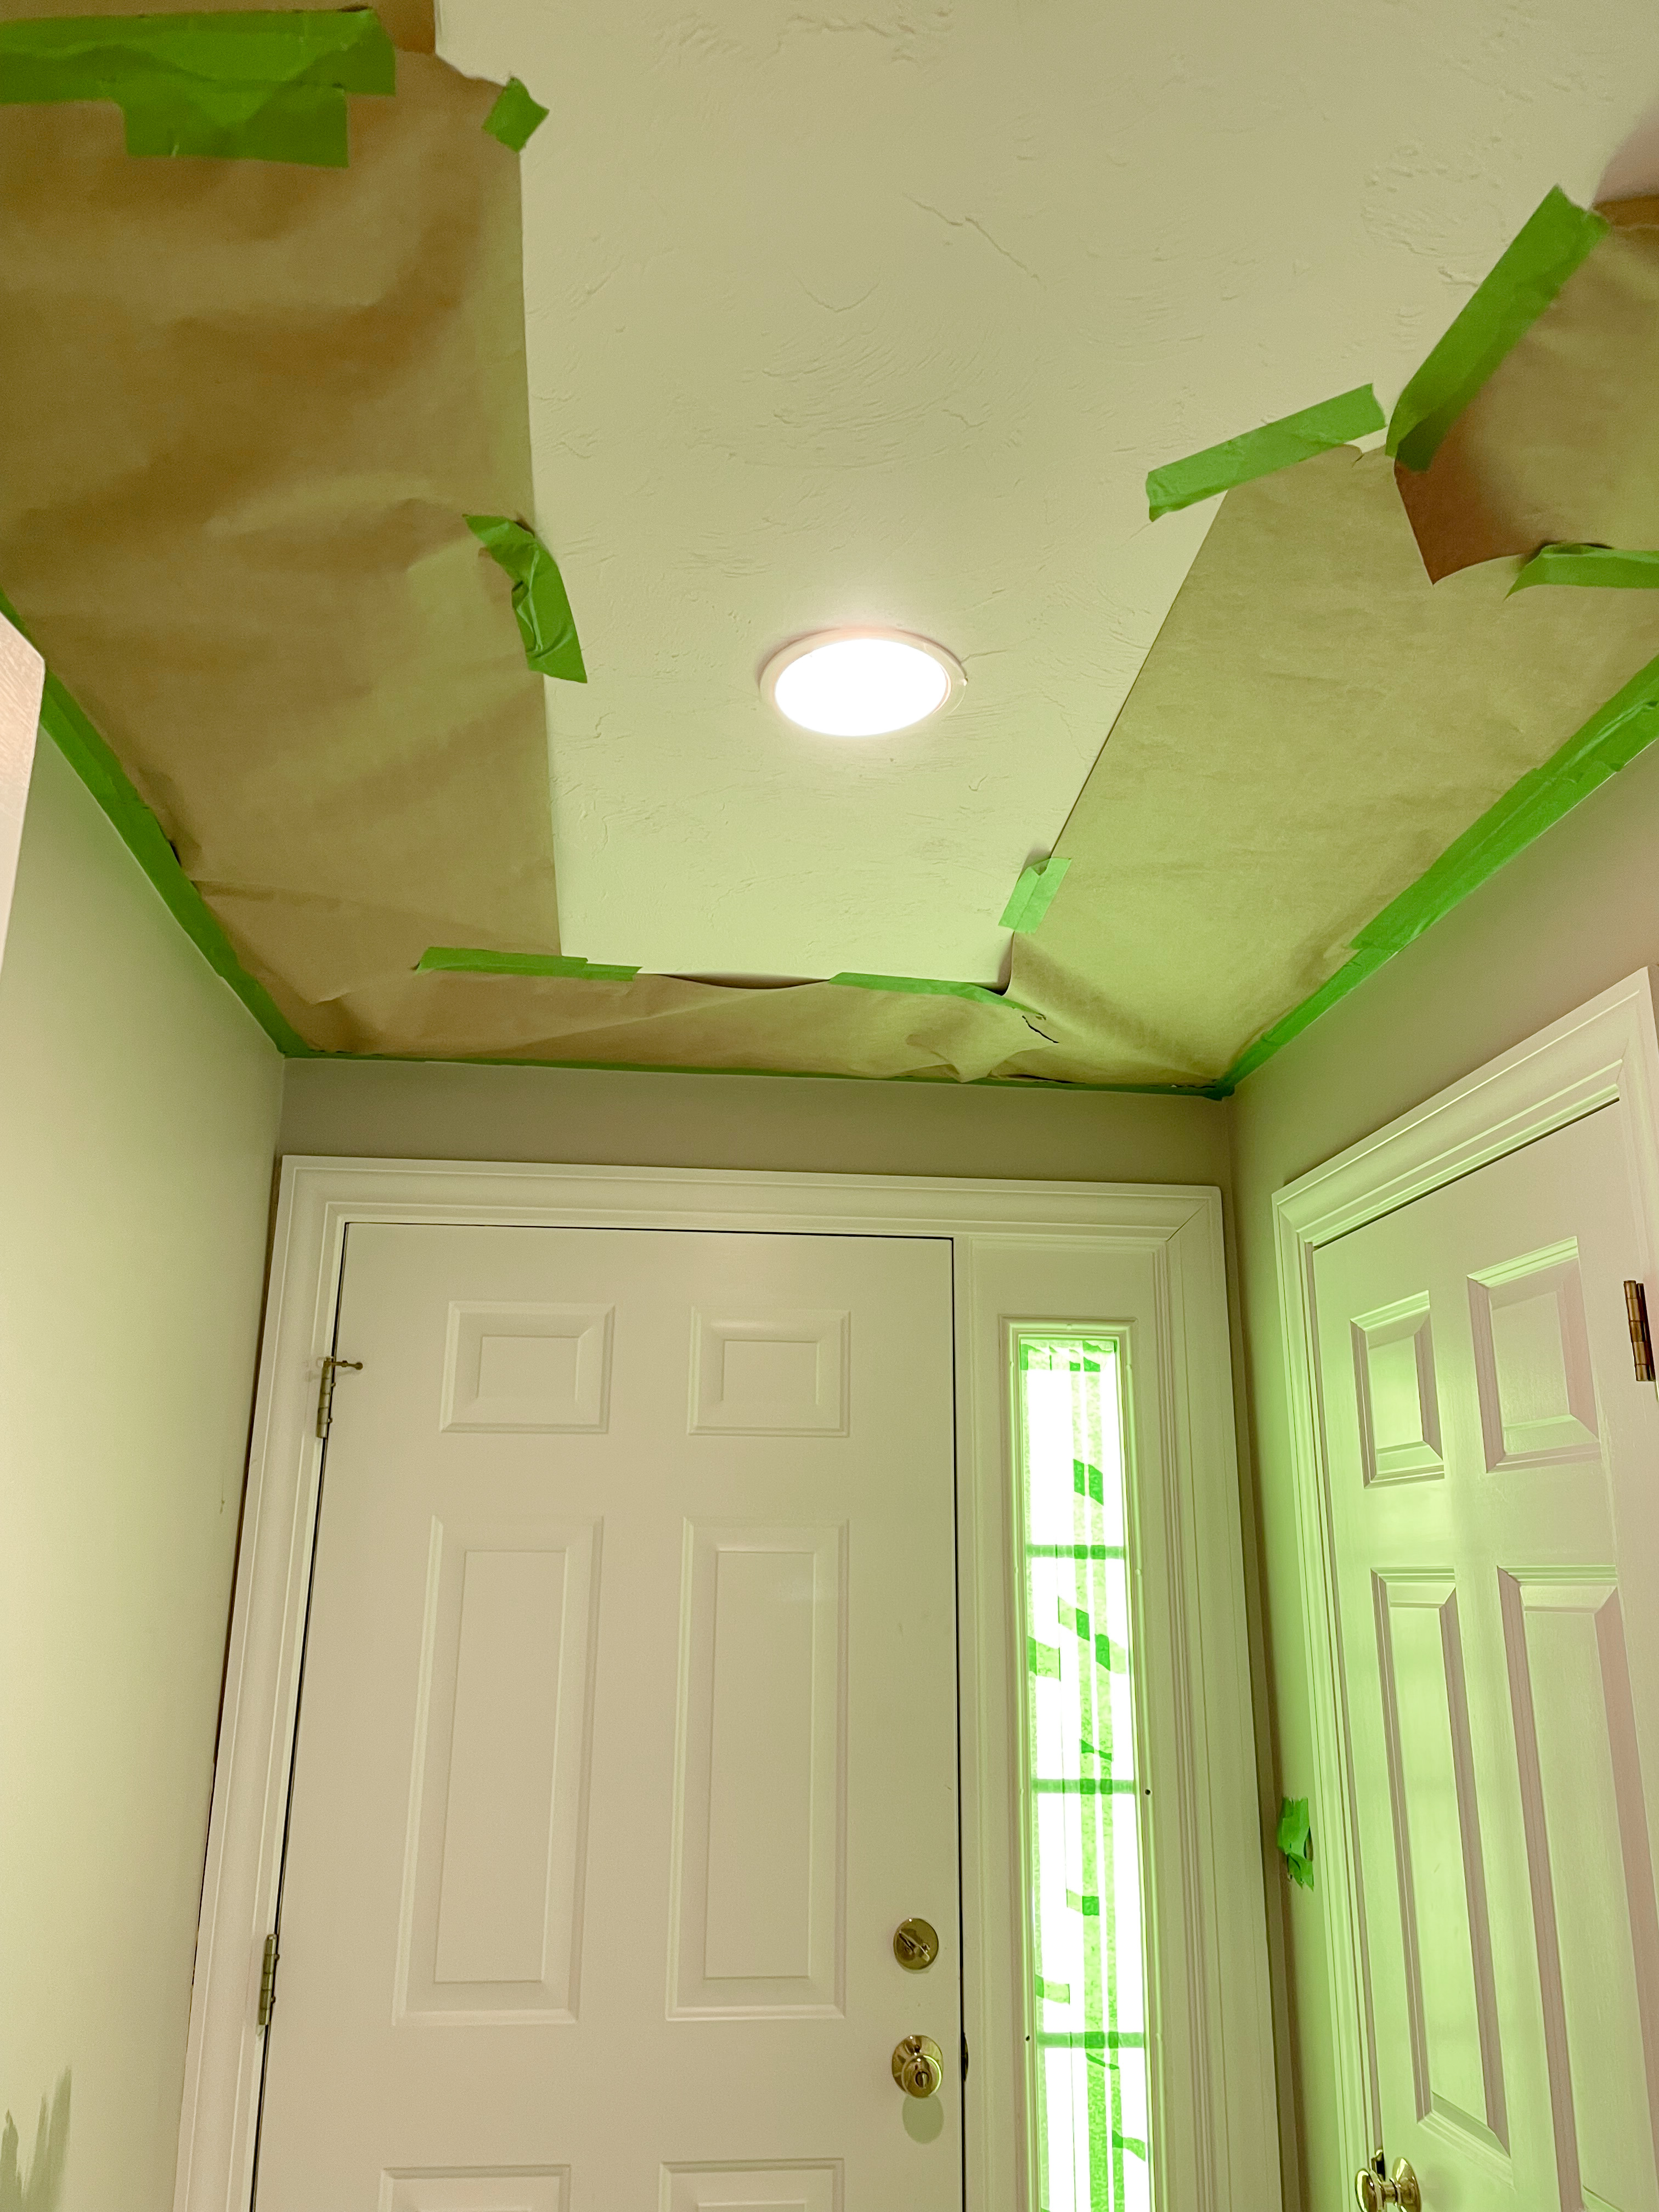
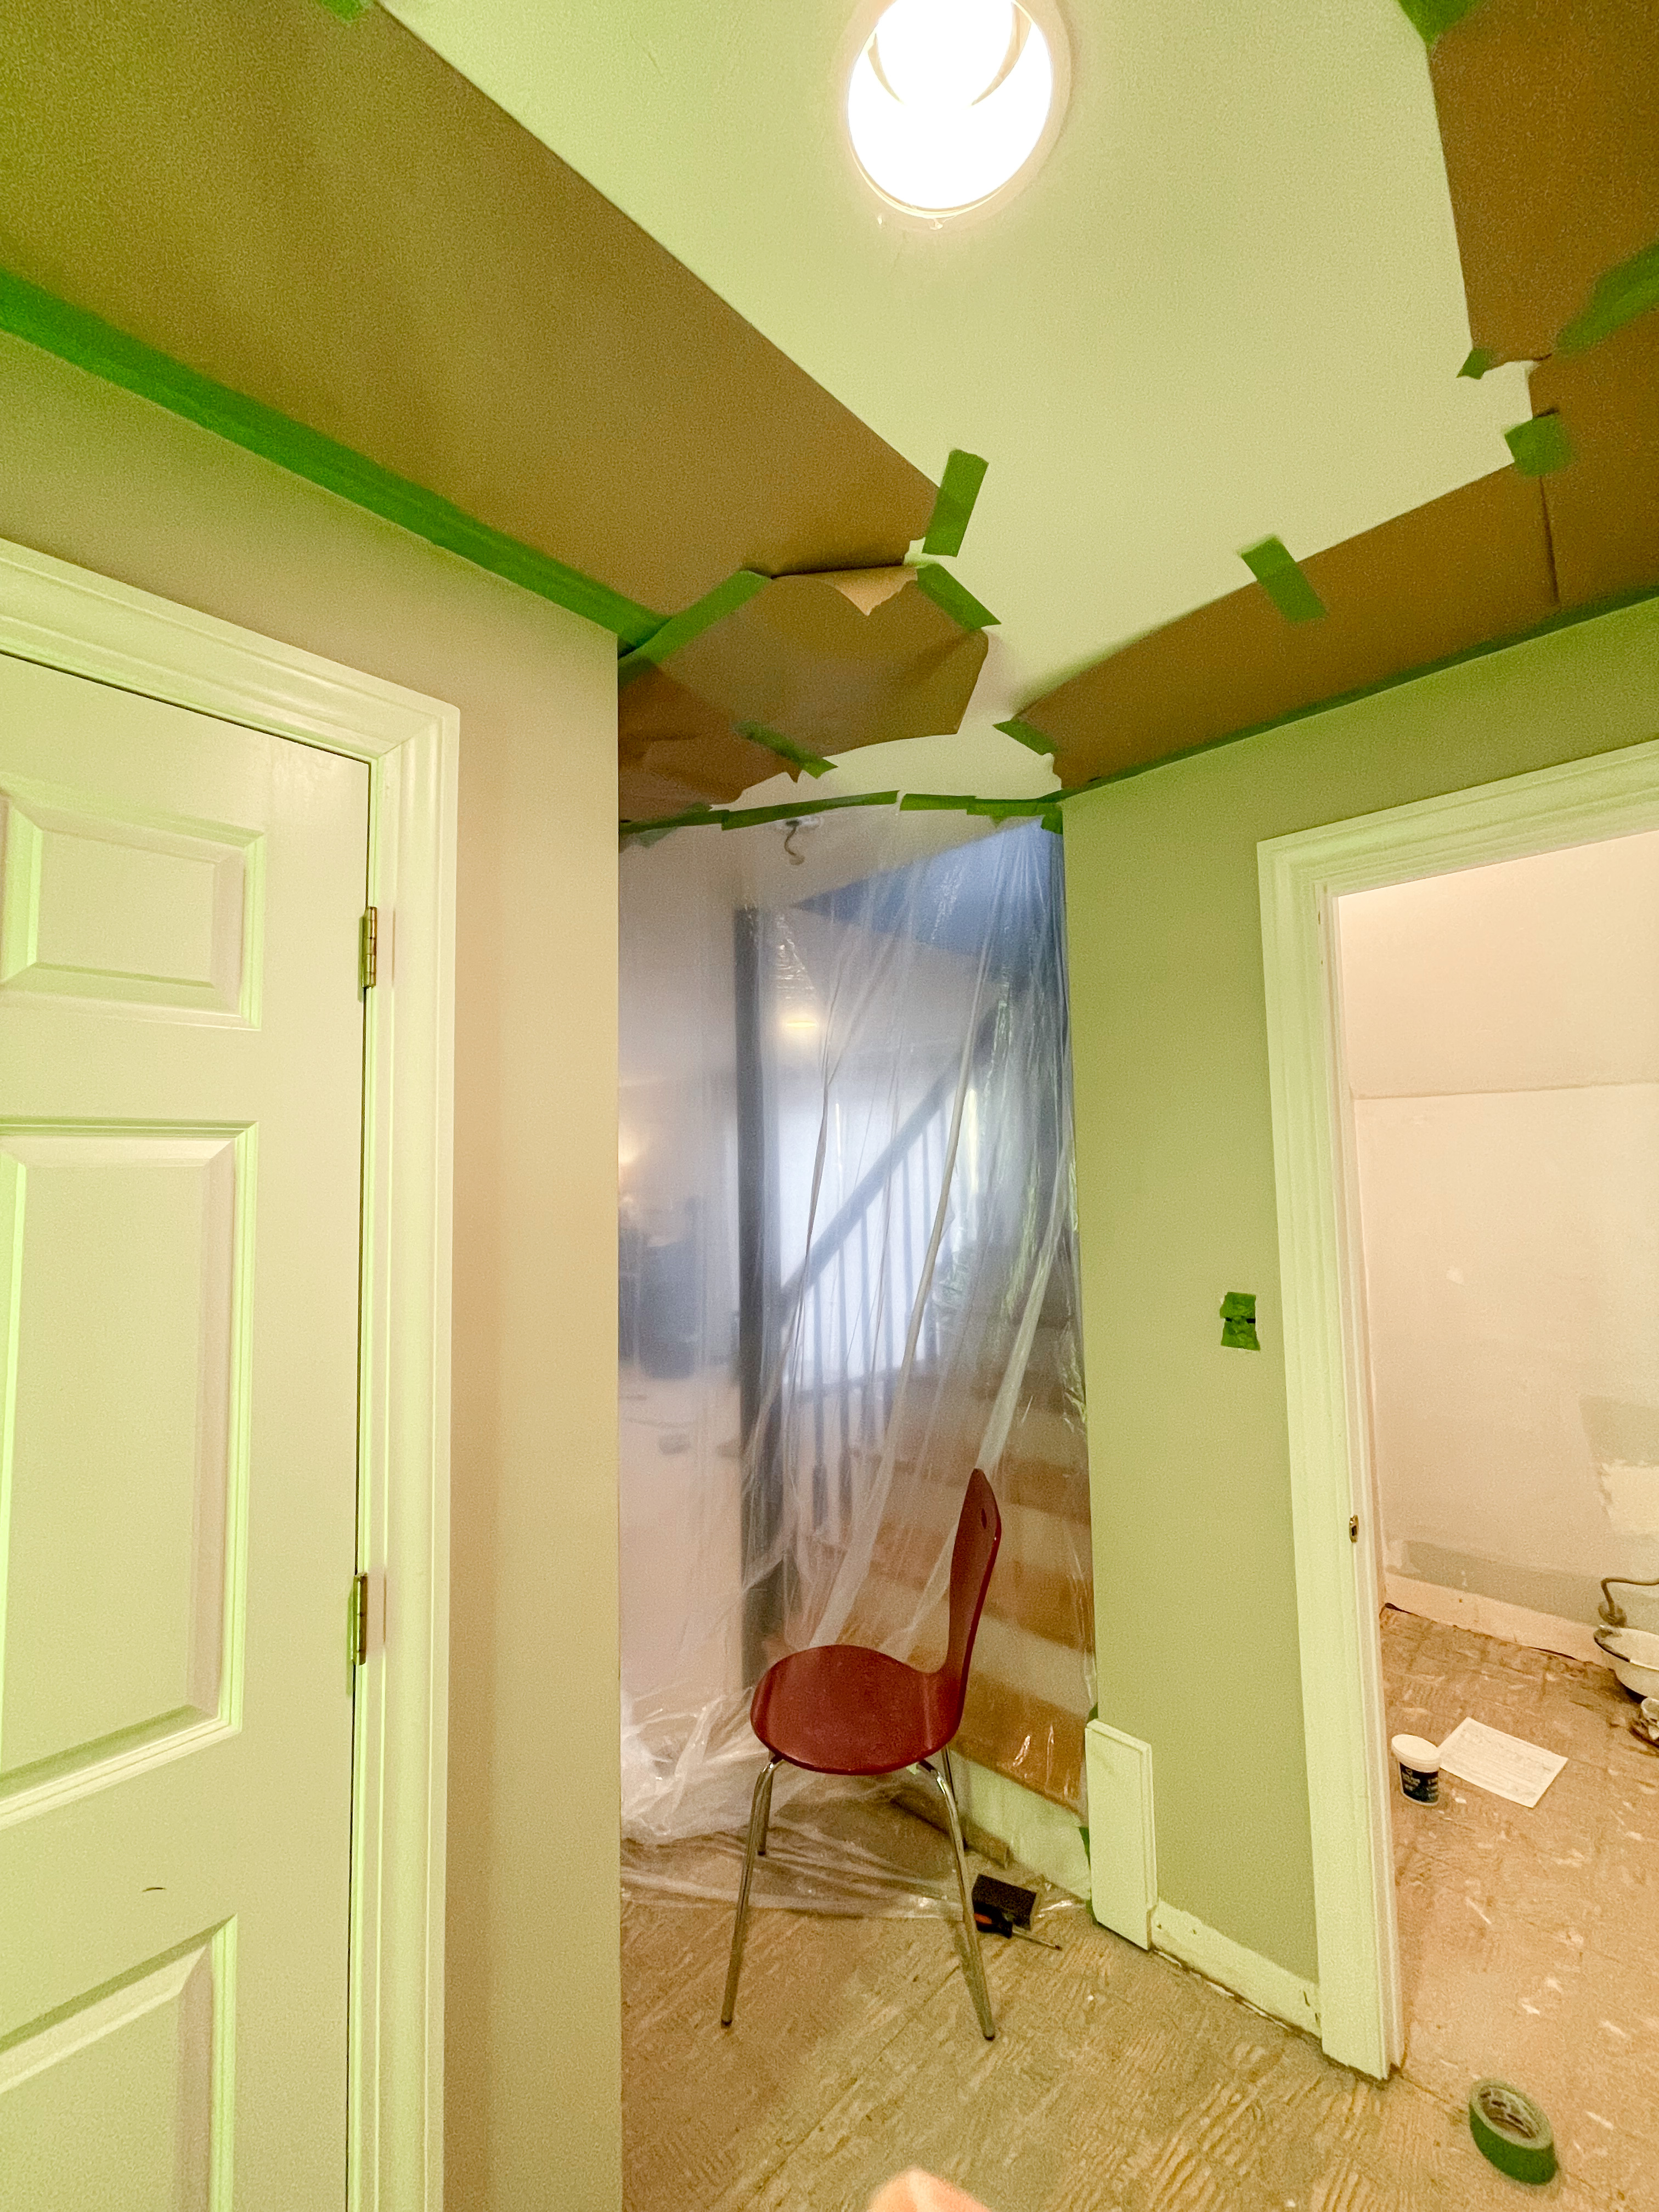
Anyway, in order to prep for spraying I needed to tape off the ceiling and protect the family room and staircase from overspray. This was done with painters tape and a plastic drape. Really pretty easy! Also, there is very little overspray on this paint sprayer so that makes it a lot easier to work with.
My bathroom space required no prep because I’m adding a treatment to the ceiling, tile to the back wall, and wallpaper to the main vanity wall. Super easy!
Step 2: Paint
It’s time to spray!! I typically just paint with a brush and a roller so I’m a bit nervous to use this paint sprayer. Now, I’ve used paint sprayers before…but this thing is incredible! It’s super powerful but also really easy to use. That said, it did take some getting used to and I didn’t do my best work with the first coat (I was so busy playing with settings that I didn’t get it quite right). But by the second coat I knew exactly what I needed to do and I was golden! I only mention this to say: DIY is always trial and error. It is ok to make mistakes. Even the best equipment won’t protect you from making mistakes. Learning to roll with it and problem solve is by far the most important aspect of DIYing.
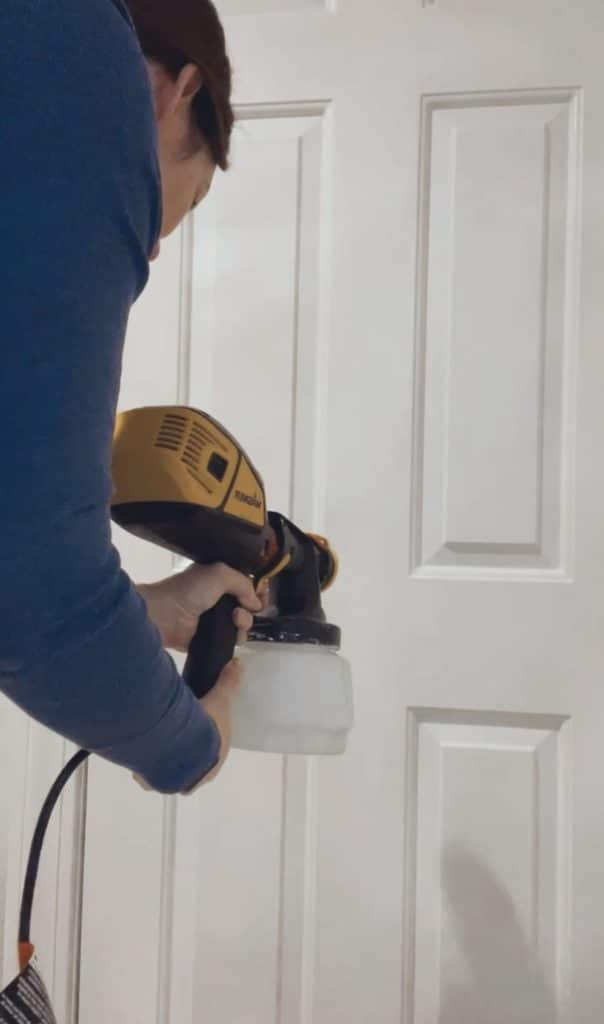
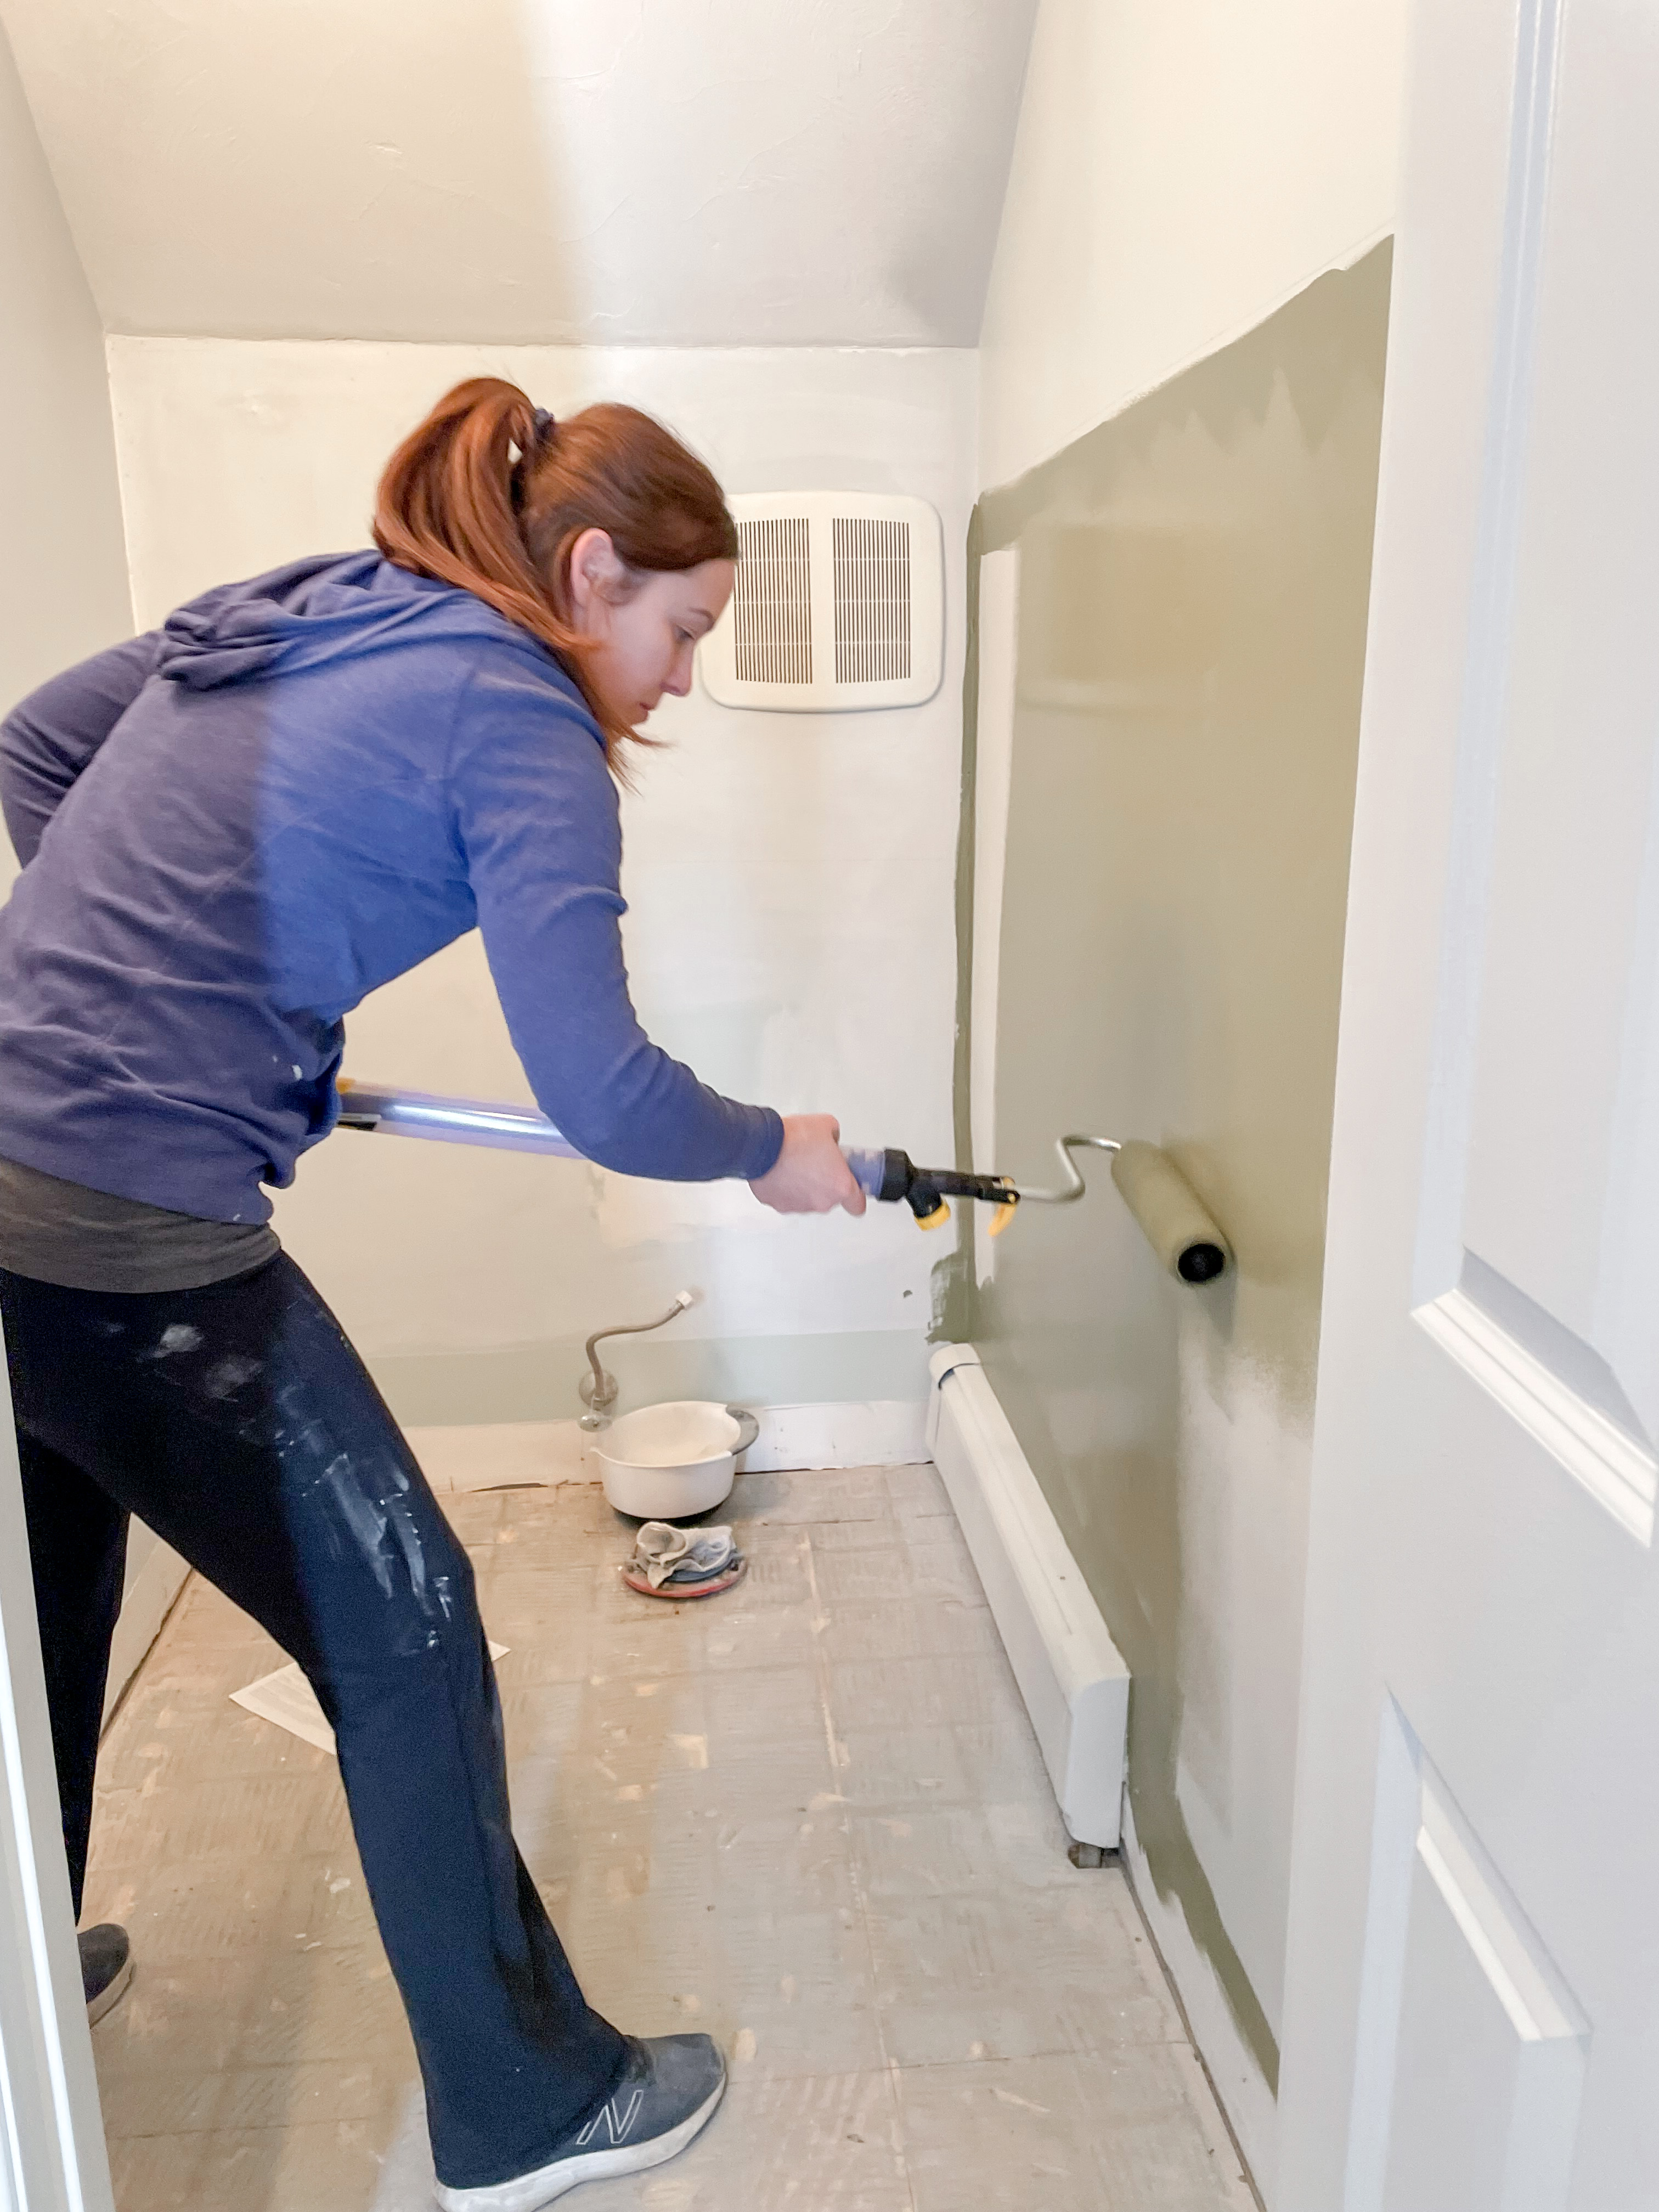
So I used the sprayer for the doors, the trim, and the upper half of each wall…with the plan to use a contrasting color on the lower half. But instead of using the sprayer again for the bottom half, I whipped out this amazing paint roller by Wagner! It stores the paint in the stick which makes painting go crazy fast and eliminates the need for a paint tray. Coverage was so good with the roller that I may not even go back for a second coat! That said, the plan is to add some trim to the wall once the flooring goes in, so I’m definitely not completely done with painting.
Step 3: Pattern
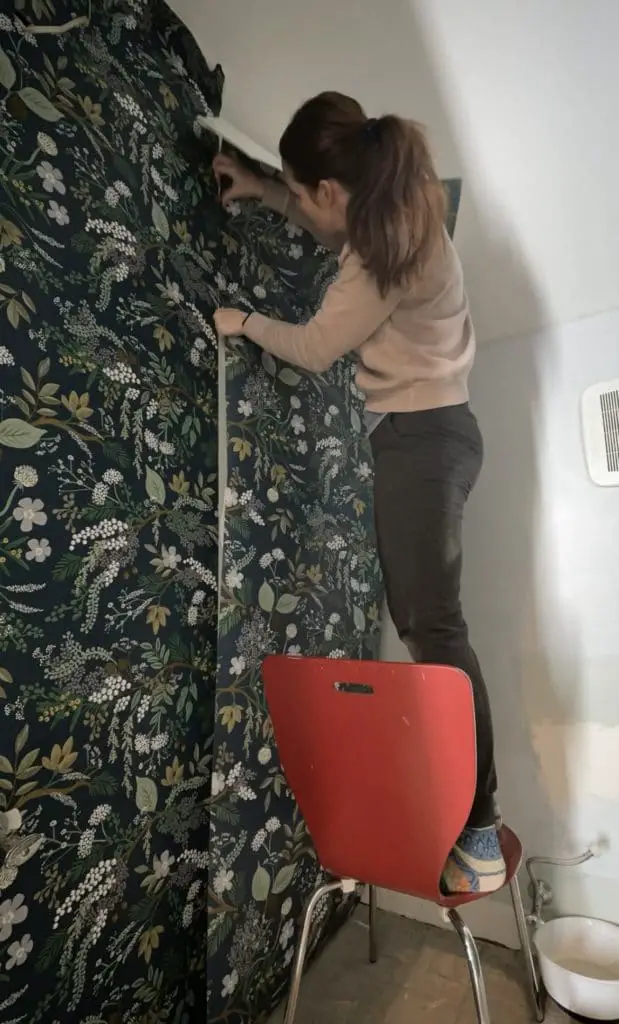
Once the paint was done I started adding in a little extra pattern and color! In this case, I opted for a really beautiful peel and stick wallpaper. I personally like peel and stick because it’s A) easily removable and I like to change my mind/style, and B) it is easy to work with and reposition.
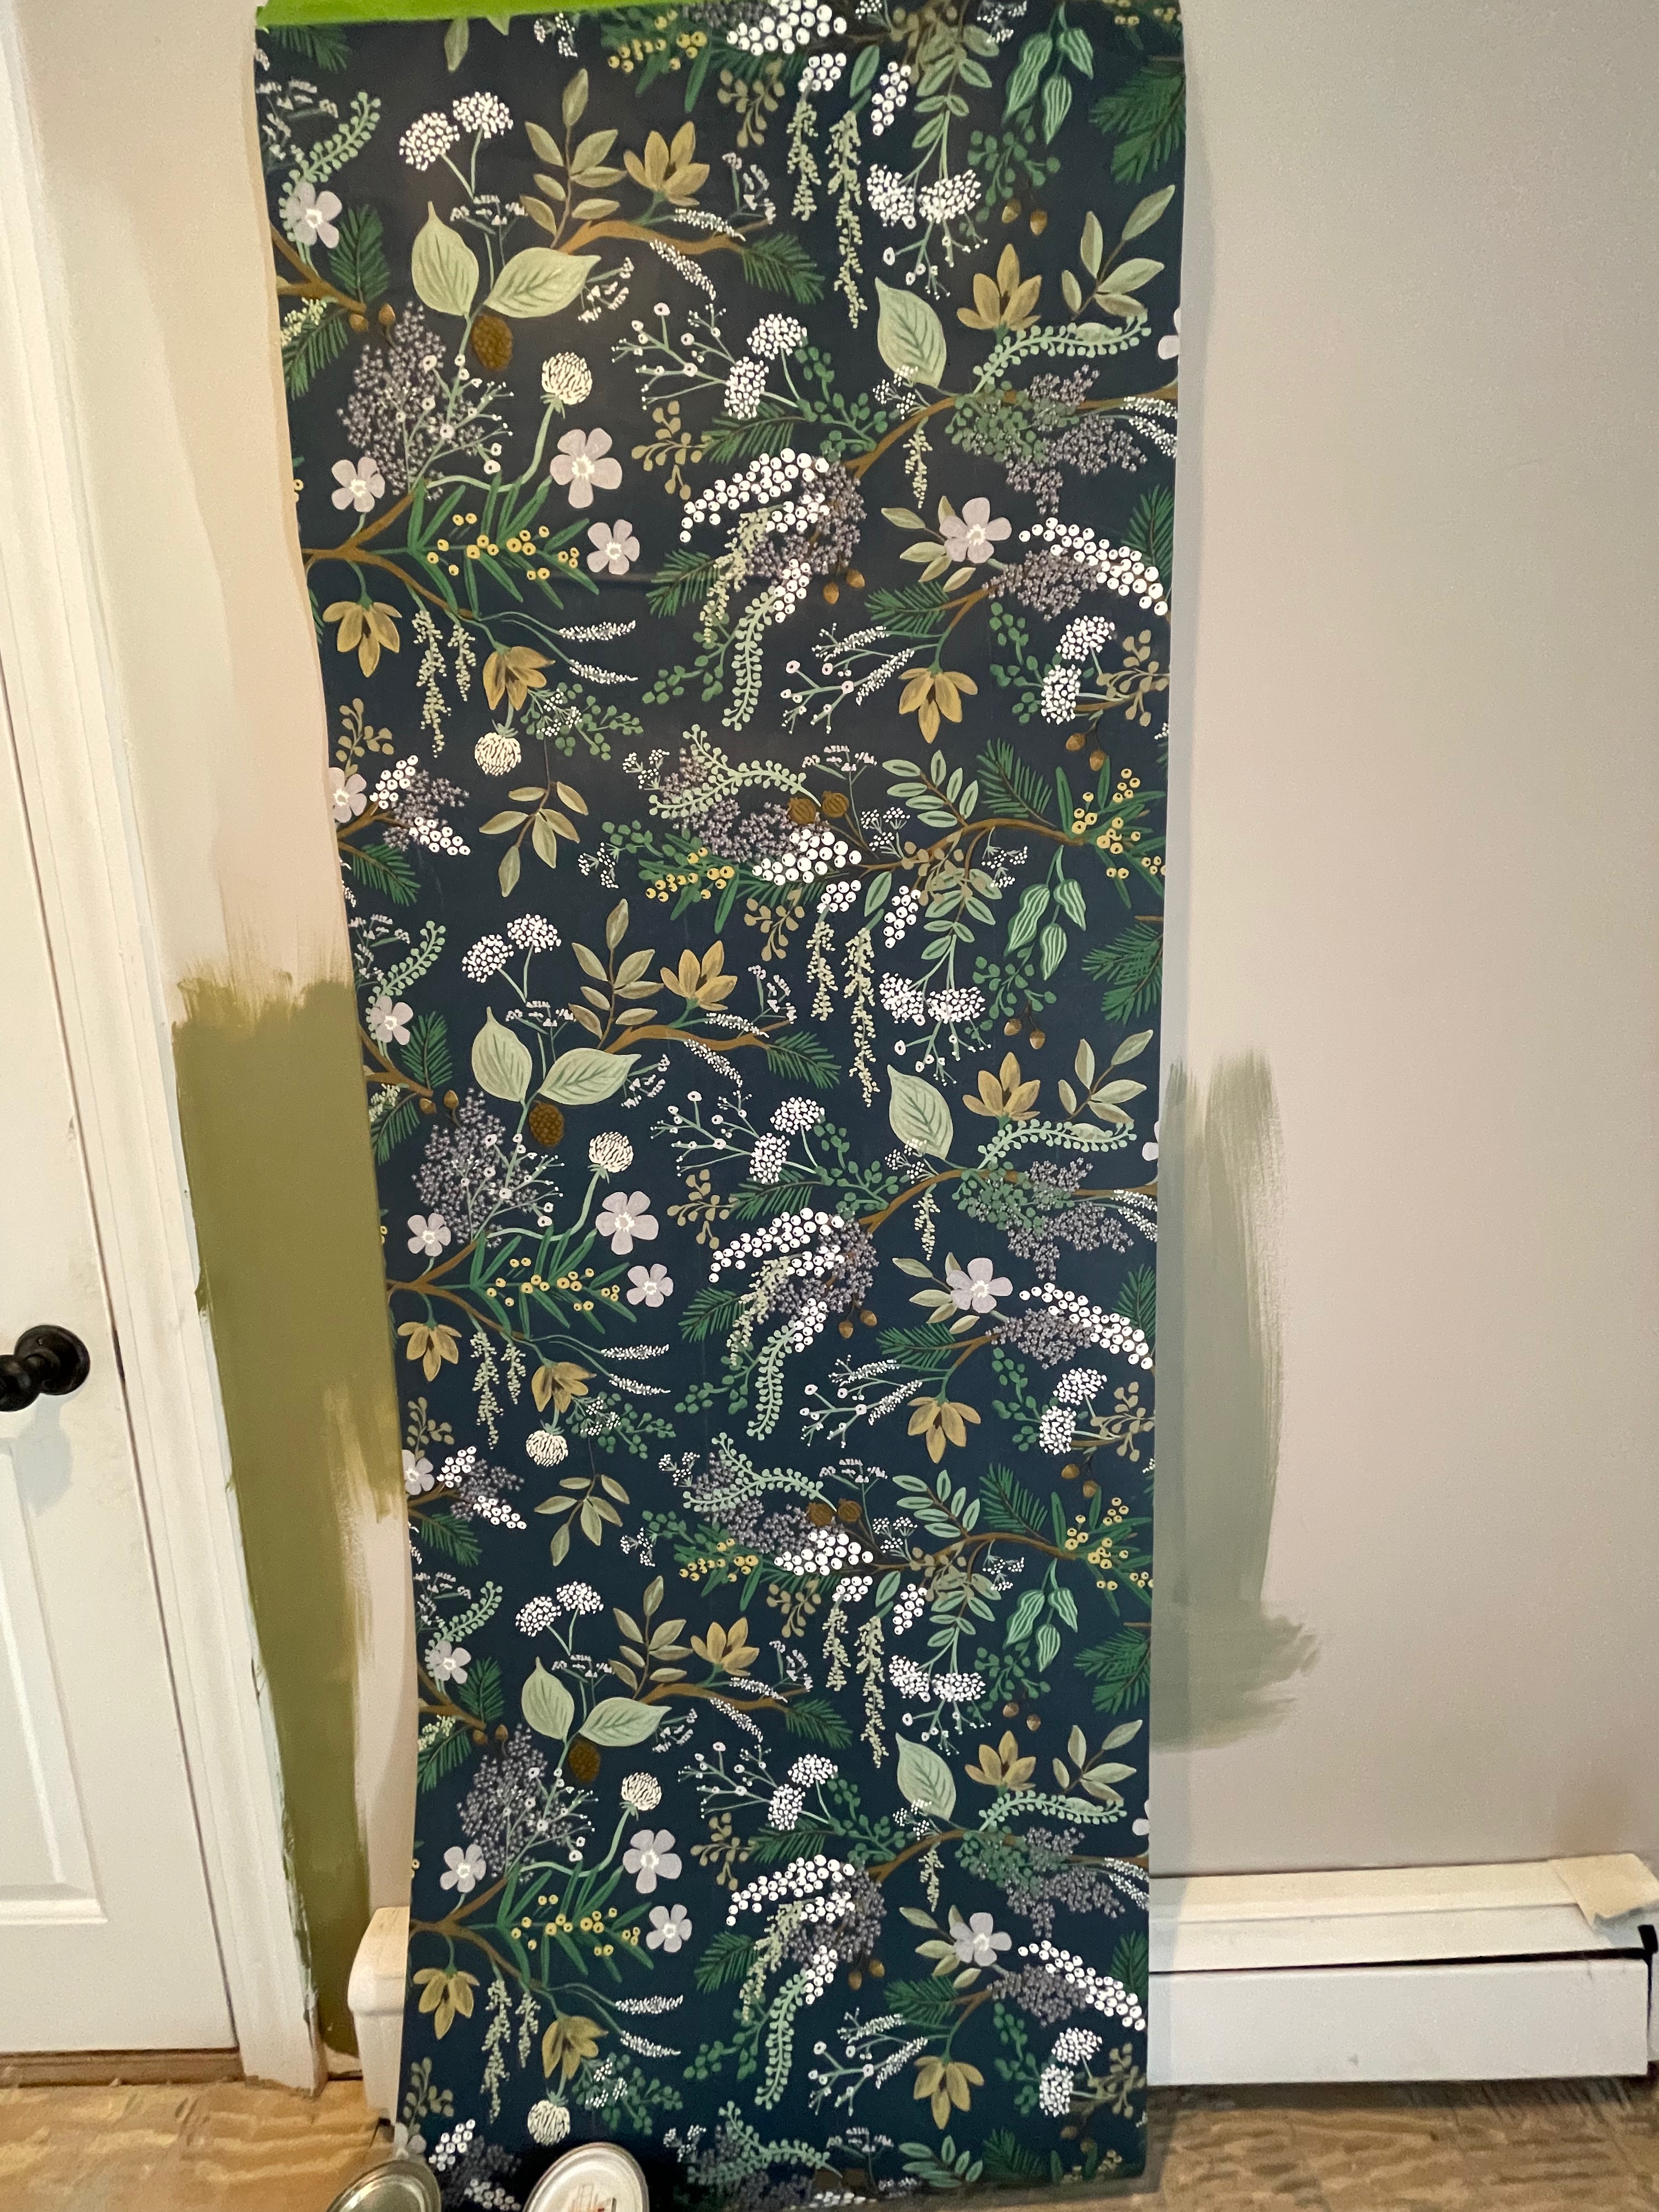
My best tip for applying wallpaper is to make sure you have overlap on the top and the edges. No walls are perfectly straight and square and the last thing you want to do is line it up in the corner just to have a gap develop as you install. Another tip is to draw a level line down your wall to have something to use as a guide as you install. If a mistake is made, just peel back and reposition. Smooth out all the bubbles and make sure everything is lying flat before moving on to the next piece. Then find a place to match up the pattern and then repeat the steps!
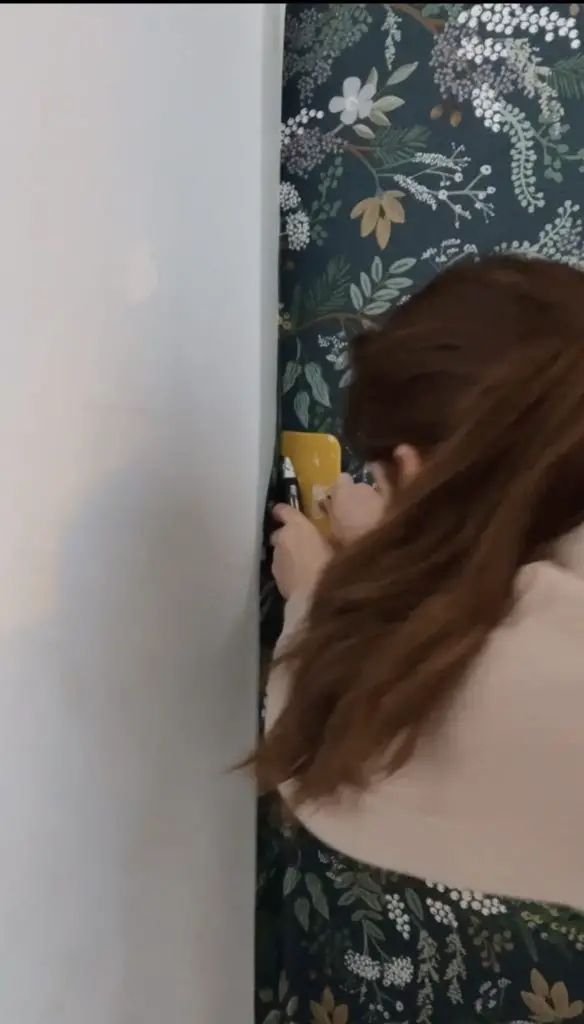
When all pieces are installed, take a sharp blade and a flat edge and trim away all the excess. Now you’ve got nice clean lines all along your edges! I’ll be honest and say, this wallpaper is gorgeous but I don’t know that it has the best adhesive backing. I’ve used lots of peel and stick wallpapers and this is the first one where I’ve had to deal with areas not wanting to stay stuck.
Coming Up!
Next week: I ran into some issues with the bathroom vanity I ordered. It is beautiful and the perfect color…but unfortunately I think it is too deep! I might cry. So now I’m on the hunt for a new vanity and am having lots of trouble finding something I like in the correct dimensions. So…..I may end up building one. It wasn’t in my plan and I’m nervous about taking that on, but I think that is probably the right choice. So stay tuned to see what I decide! AND I’m hoping to get started on tiling! I’d love to get the floor going ASAP!
Make sure to follow Jeffrey Court blog and on IG for regular updates on the contest. And follow me over on IG as I work through all of these projects behind the scenes. If you missed week 1, make sure to go back and see where we started!