Fun DIY Lego Table- Ikea Trofast Hack
Got a lego problem?! I’ll solve it! Hah, just kidding. But I can improve it! Check out my IKEA hack lego table below for a great solution to the always ongoing lego storage issue.
Disclaimer: In the name of full transparency, please be aware that this blog post may contain affiliate links and any purchases made through such links will result in a small commission for me (at no extra cost for you). As an Amazon and Home Depot Associate I earn from qualifying purchases.
Supplies:
- IKEA Trofast Unit with storage bin
- 2×6 boards
- Primer
- Sherwin Williams Iron Ore
- General Finishes Java Gel Stain
- Wood Conditioner
- Varathane English Chestnut Stain
- Varathane Water Based Satin Polyurethane
- Support Bracket
- Heavy Duty Wall Anchors
- Peel and Stick Star Wars Wallpaper
OK. I’m tired of legos being everywhere on the floor. I’m guessing you are too, or you wouldn’t be here. Is this IKEA trofast lego building table the perfect solution to your lego troubles? Nope. I think the only way to solve that permanently is to get rid of your legos…or your kids. But this DIY lego table does help with the issue for sure!
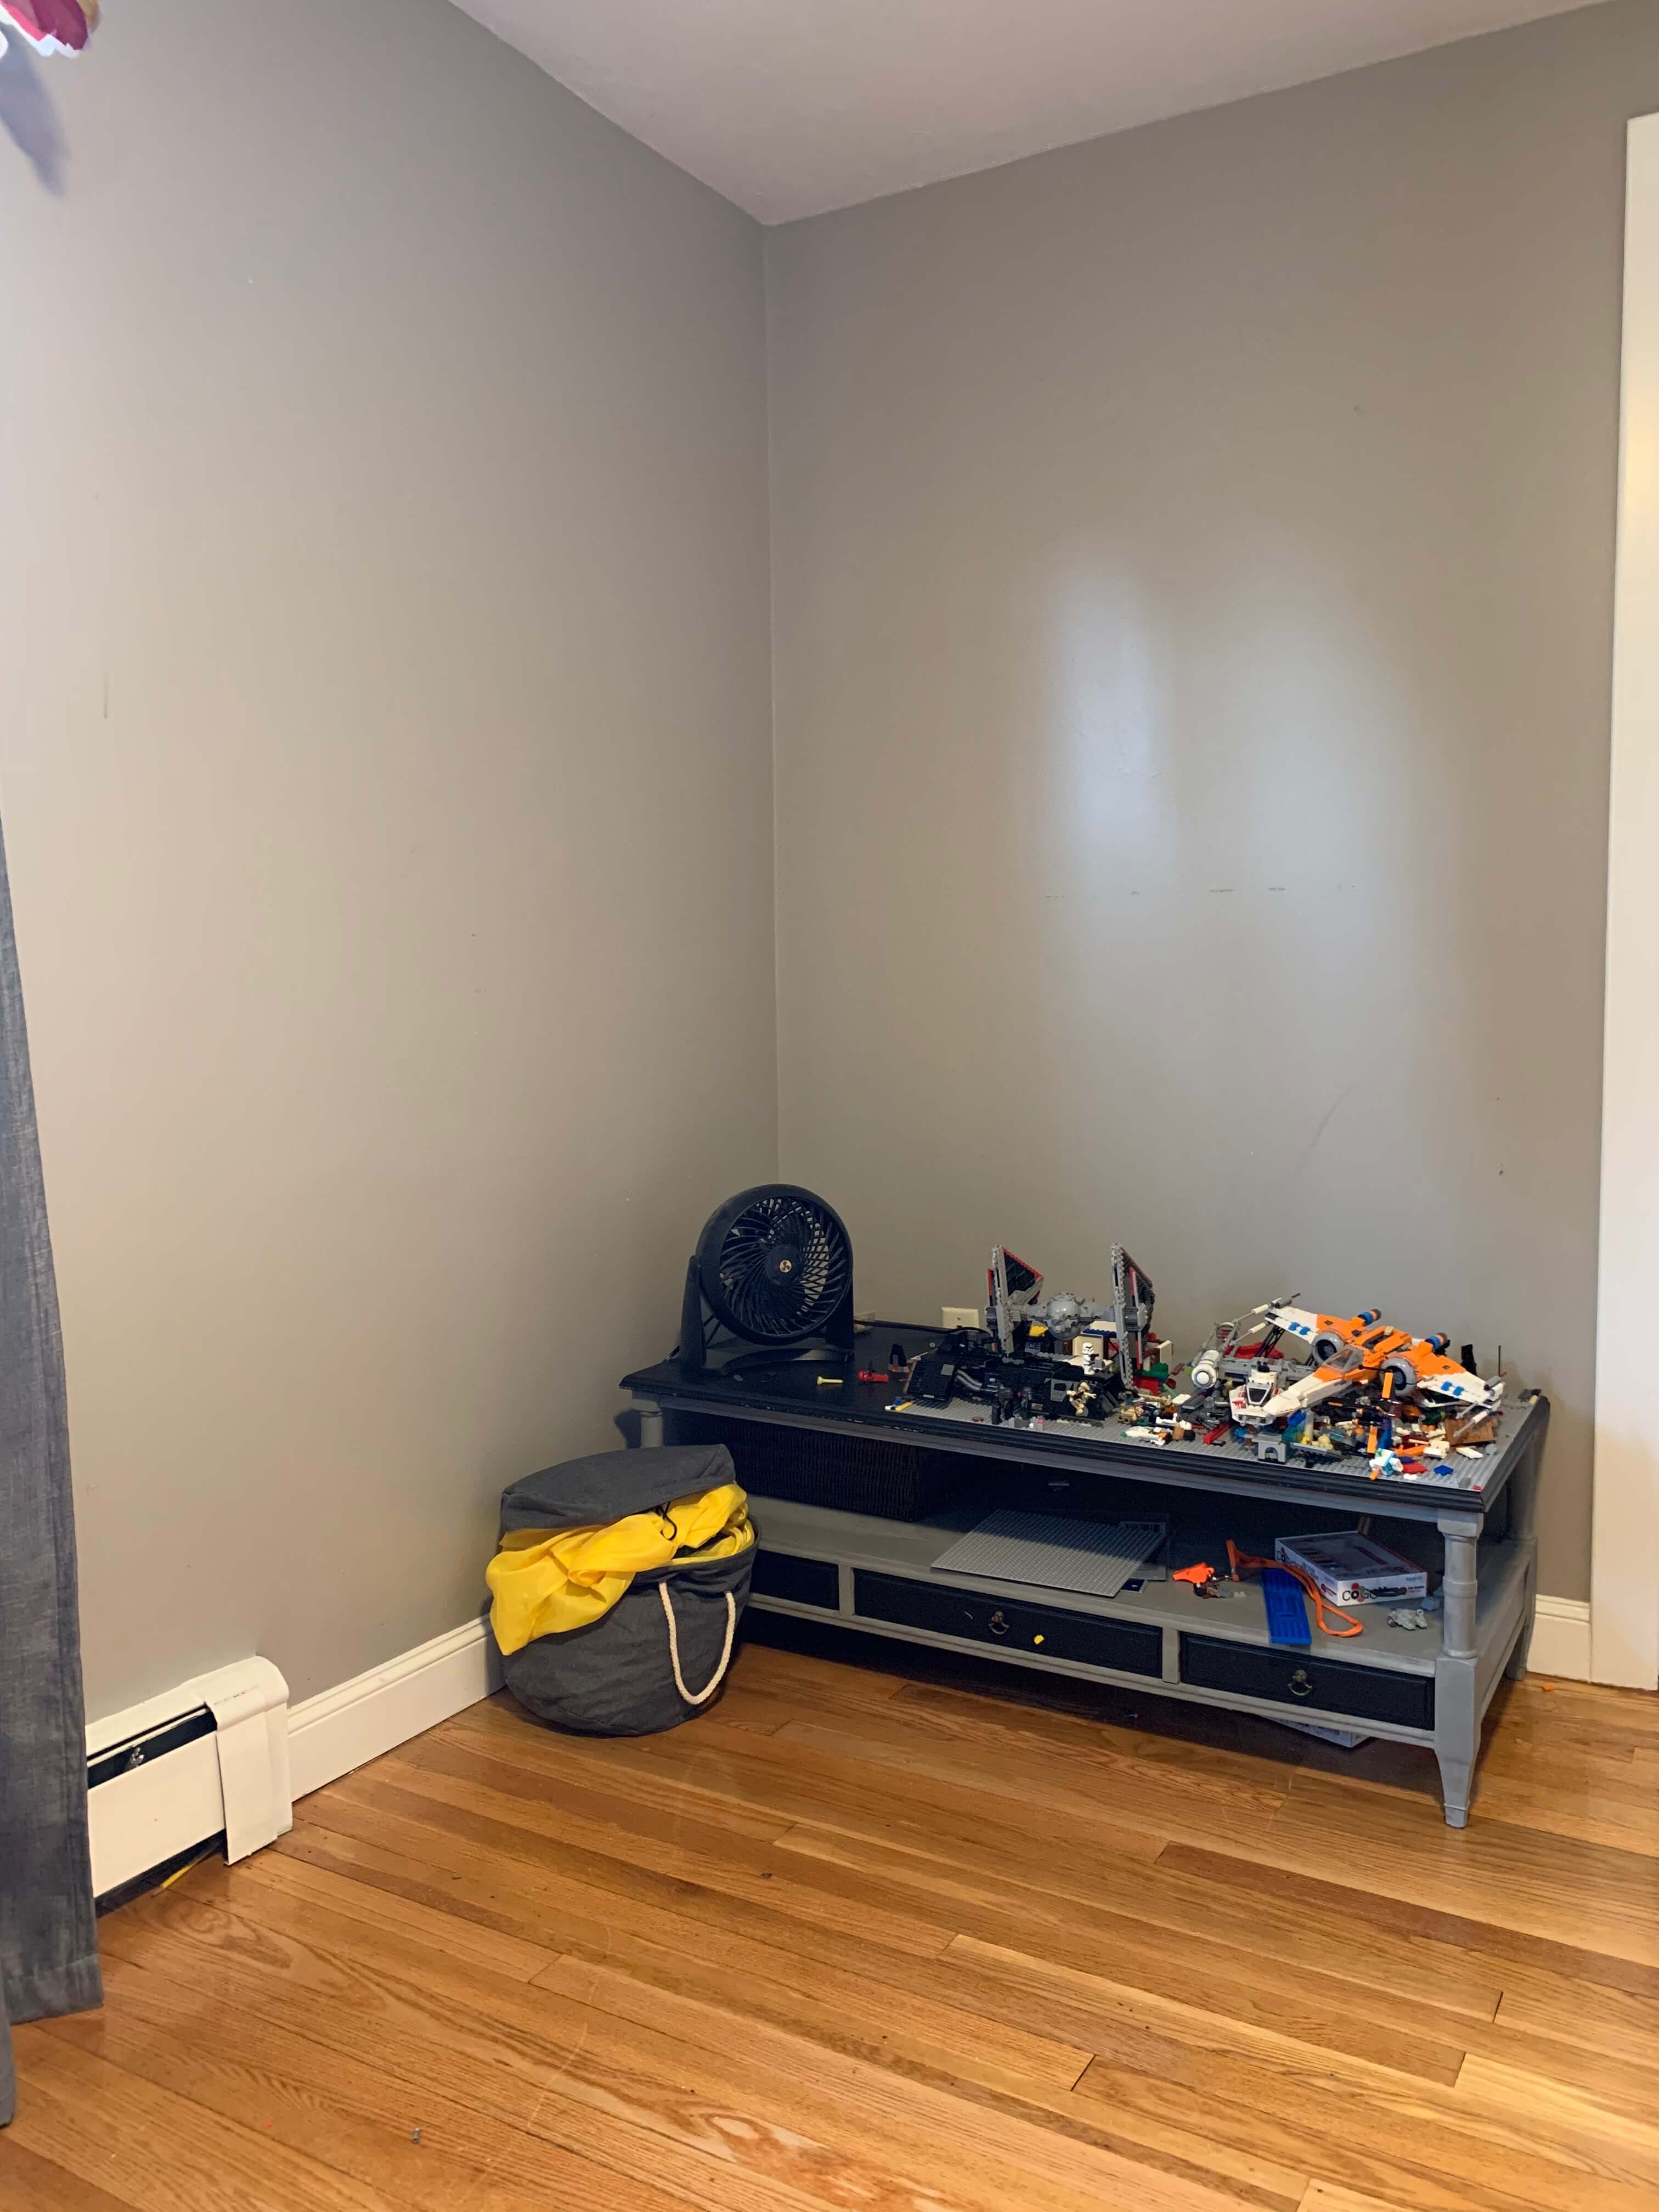
Before- Used an old coffee table 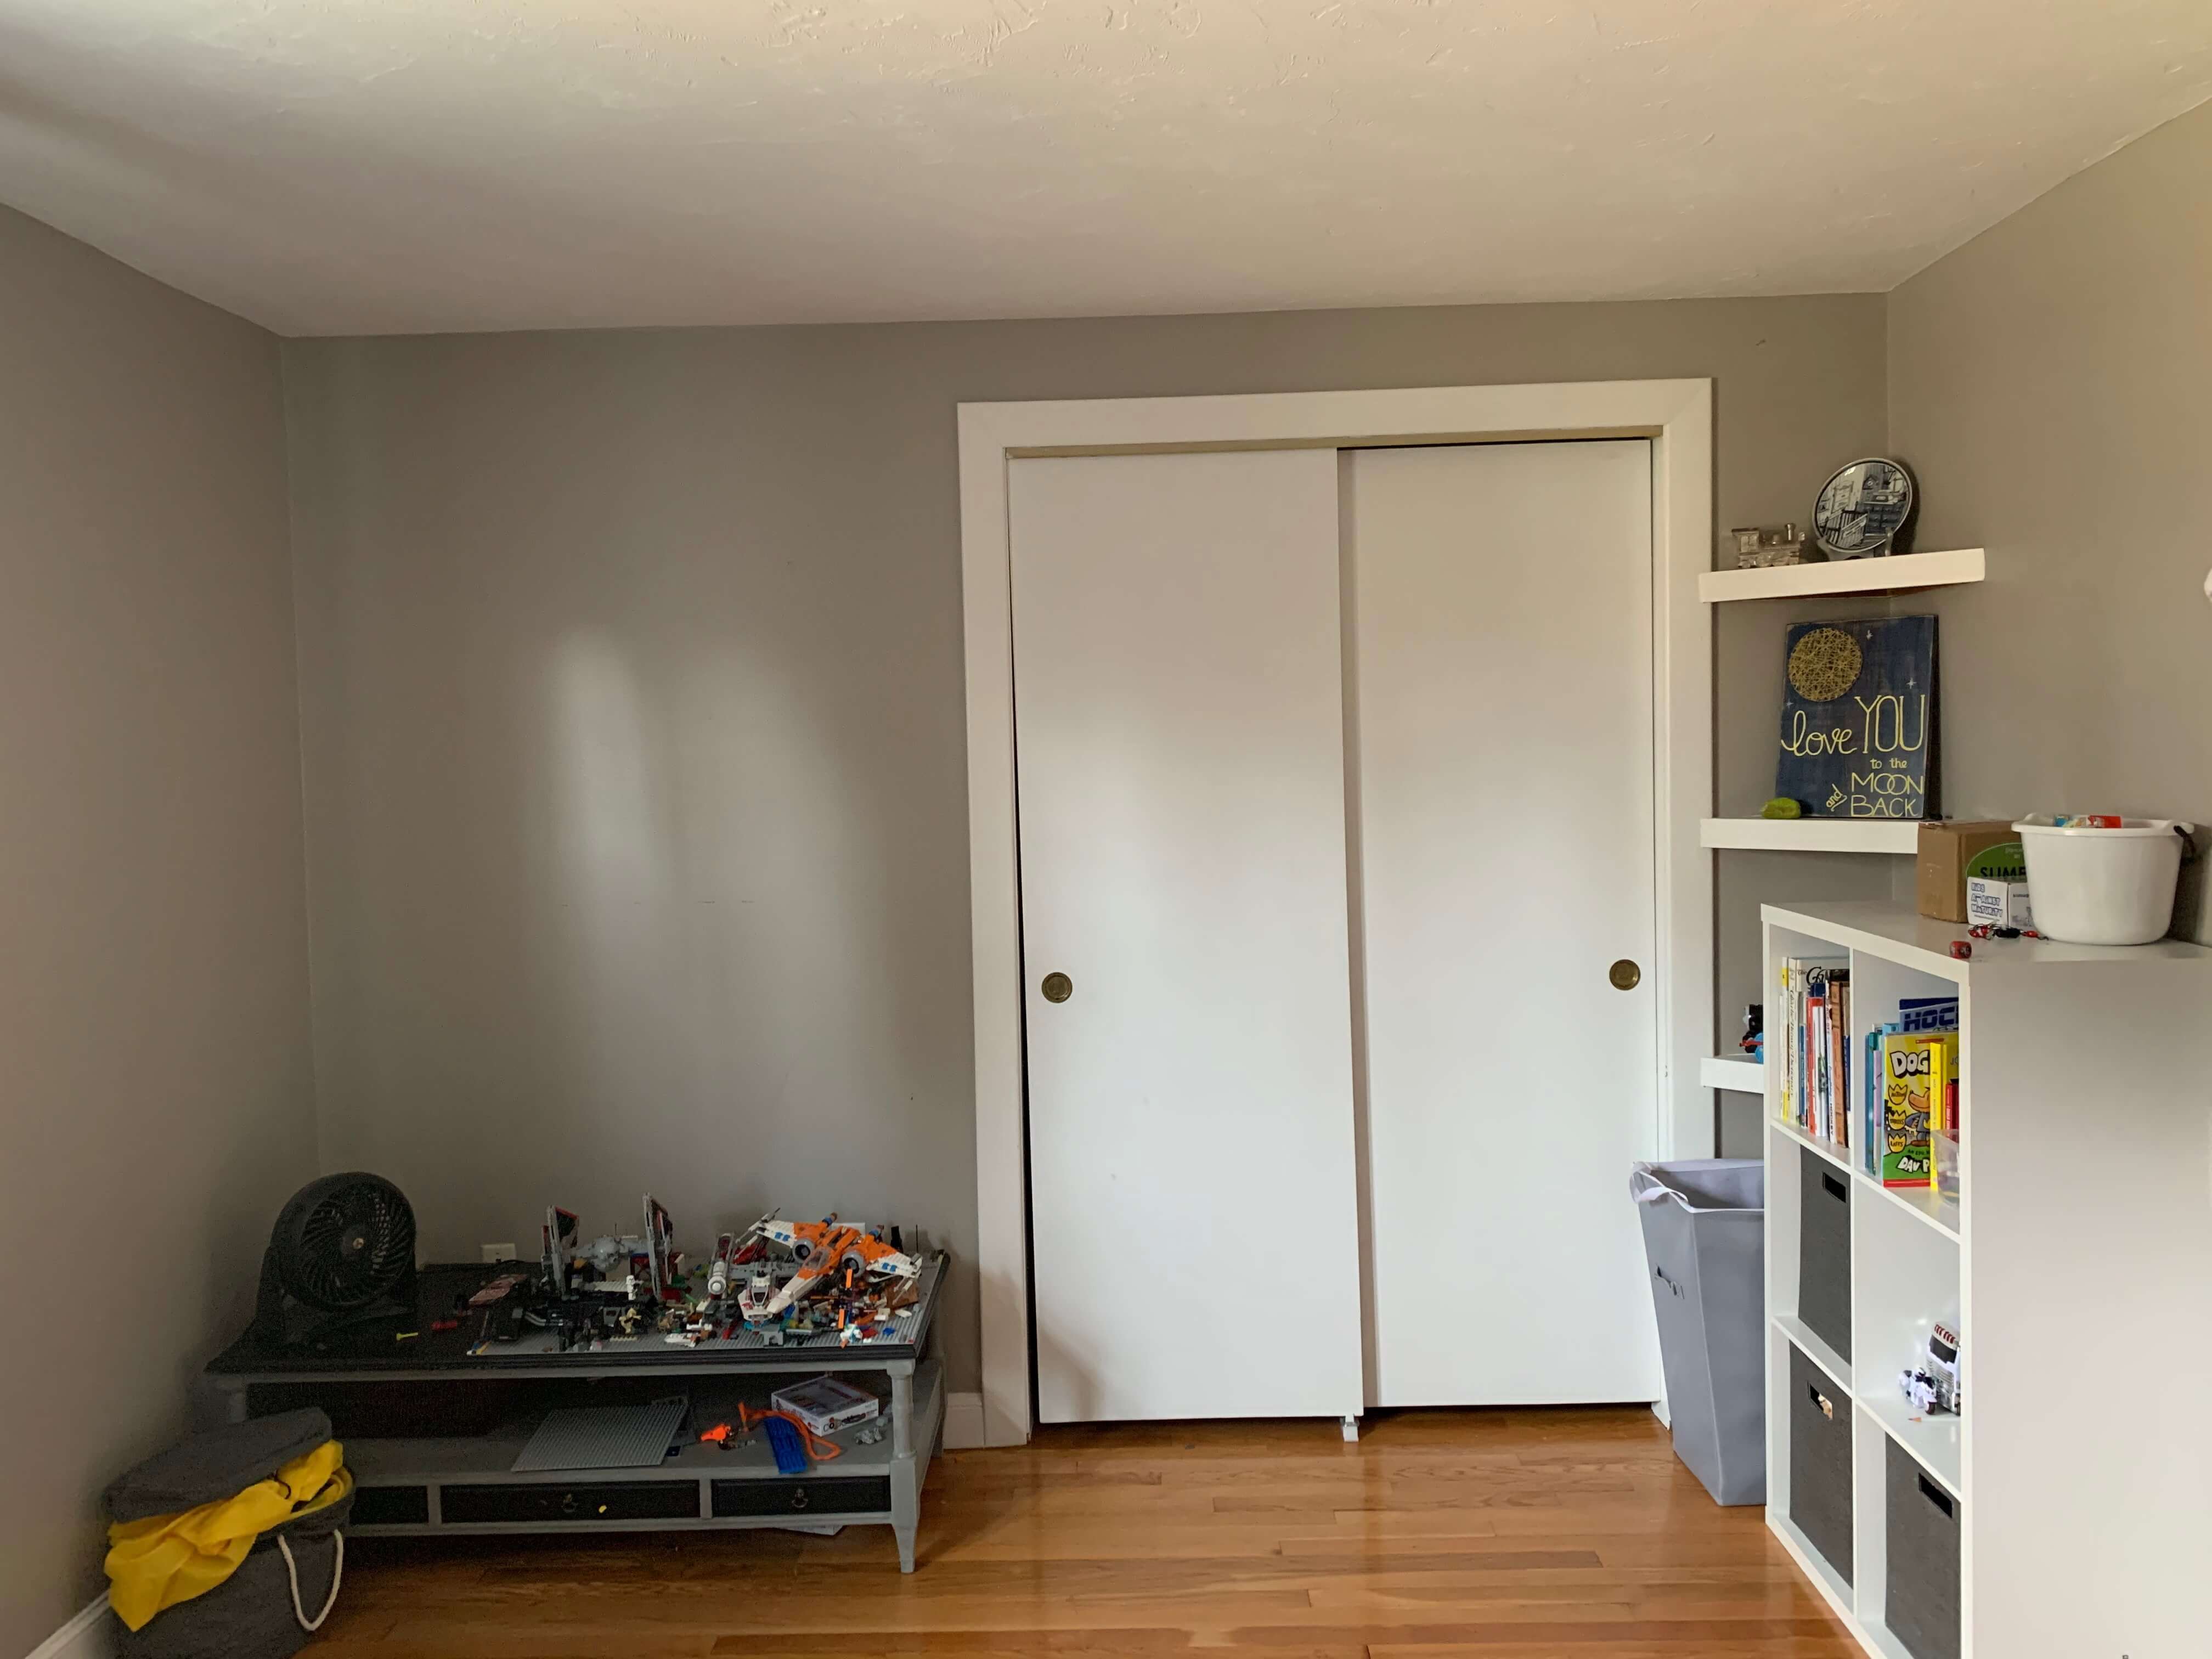
Before- boring.
Step 1: Buy an IKEA Trofast Unit
I purchased this unit with 9 storage buckets. In all honestly, I purchased this particular unit because I thought it was raw wood that could be stained. Unfortunately it is not. It is a raw appearing wood that has been sealed. But it is more solid wood than the other trofast versions…so do with that what you will.
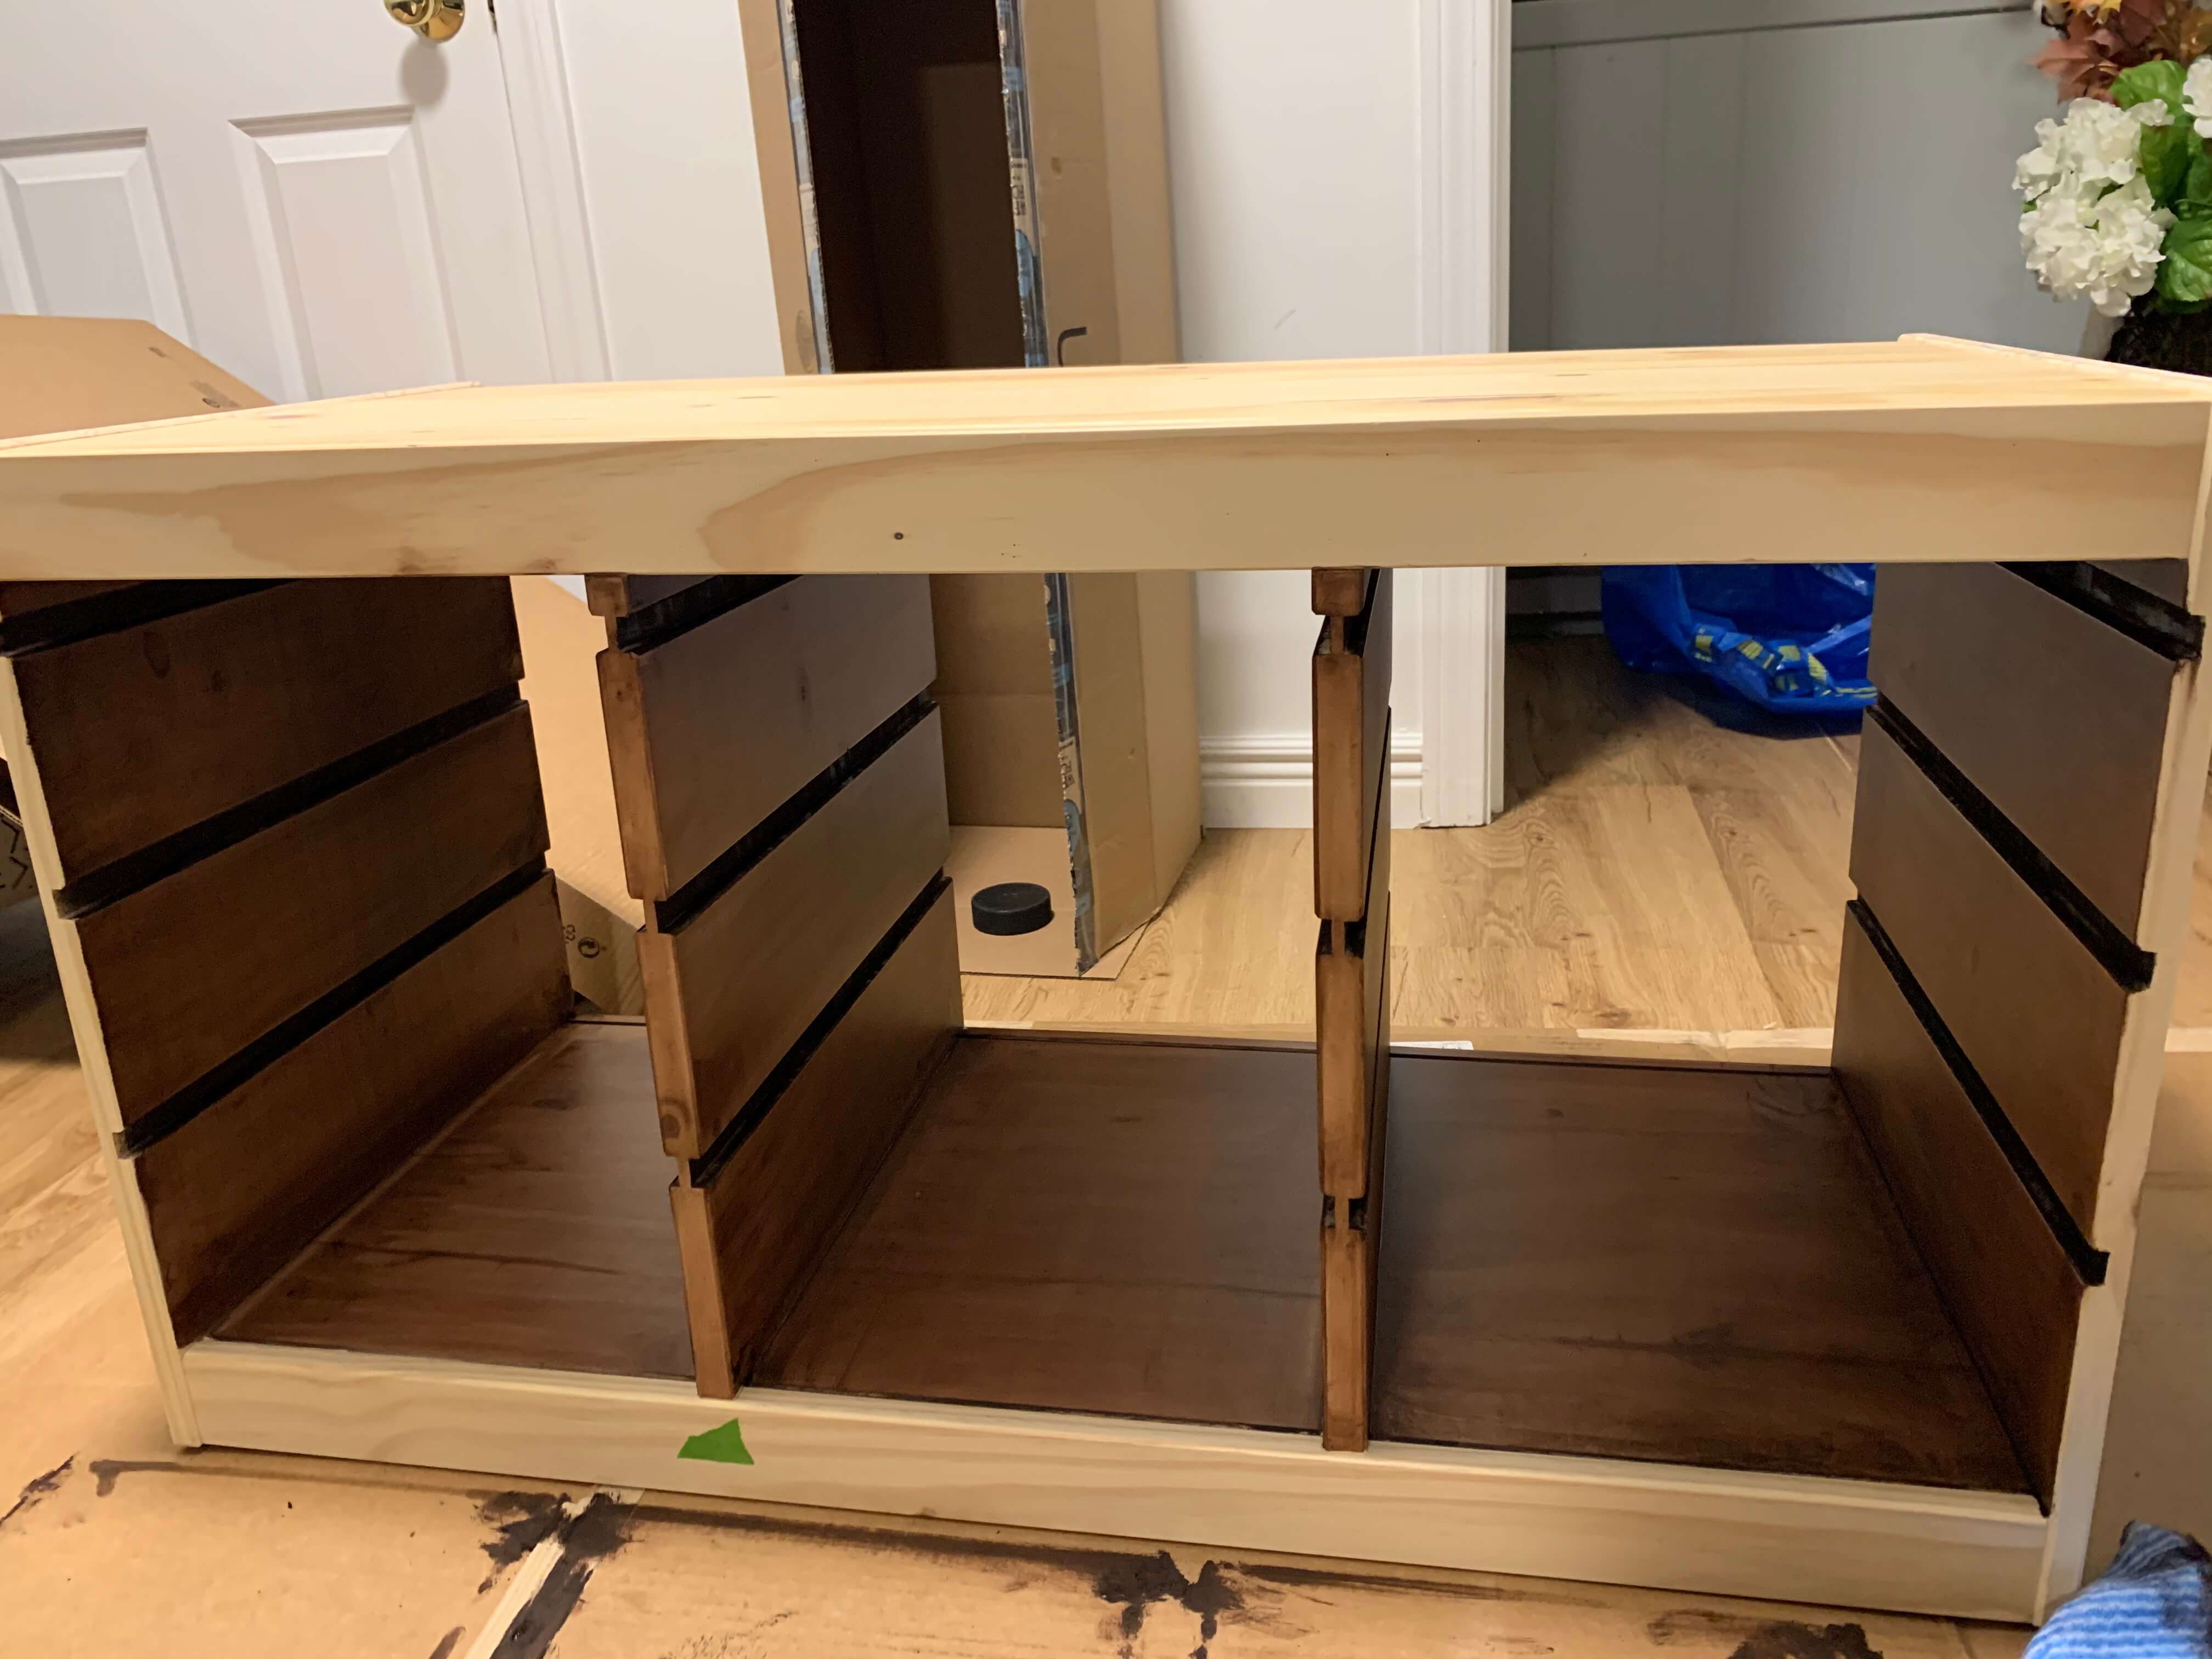
Step 2: Finish the Trofast Unit
If you like the raw look or the white version, by all means leave it! I wanted a two toned stained/painted look for this space. That look was achieved by applying one coat of General Finishes Java gel stain to the inside. Start by doing a light sanding all over just to rough up the surface. Then wipe on the gel stain trying to finish by wiping in one direction for a uniform appearance. If you’ve never used a gel stain before, your mind is going to explode! It works differently than traditional stain and, if the surface is not bare wood, will work when applied on top like a thin coat of paint. It is pretty cool.
For the outside, again lightly sand first, prime , paint two coats of your desired color (I used Sherwin Williams Iron Ore), and seal with a water based polyurethane.
Step 3: Build the Desktop
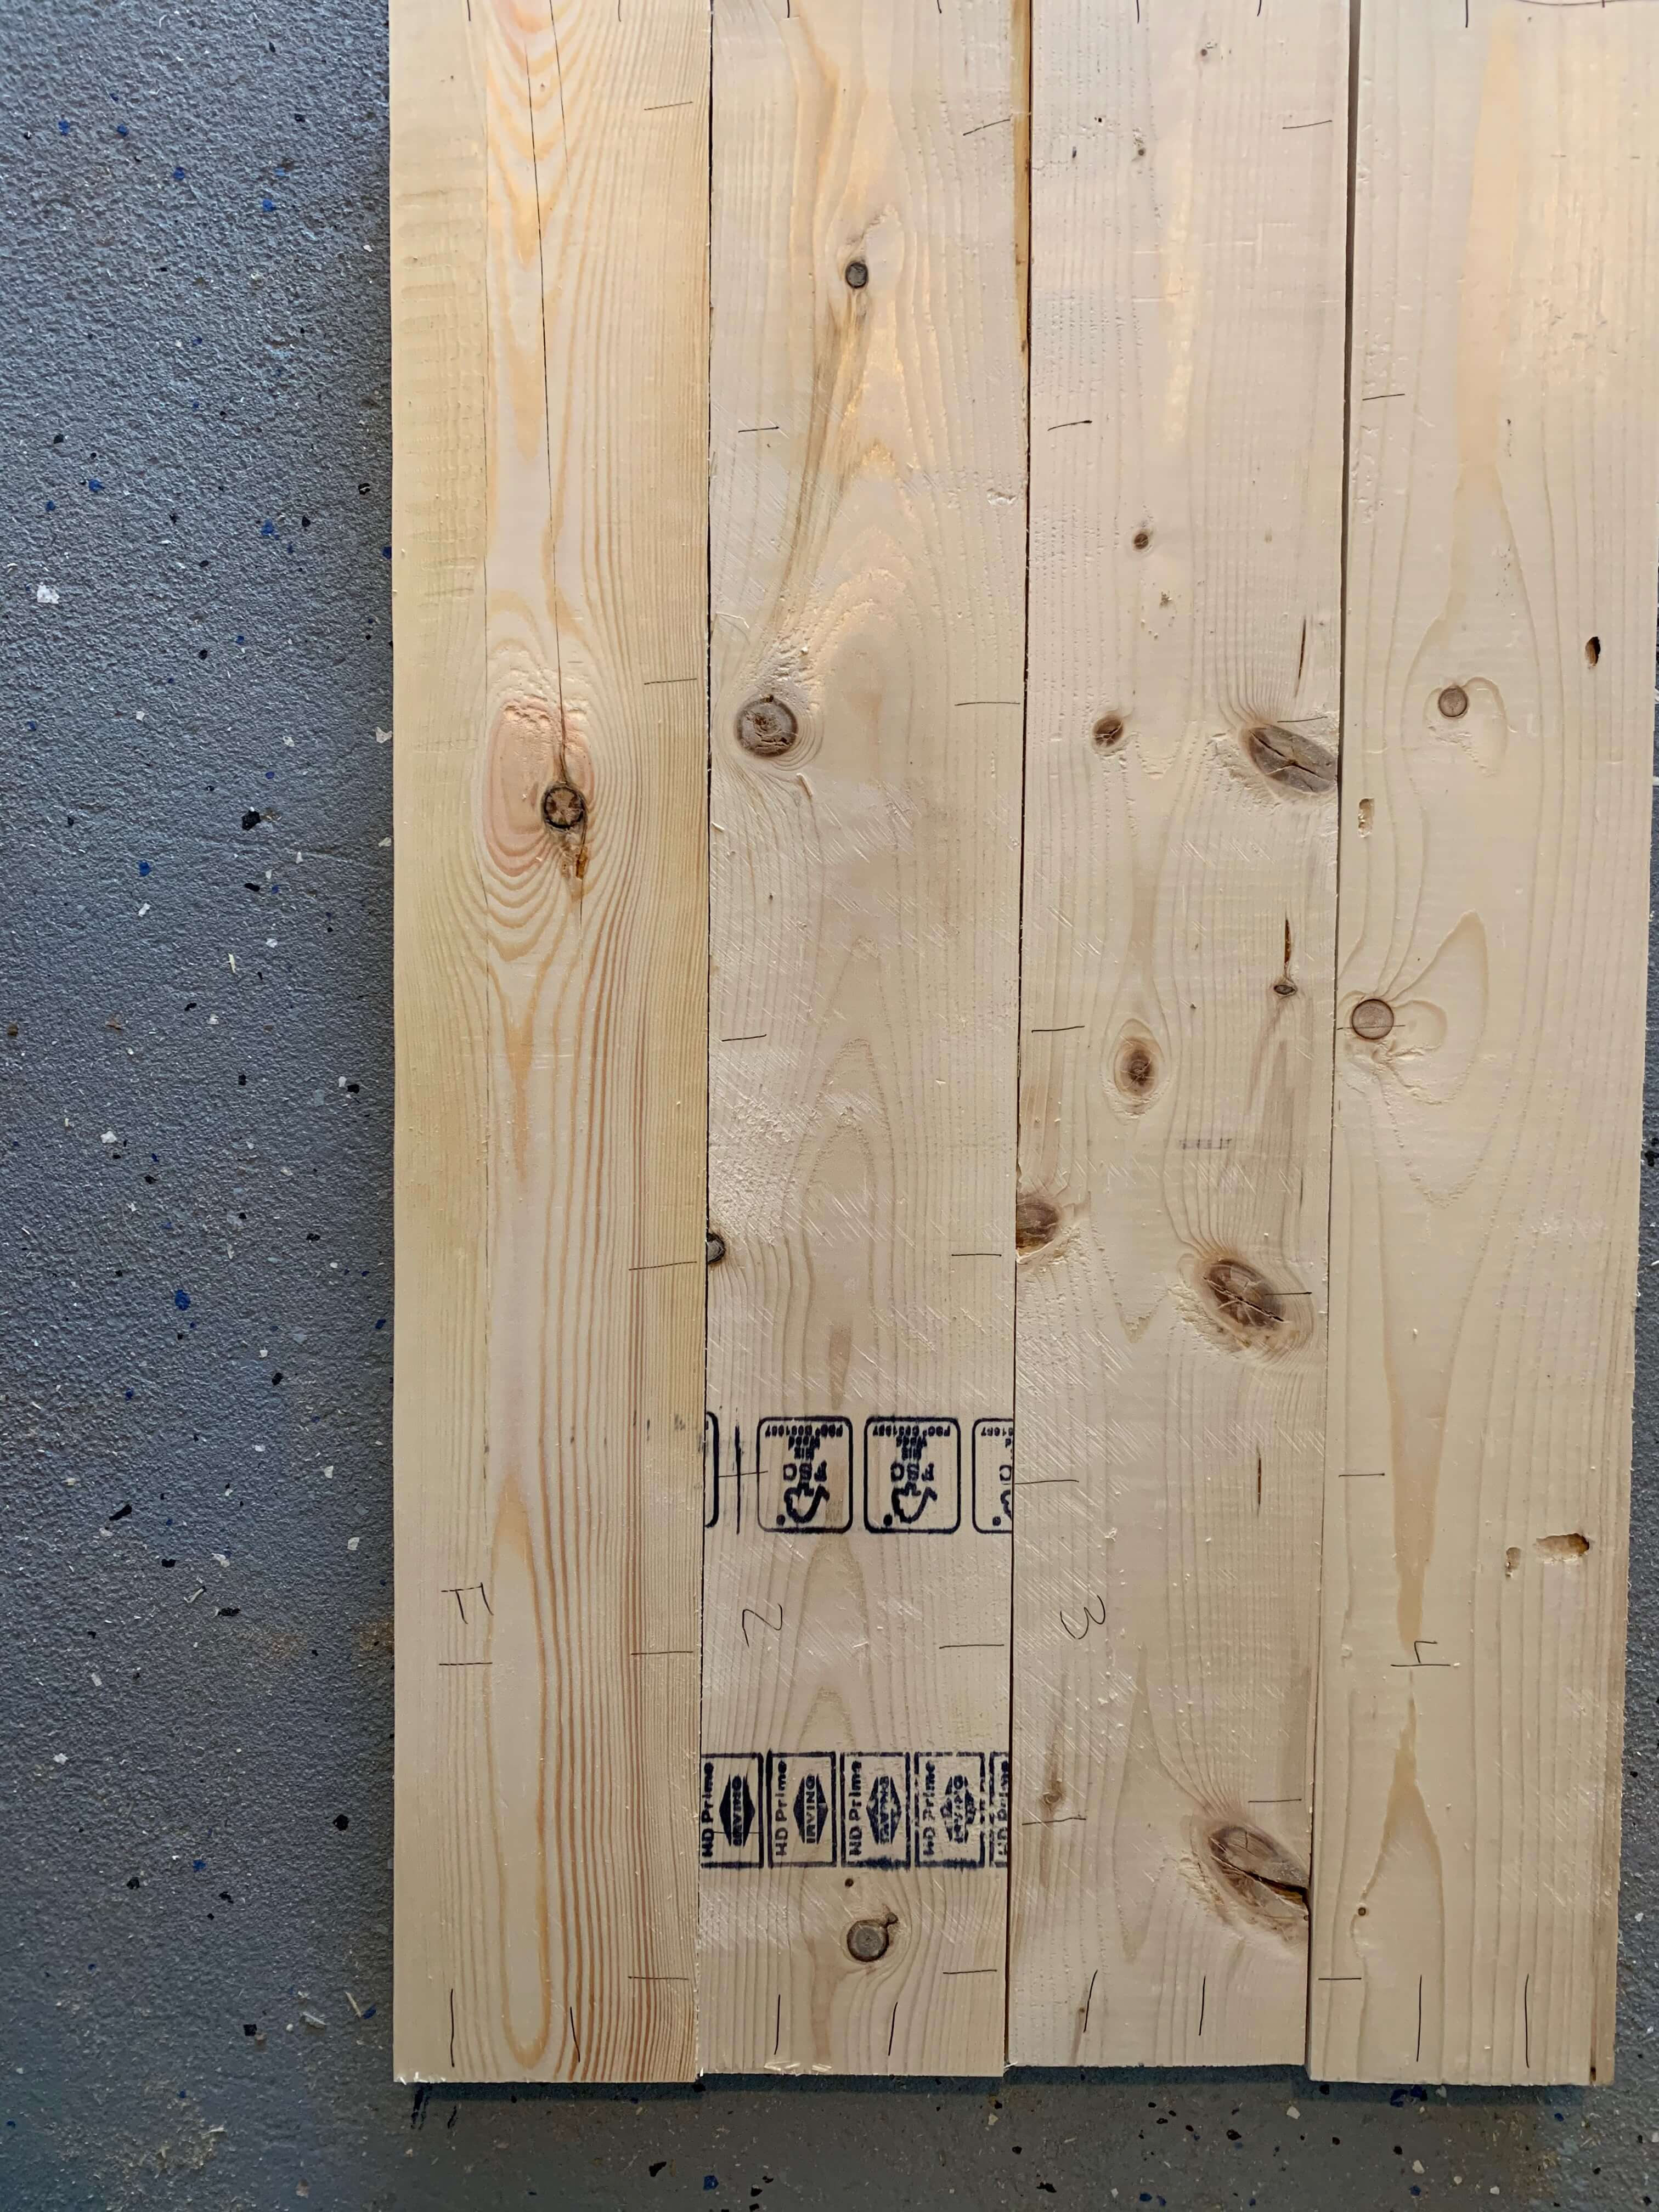
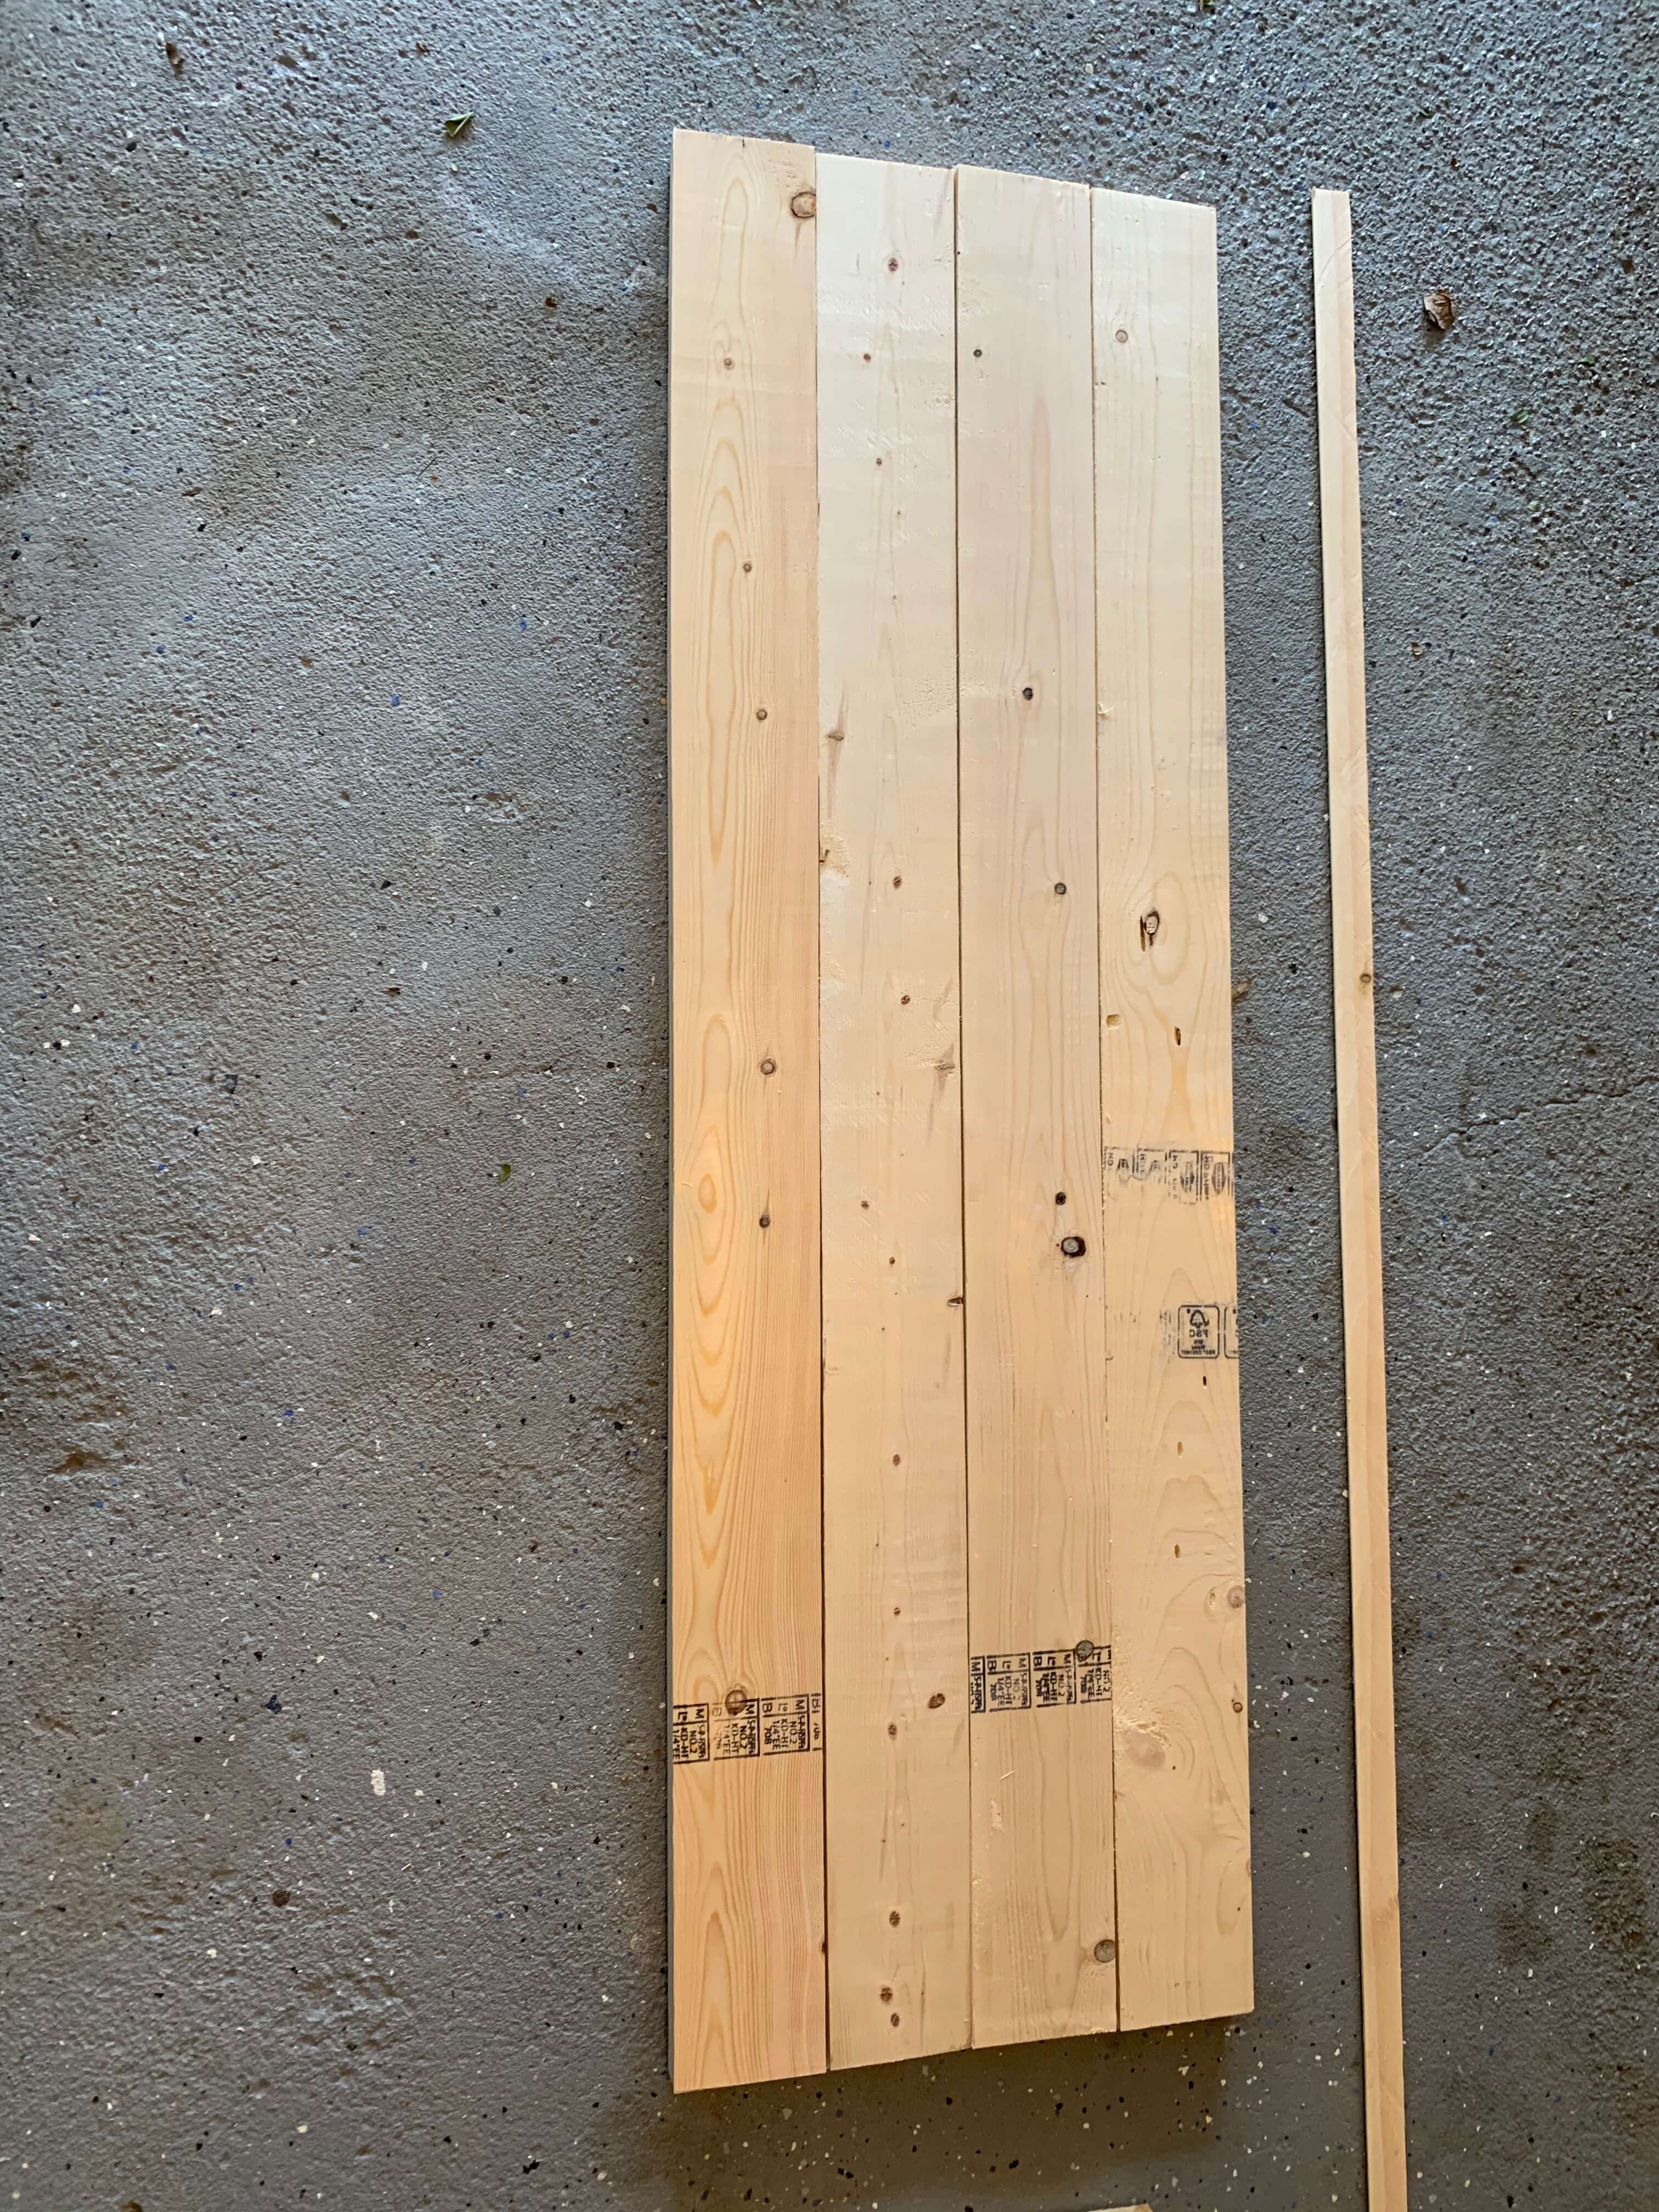
Start by ripping the rounded edges off of 2×6 boards to create boards with square/flat edges. Determine how long and wide you want your desktop. Mine is 4 boards wide and I chose an L shaped top (meaning I made one long side and one short side and then attached them).
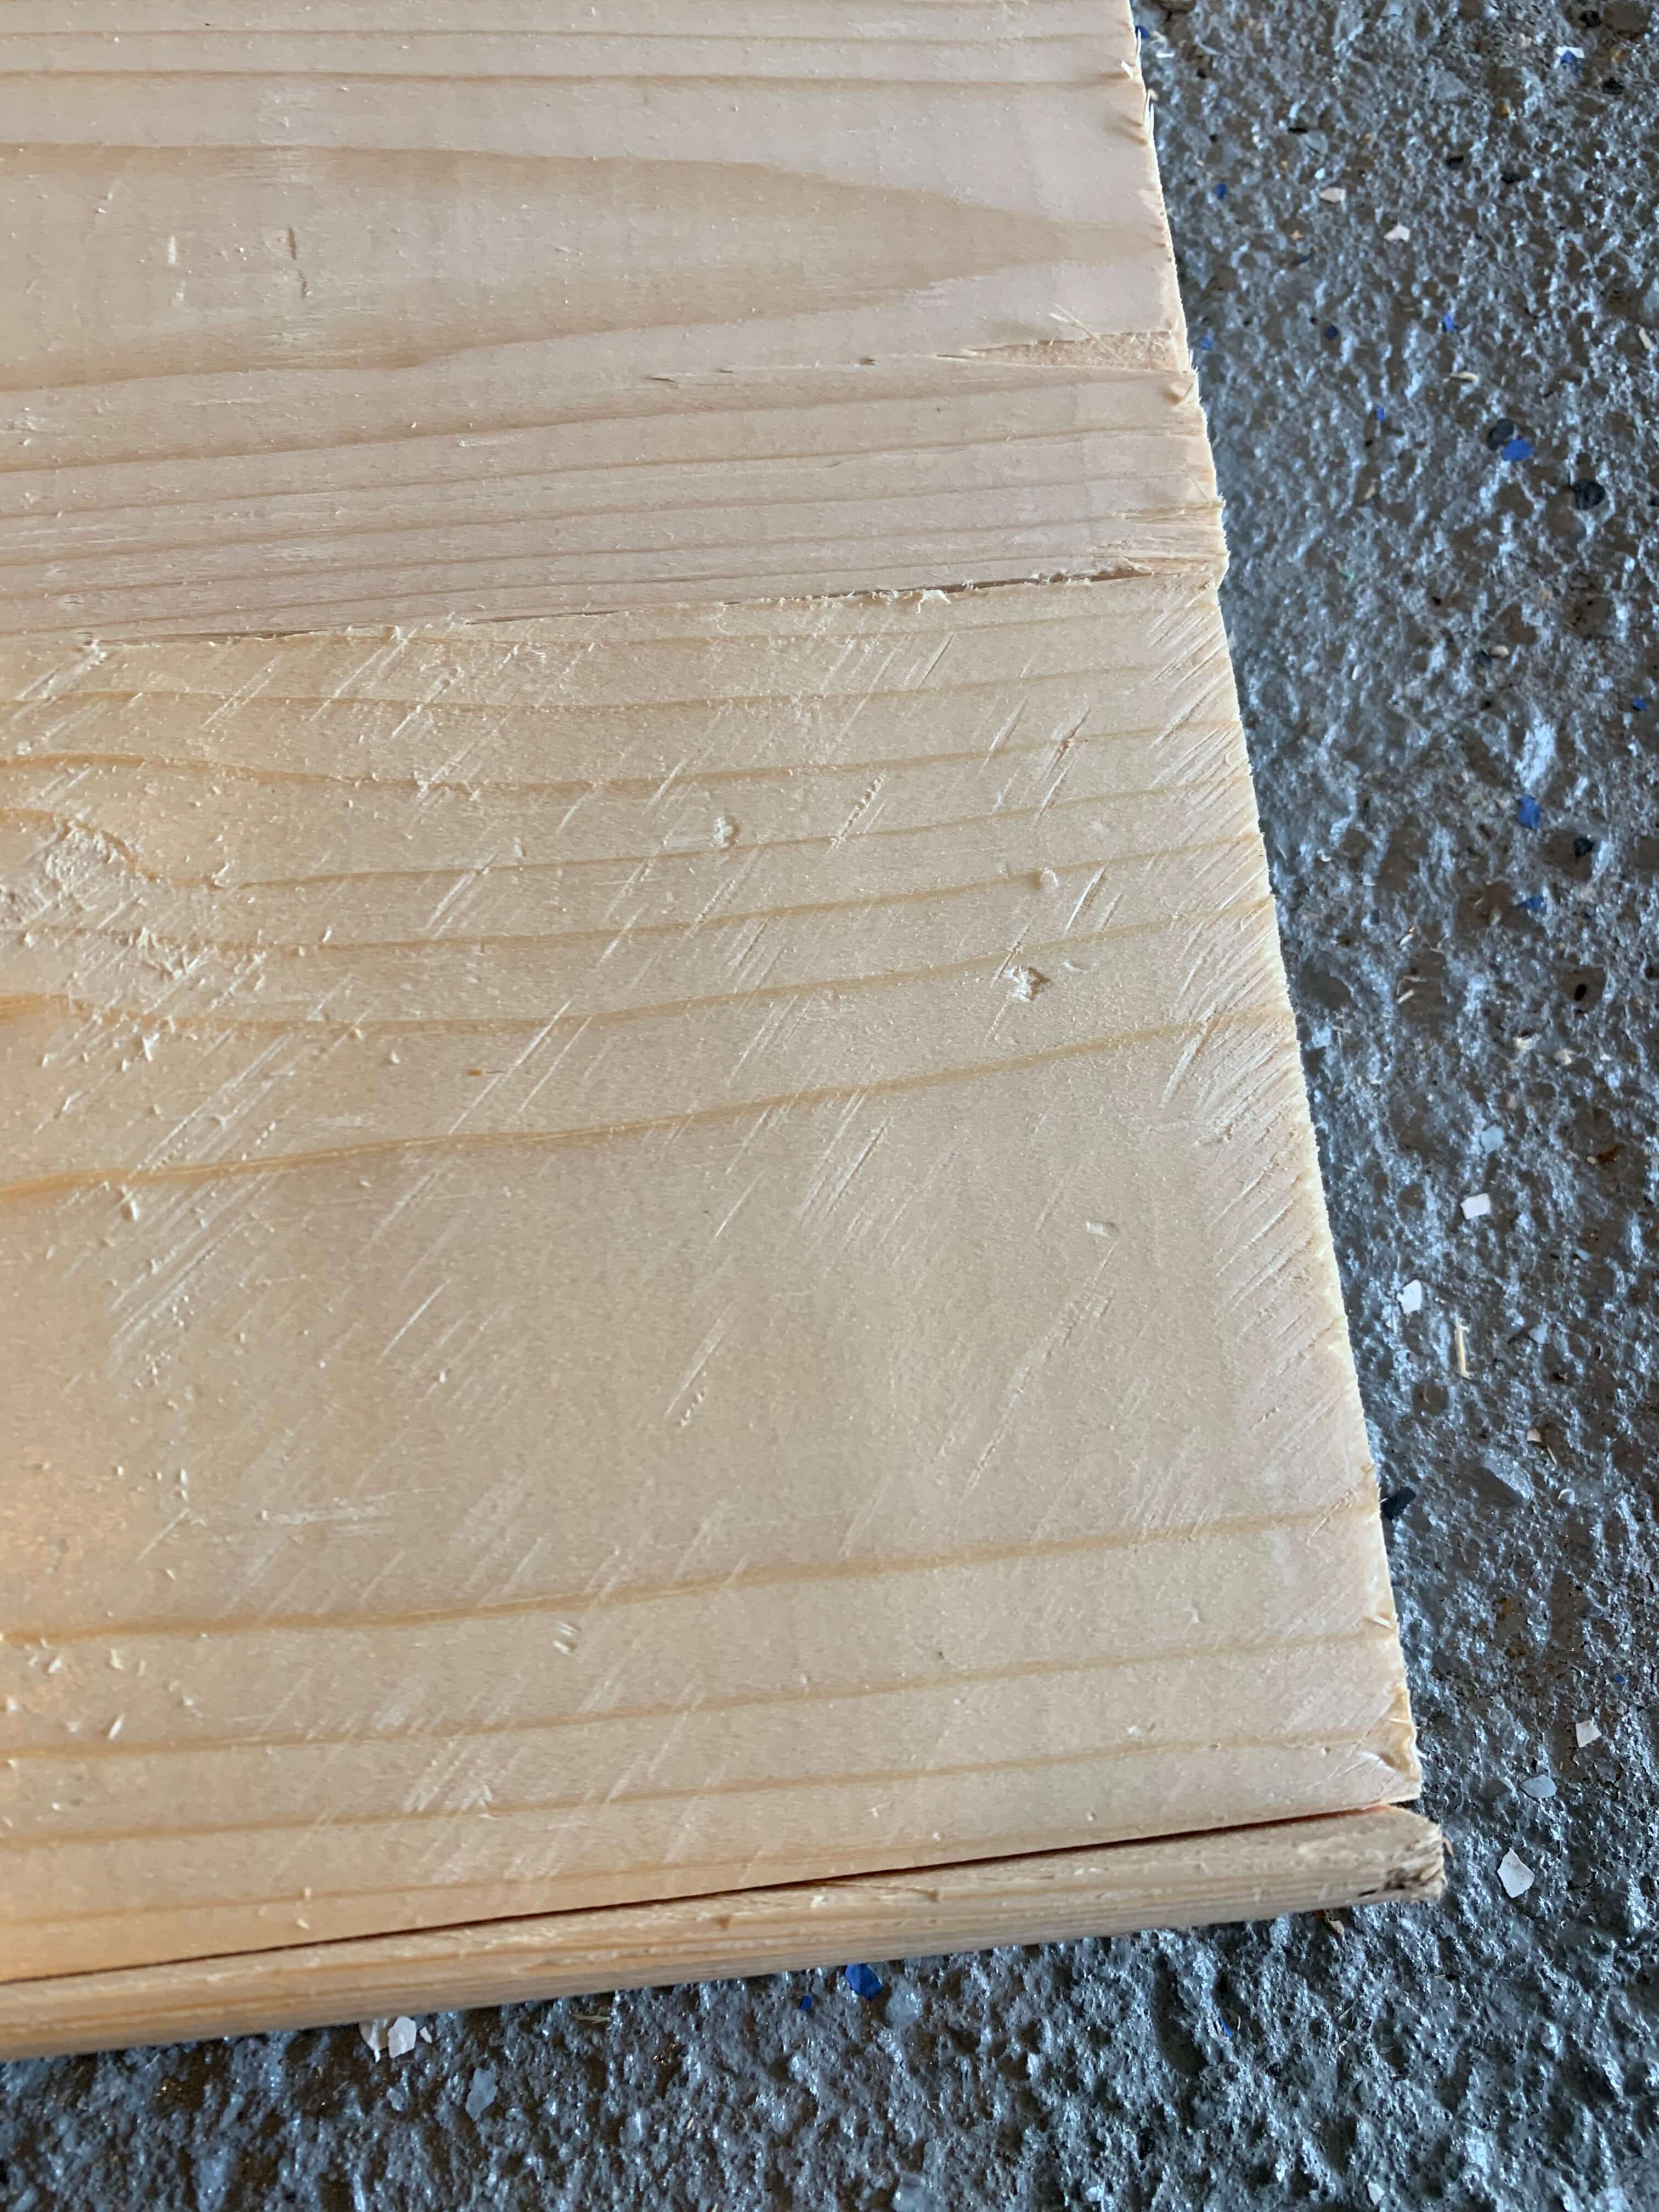
Next, set up to do more pocket holes than you’ve done in your life. You’ll want to stagger them so the desktop is nice and supported. I like to first determine my layout (yes, some boards look better next to others and you should look at them all first to decide). Then turn them over, in the same order, and mark out with a pencil where you want to put the pocket holes. Drill your life away. The glue, clamp, and attach with pocket hole screws.
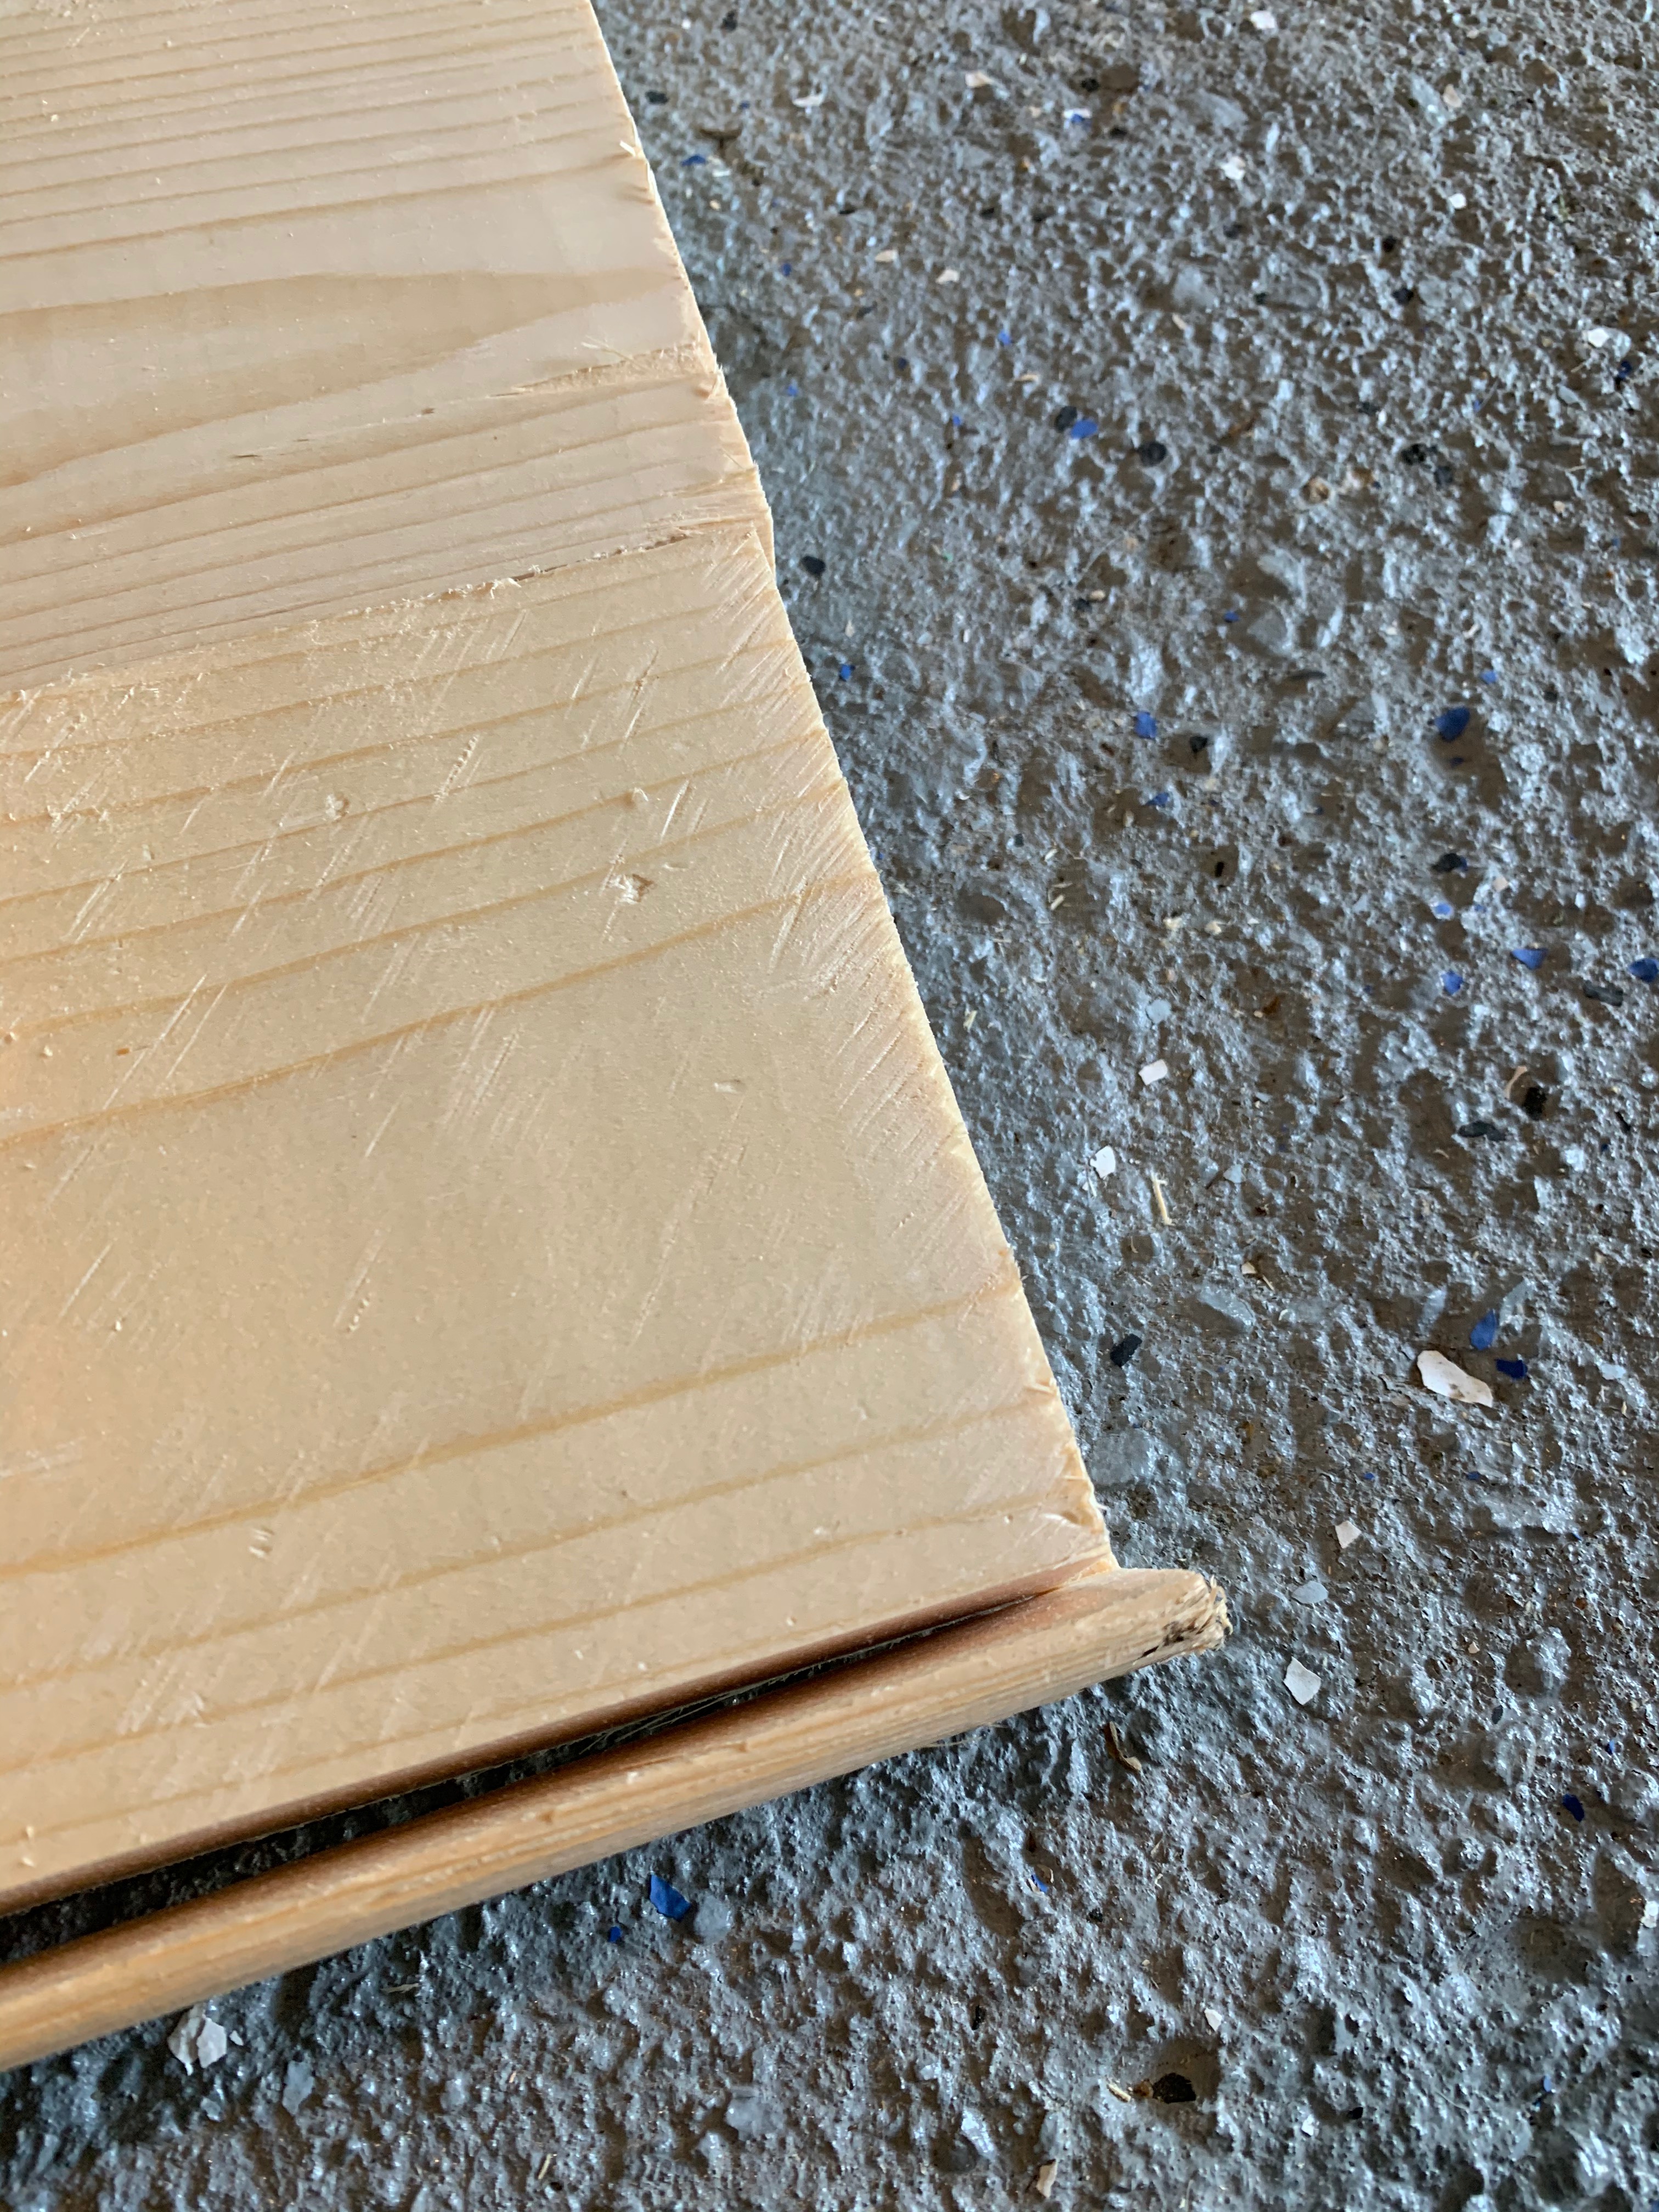
After the desktop is assembled and dried, it is time to sand. Although I spend a lot of time trying to make sure the boards are flush, I’m never 100% successful. So you have to spend a decent amount of time sanding to get a nice smooth finish. If you have a planer, use it. I have a hand planer which helps but doesn’t take off a ton of material so I still spend a lot of time sanding. Start with a low grit, like 60 or 80, then gradually work your way to a finer grit like 220.
Once the top is nice and smooth, it is time to finish it! I used a prestain wood conditioner to make sure the stain takes evenly. Then do 1-2 coats of your desired stain. I used varathane english chestnut for this piece. Lastly, finish with a water based polyurethane. I recommend applying several coats because a desktop gets a lot of action.

Step 4: Assemble the Lego Play Table
Ok, you have options here. I chose to mount my IKEA trofast hack to the wall in which case you want to make sure you go through the back support pieces and directly into the studs…or use some heavy duty wall anchors like I used. You could also choose to buy furniture legs and attach those to the bottom of the unit for height, or leave it at the original height for more of a children’s table vibe.
For the desktop, I made the areas not supported by the trofast unit to be floating. In order to do this, I added 2x4s drilled into the studs for back wall support. Once the long desk was attached, the short side was added and secured to the long side with pocket hole screws. A large L bracket was used on the far outer side of the desktop and a couple smaller added along the back just to secure it all together (from the bottom rather than the top so the screws don’t show.

Step 5: Sort your Legos
Now it is time to spend the remainder of your life sorting legos into colors for your storage buckets. I won’t get into that here…but in my experience, this is the most painful part of the process. I did add a few 10 x 10 lego plates to the top using command strips (so as not to ruin all the hard work I just put into that desktop).
Step 6: Enjoy your Lego Table!
Now it is all done and organized and beautiful! Enjoy it while it lasts!! I seriously love this lego table and I love even more that it is multi purpose. My son uses it for legos but also school work. And, heaven forbid, if he ever outgrows legos it will still serve as a beautiful desk with a ton of storage! Also, in case you are interested in the cute Star Wars theme of this room, I finished the space with some fun DIY Tie Fighter shelves! And the wallpaper is peel and stick and I absolutely adore it.
Looking for other fun Ikea Hack projects?! I love them and have a few you can check out: