Ikea Hemnes Boho Black and Gold Daybed Hack
I love me some Ikea! Ikea furniture is always super functional and typically designed to make the most of a small space or space that serves multiple functions. Their Hemnes Daybed was the perfect solution for our guest room because it can be small, like a daybed, or pull out to a king size bed when guests are actually using the room. Plus it has storage drawers below which is always an added benefit. It looks pretty good on it’s own but my Ikea Hemnes daybed hack takes this bed to a whole other level!
Disclaimer: In the name of full transparency, please be aware that this blog post may contain affiliate links and any purchases made through such links will result in a small commission for me (at no extra cost for you). As an Amazon and Home Depot Associate I earn from qualifying purchases.
Length of time for project: 4 hours
Cost: $40
What you’ll need: Black paint, Gold drawer pulls, 1.5″ lattice strips
What I learned: My white version of the bed was SUPER slick and painting proved a bigger challenge than expected. If I were to do this project all over again I would first sand more. I would also use a paint sprayer vs. a brush. And I would either use a primer or a more adherent paint like chalk paint.
Inspo
Ok, so first off, this is the bed I started with. Not bad. Cute even. But the off white/ivory was a bit boring and didn’t really work for the black and white boho vibe I was going for in this guest room makeover.

Step 1: Prep
I disassembled my bed because I had to move it out of the room for floor installation. You could probably skip this step and paint while still assembled if that happens to work for you. Then sand the whole bed lightly with a sanding block. Well, that is what I did anyway. If you see above, if I could do it all over again I would sand more (maybe with a orbital sander) so the surface isn’t so slick when it is time to paint.
Step 2: Fill Hardware Holes
Remove the original hardware and add wood filler to the hardware holes. I like to let it dry, sand, refill, and sand again to make it extra smooth.
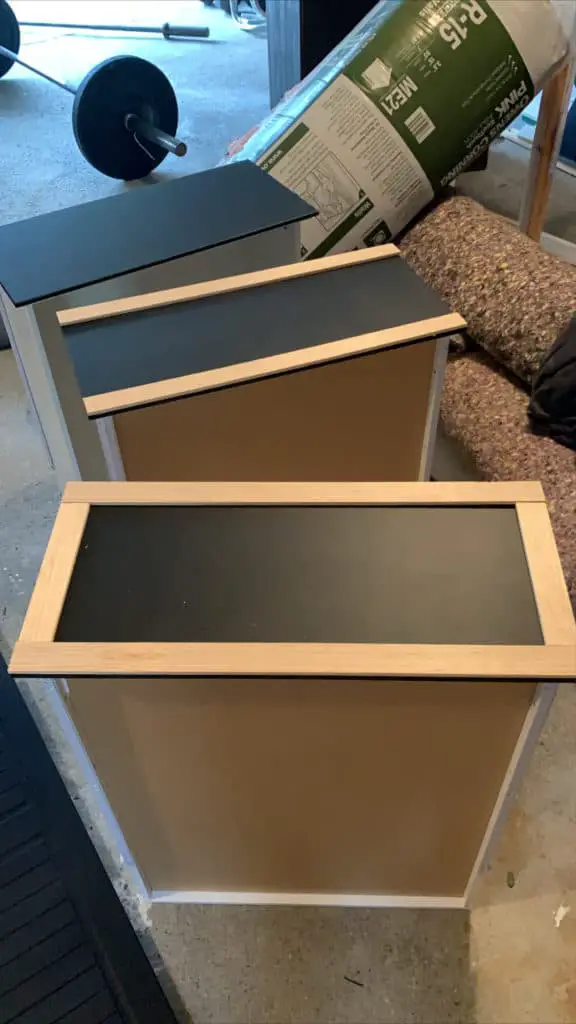
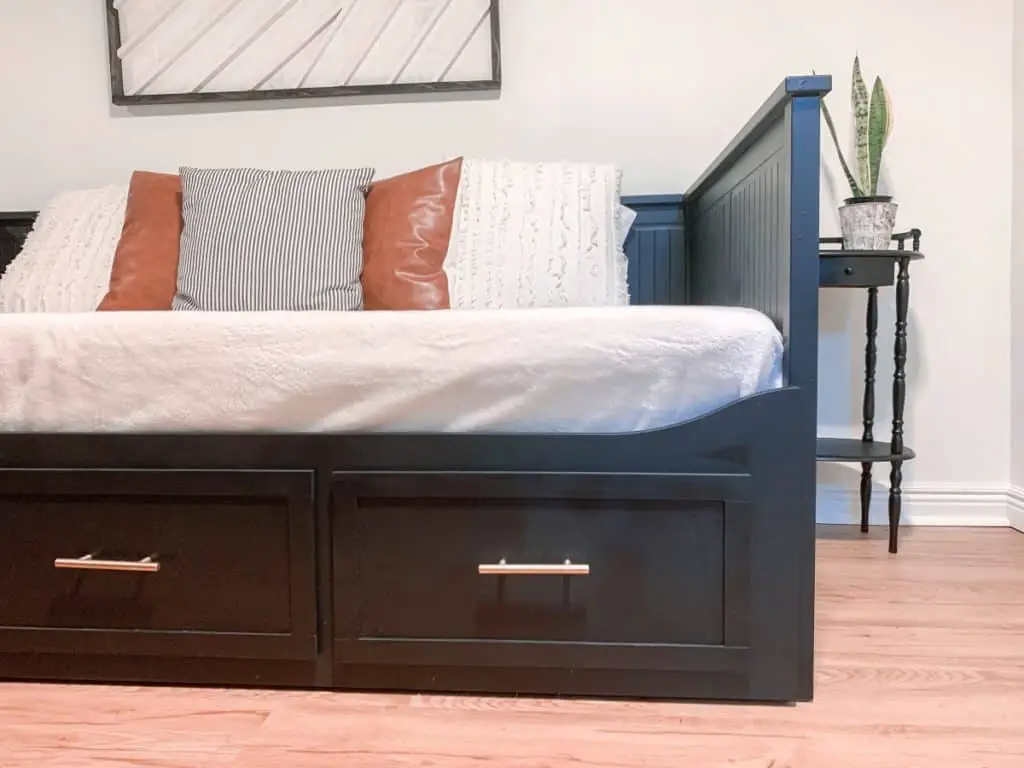
Step 3: Add Drawer Trim
I added some thin wooden lattice strips around the drawer edges to create a shaker style drawer. The top and bottom strips were cut to the exact length of the drawer. The vertical strips were cut to fit the gap left between the top and bottom strips. I attached these strips with wood glue only (the drawer front is so thin it is hard to find a finish nail that wouldn’t go all the way through). Wood glue was applied to the backs of all lattice strips and then weights were placed on top so everything would dry securely without moving around.
Step 4: Paint
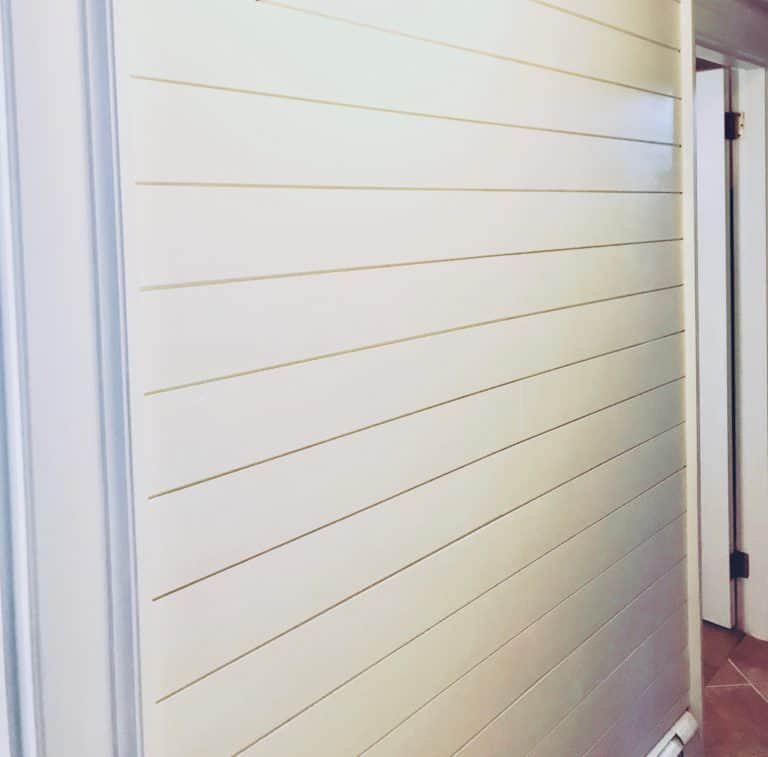
Again, as listed above if I could do it all over again I would probably first start with a coat of primer. I didn’t do this step and it caused me a lot of headache. I started painting with a brush/roller and using black milk paint. When I started to apply coat two (of like 5), areas were trying to come off. I ended up switching to this interior paint I had used on my herringbone accent wall. It did stick a bit better but chalk paint would be ideal here (though you may not need it with primer?). A paint sprayer (like this one I have but didn’t use, face palm) would also be perfect for this project.
Step 5: Protect
So I also learned in this project that black paint is pretty hard to work with. I added satin polyurethane as a top coat on a couple areas and it all ended up looking splotchy and uneven. So I went back and repainted. I think clear wax is the best option for finish over black paint in order to keep the finish looking smooth.
Step 6: Add New Hardware
Next up drill holes to match your new hardware. I like to use a template either with a piece of cardboard or these templates made specifically for cabinet hardware. Once the holes are drilled, it is time to screw in the hardware and put everything back together!

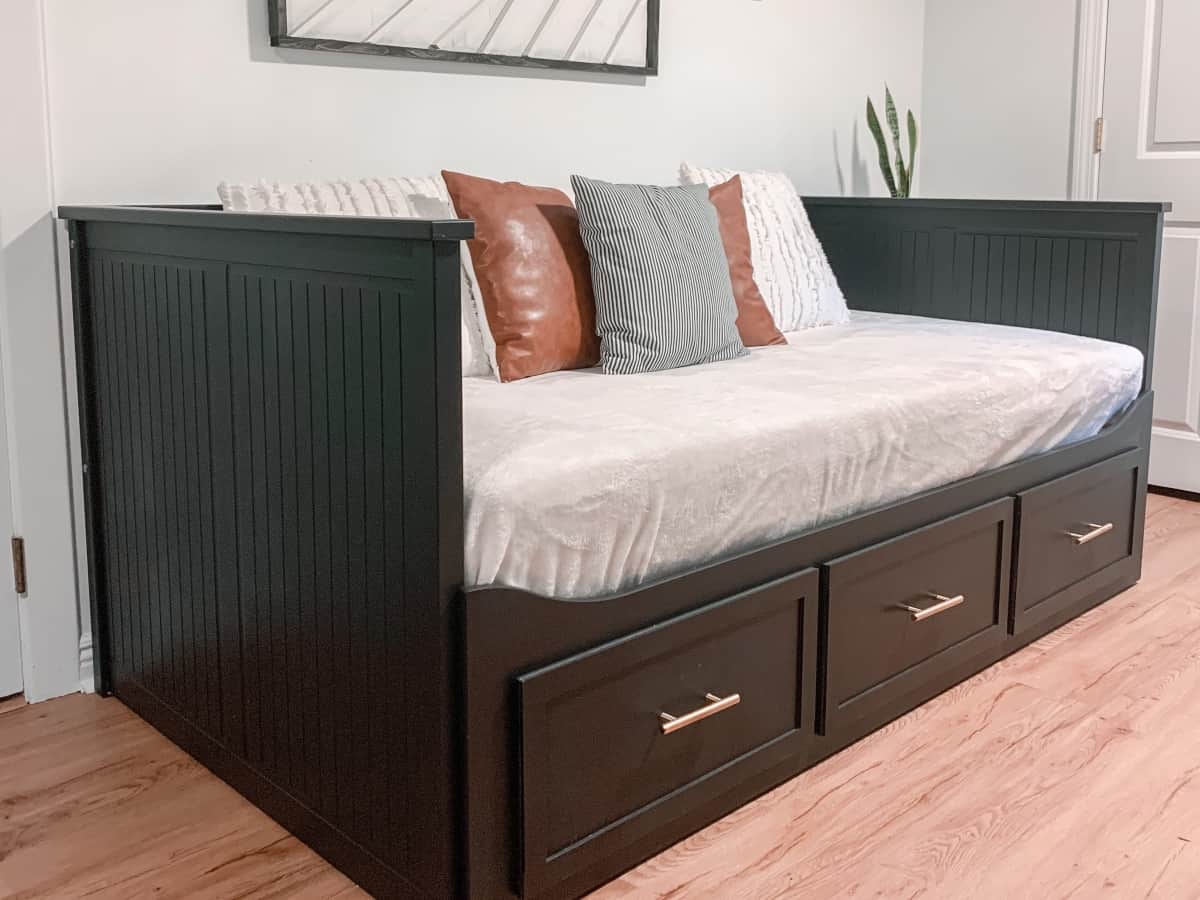
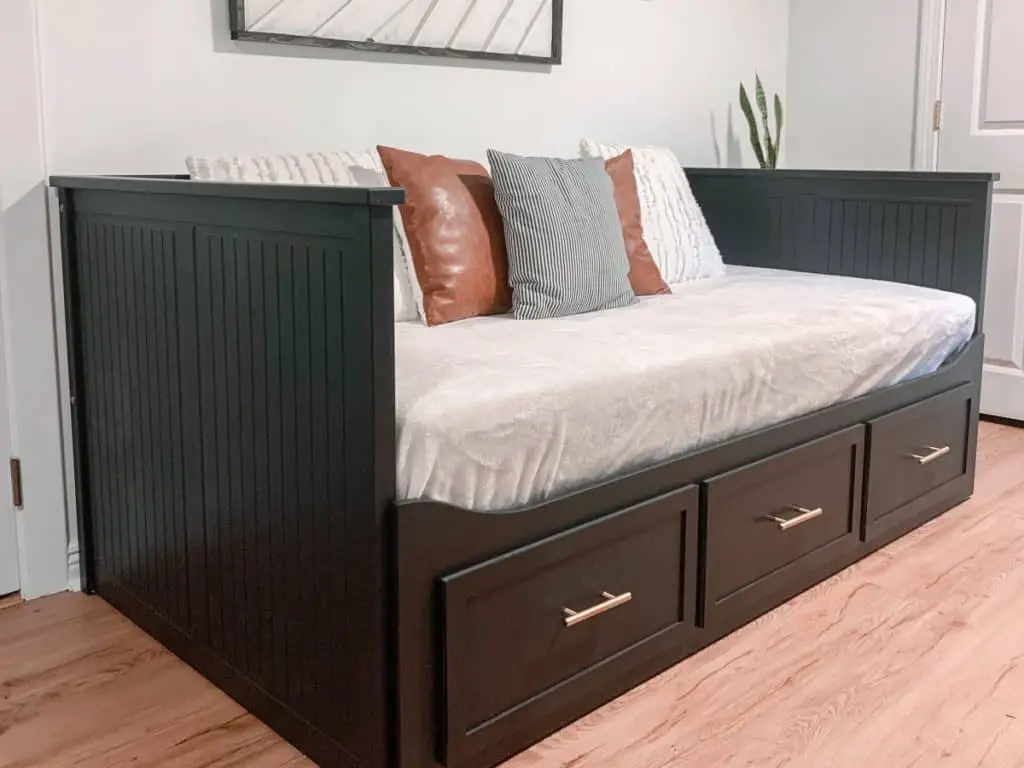
Step 7: Admire your Ikea Daybed Hack
Now it is time to step back and admire your hard work. This isn’t the easiest furniture painting project I’ve done, by far, but I just adore how it turned out! Ikea hacks are so fun and can totally reimagine a boring piece, and this Ikea Hemnes daybed hack is no exception!
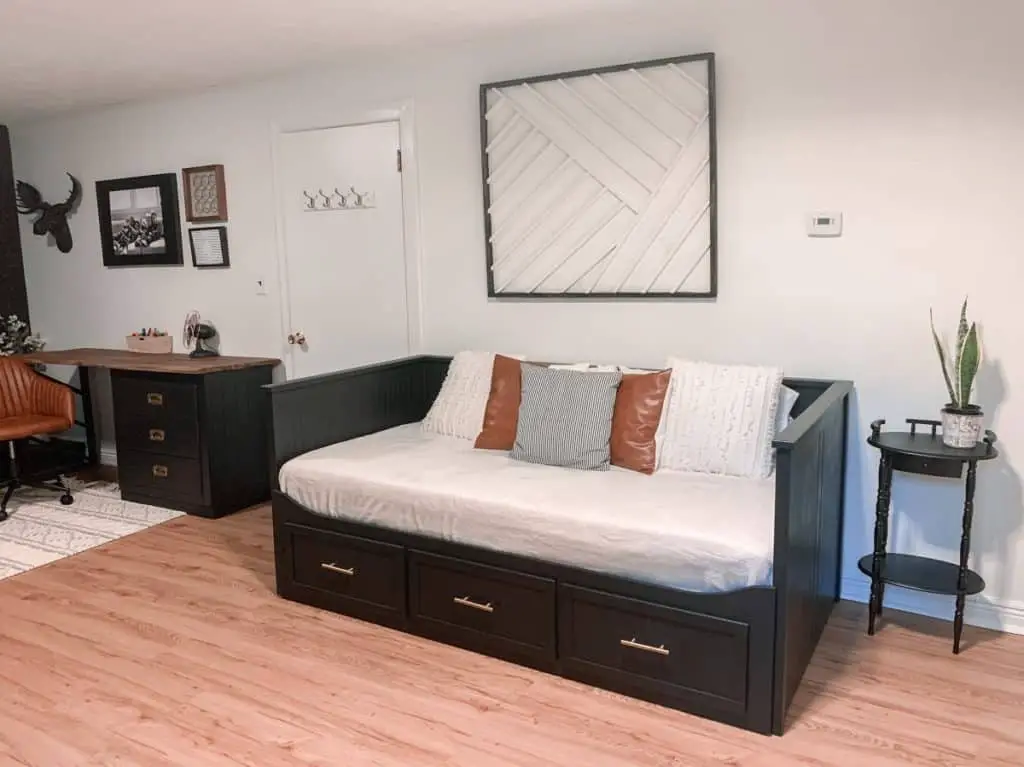
Check out my full Guest Room Update that I did as part of the Spring 2020 One Room Challenge to see all the projects that went in to creating this super cool space!