Easy DIY Shiplap
Shiplap is an easy and inexpensive way to add texture and interest to any wall. Don’t know what shiplap is? Maybe you’ve been living under a rock in the desert somewhere for the last few years? No worries, I can school you real quick like. And while I’m at it, I’m going to tell you how to do it yourself, you know, if it is love at first sight or something.
Disclaimer: In the name of full transparency, please be aware that this blog post contains affiliate links and any purchases made through such links will result in a small commission for me (at no extra cost for you). As an Amazon Associate I earn from qualifying purchases.
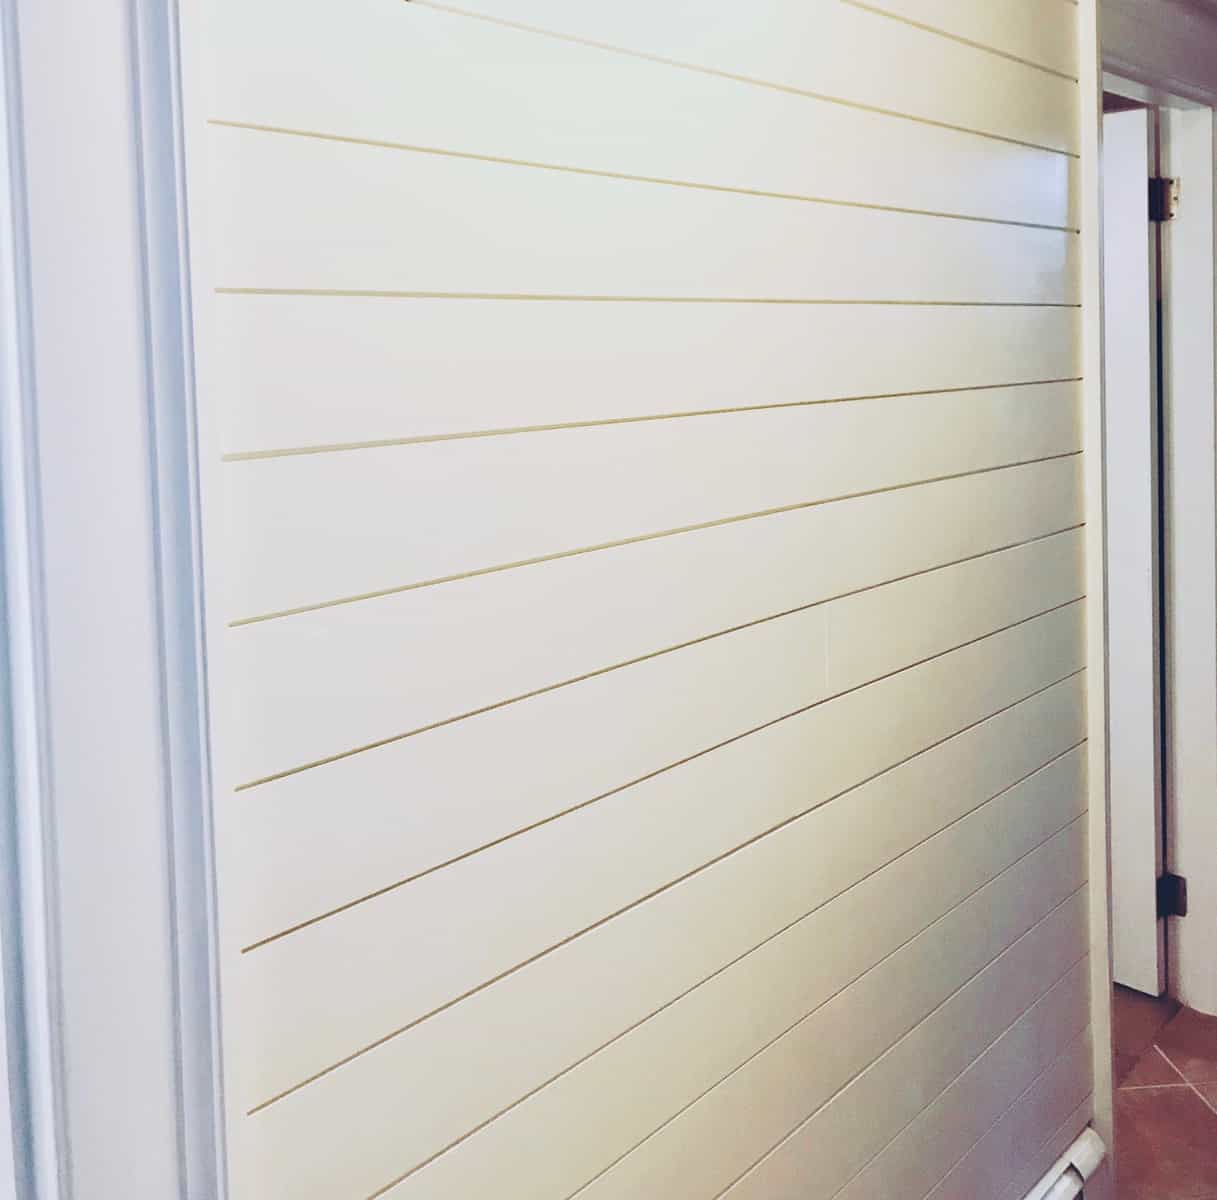
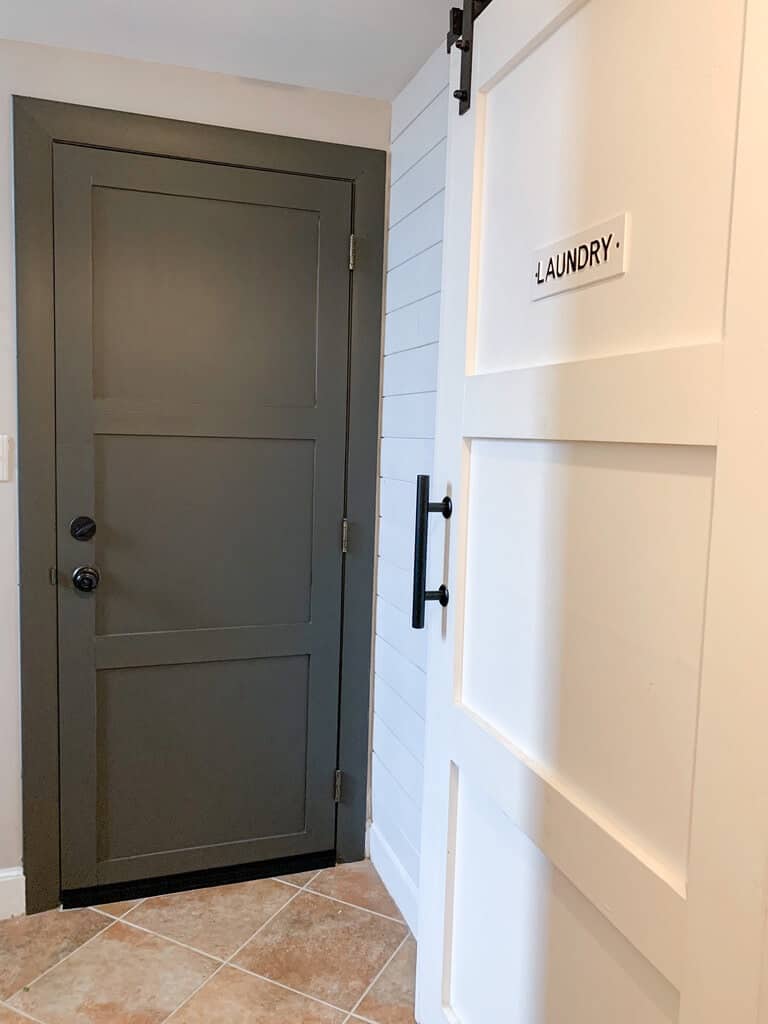
Shiplap is a horizontal wooden board with overlapping grooves. Traditionally it was used on the exterior of homes in harsher climates for protection, but modern times it is used as an interior design wall feature. Shiplap works in almost any space and can be modern and clean or more farmhouse and rustic, depending on how you style it, paint it, trim it. What’s better is that it is super easy to add to any space with minimal tools and not a lot of effort! I’ll walk you through how I added shiplap to my hallway wall for a little added interest before hanging two modern farmhouse barn doors (which I will share next week).
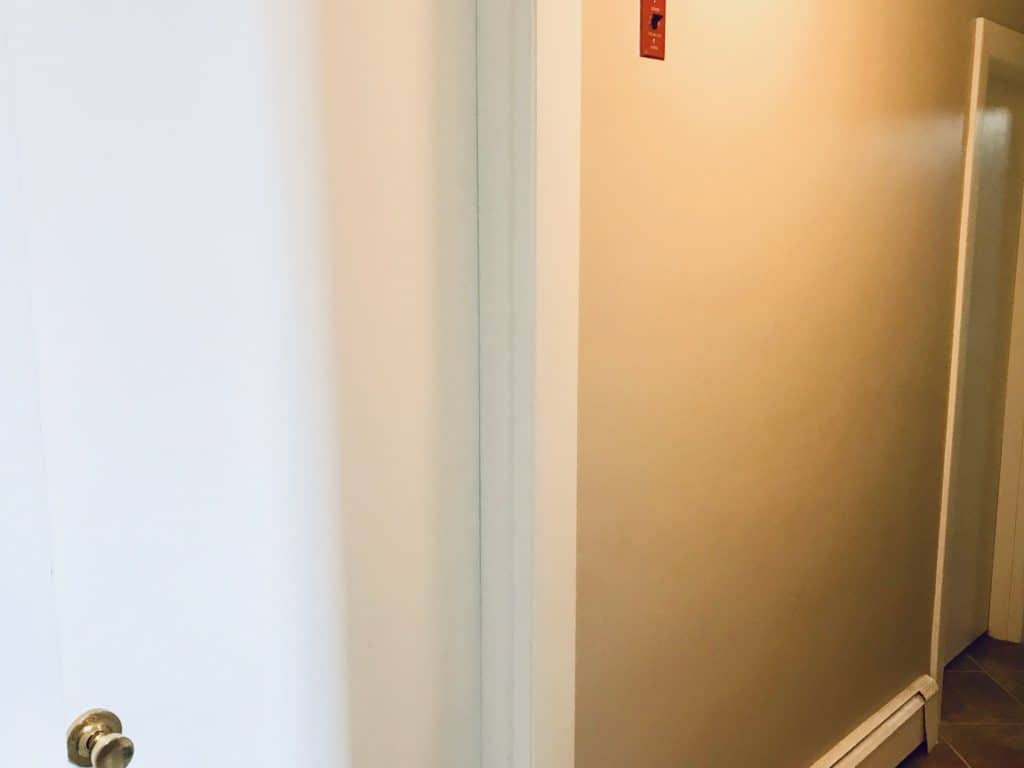
Ok, brace yourself. Here is the before picture of this dark, dingy, narrow hallway. Super boring, right? I’m mildly embarrassed showing this space. I knew I wanted to hang barn doors because of how small the rooms are down in this area, but I had a little problem to overcome first. You see, we have baseboard heating. In order for me to hang barn doors, I knew I’d have to get creative to get the doors to clear these heaters without a huge gap. I’ll go into more detail about how I did just that in next week’s post about the doors, but one idea I settled on to help fill the gap was to add a wall treatment.
So dark. 
So hard to photograph.
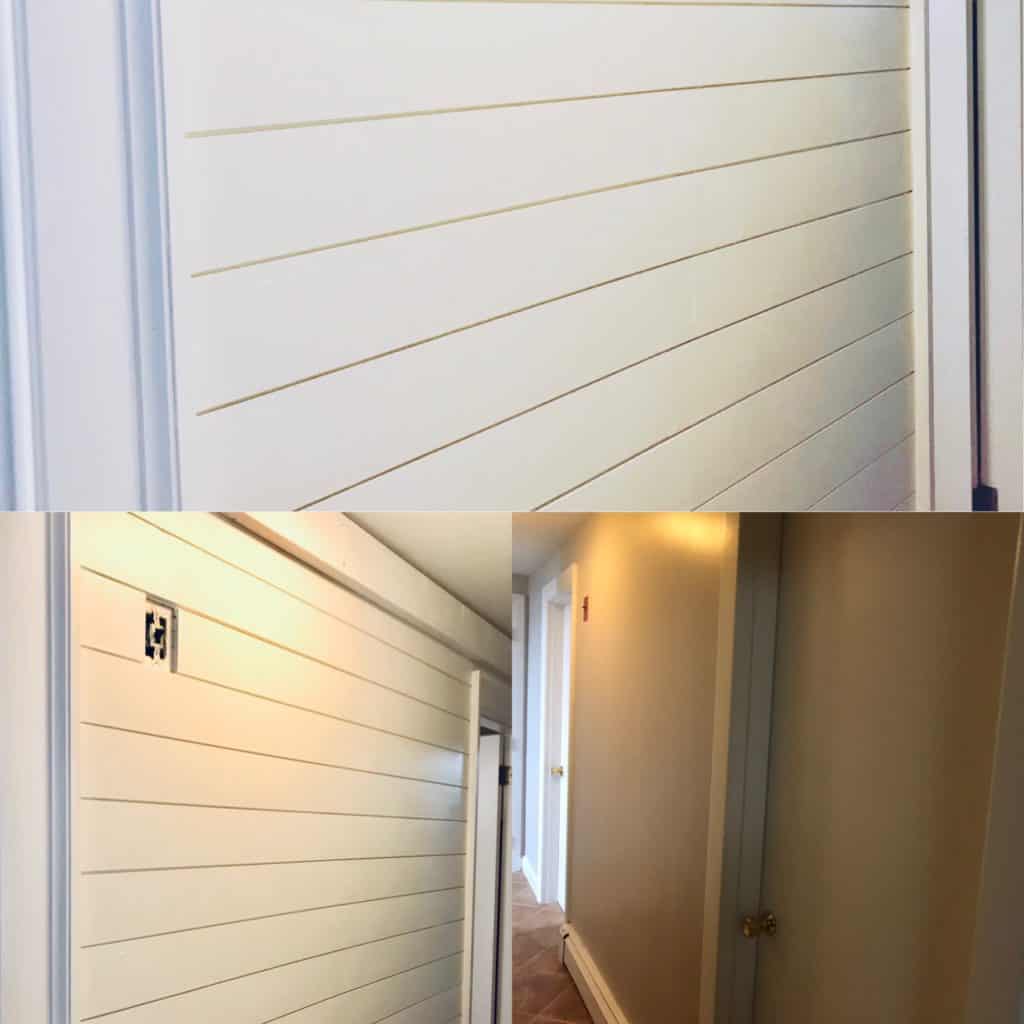
Adding shiplap to this wall helped bump out the wall an extra 3/4”! This was a great way for me to fill some space between the wall and the trim/heater and add some additional texture and interest too!
So, the best part about shiplap is that:
- you only have to make straight cuts.
- you don’t have to worry about hiding seams- in fact that is part of the charm.
- it can be attached just using a nail gun into the studs. (I’ve seen some people add glue as well, but I wanted to be able to remove it down the road with minimal damage to the walls.)
Getting Started
First you need to measure your wall and attempt to calculate how much shiplap you will need. I am absolutely no help here because I calculated this on 3 separate occasions and was wrong every time. But, I mean who doesn’t want to make 4 unnecessary trips to Home Depot? I know I sure do. (insert eye roll).
I used this shiplap product from Home Depot…but there are lots of different options for shiplap. Again, it’s all about the finish you want for your end product. If you want a more rustic finish, opt for the rougher wood version. If you just want the appearance of shiplap, I’ve seen people cut down thin plywood or MDF into strips and hang that with spaces in between. I personally liked the smooth look of this option with the slightly larger (nickle) sized gap in between.
Find Your Studs
Once you have your supplies, you need to mark your studs using a stud finder. This is a great inexpensive option that I purchased recently and really like! I just mark each stud location with painters tape. Once you have a couple of pieces nailed up, you’ll be able to use your previous nail holes as rough markers.
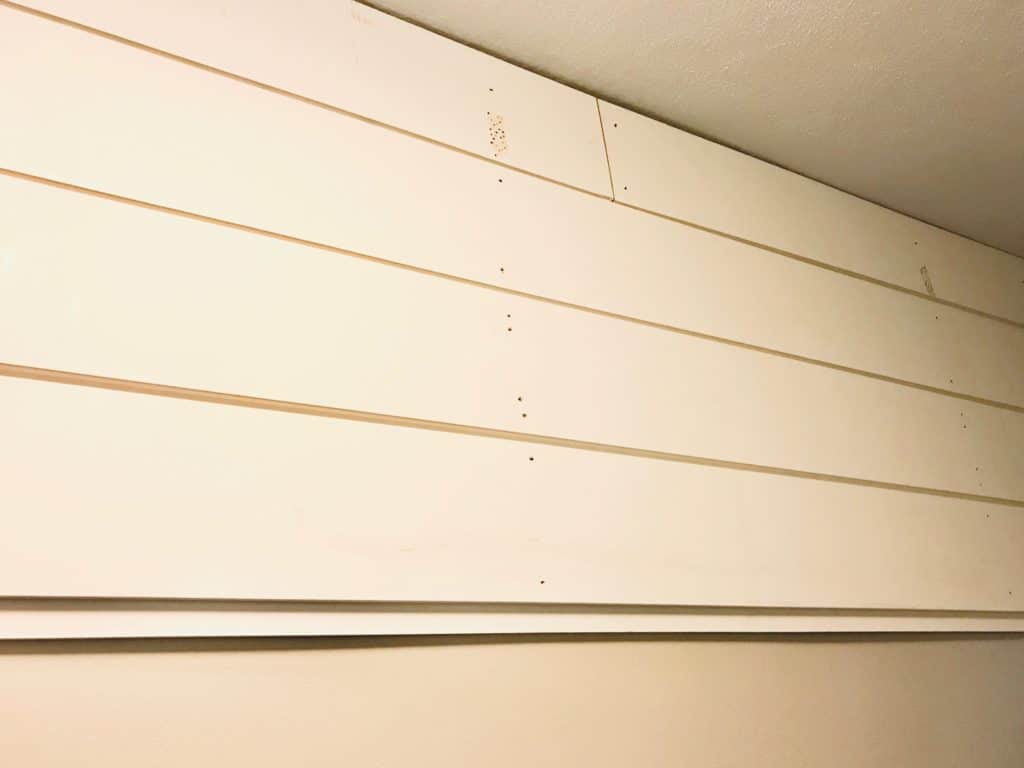
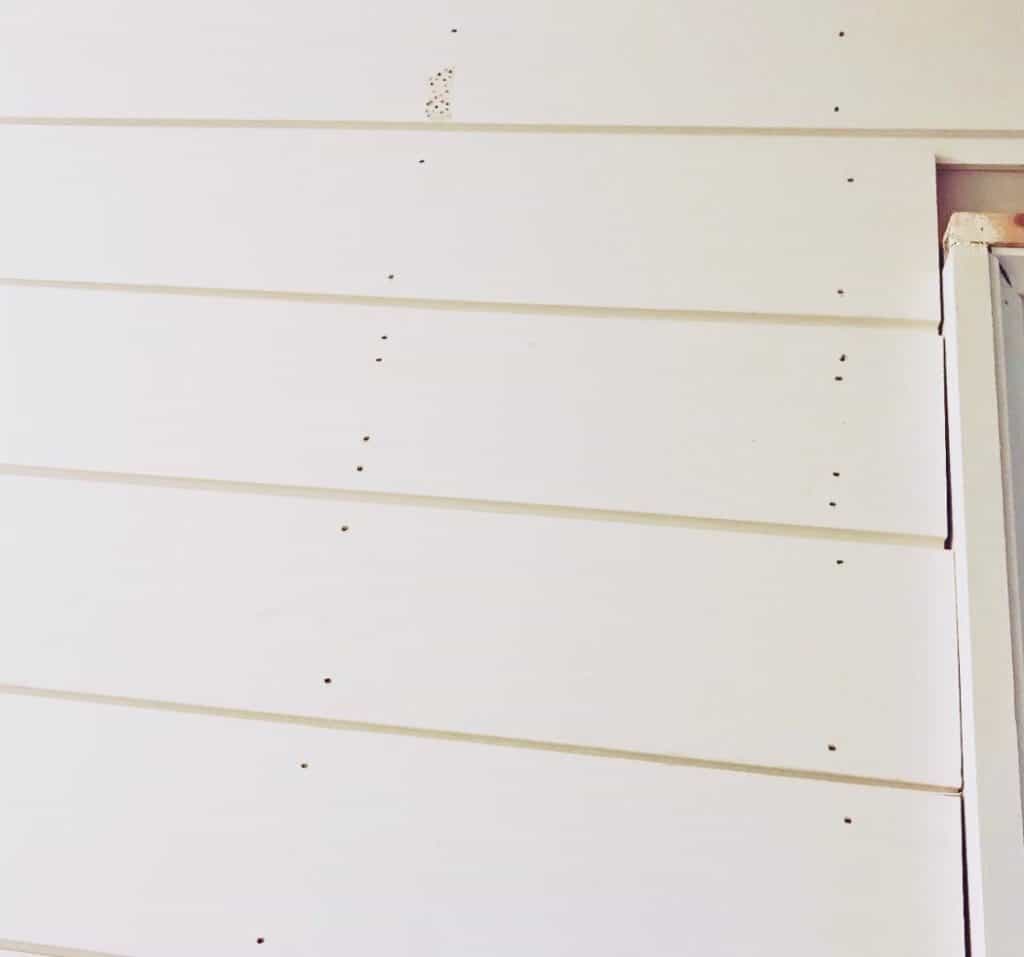
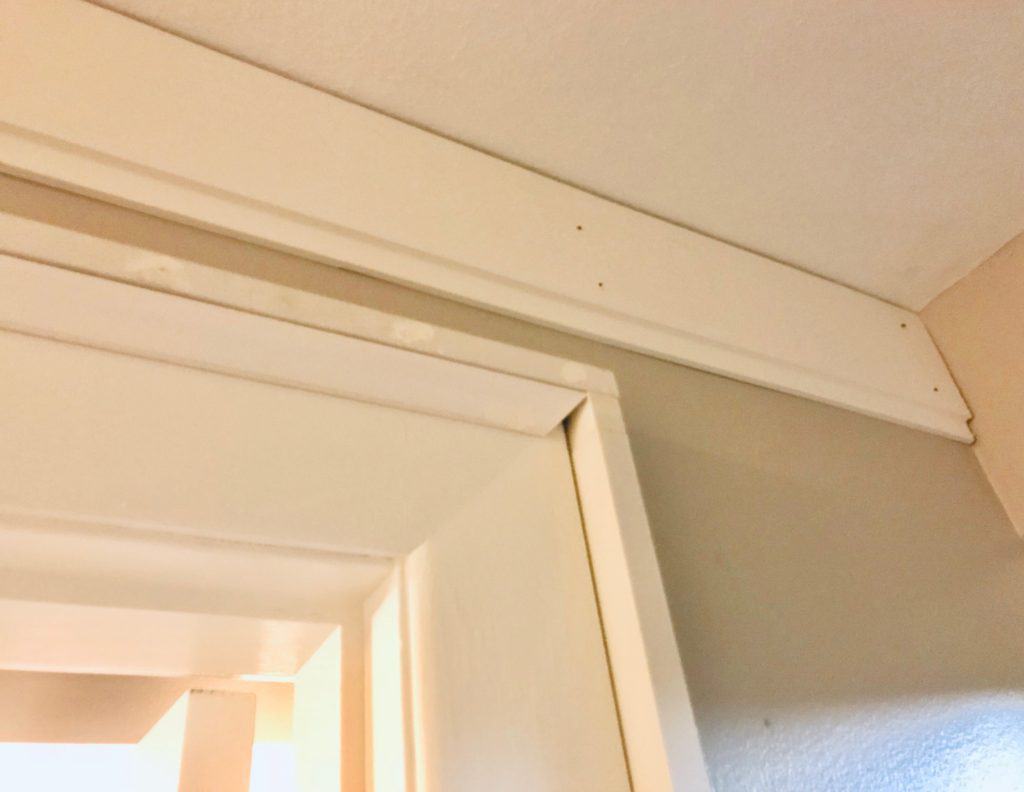
I then just randomly cut and attached pieces. I tried to use the full length pieces in places that made sense and then offset the end seams. You don’t want the ends of all of your pieces lining up perfectly. That looks weird. You want it to appear random. I basically measured and cut each piece as I went (learning the hard way that my house is not remotely level and I cannot assume the measurement from corner to door trim would be the same. Eye roll again). The pieces were then attached to the wall using my Ryobi airstrike nail gun and 2” brad nails into the studs. Two nails per stud worked pretty good for me!
Finishing
Once all the pieces are cut and hung, you just need to finish it up! I filled all the nail holes with wall putty. Once dried I used a damp cloth to remove any excess and leave a clean surface. You could also sand but this method seems to be faster and is also less messy. And lastly I used caulk all along the edges: ceiling, wall, trim, and baseboard. This part is slightly tricky due to the horizontal gaps, but if you apply the caulk and immediately wipe away excess with a damp paper towel, there won’t be much excess collecting in the gaps. It works like a charm and saves you from having to use corner round trim pieces for the sides (you can, if you want…but seems like more work and $$$ and this worked quite well!).


See how easy this project is?? Just a few hours if you purchase the correct amount of supplies and don’t make multiple supply runs! I’m hoping to add more DIY shiplap in my house in the future but haven’t decided where just yet! Stay tuned next week for the DIY modern farmhouse barn door and tips and tricks for working around baseboard heating.

The ship lap is gorgeous and bought so much light to the hall! I dont consider myself extremely handy but with these tips and steps I could possibly be successful
You could totally do this! Half the battle is getting started!
Thanks so much!
Love this look, it really brightens up any space, might have to have a go!
The added texture of the shiplap looks great! I’ve never thought about using it inside.
It turned out great! You make it look super easy!
That looks great! You make it seem so easy!
Oh I LOVE this! It’s beautiful! I guess I have been living under a rock in the middle of the dessert for a few years, because I hadn’t heard of this before. Haha! You’ve got me brain storming now. Which area of my house would this work best in? 🙂
Haha! That’s awesome! I’m so glad I could expose you to something new. ?
Your finished product looks amazing! I am going to bookmark this, I’ve been wanting to do something to the guest bedroom and this is definitely the winner! Love it!
You totally should! I’m definitely going to add it elsewhere in my house also!
It looks gorgeous. I love shiplap. Recently we just installed some in my parents dining room. So easy to install and makes a great statement
Hi agree! So easy and such a big impact.