Handmade Hockey Puck Display
Do you have any hockey lovers in your life? My eight-year-old son is a hockey player and a hockey fanatic! This easy handmade hockey puck display is the perfect gift for the hockey lover in your life. And the even better news?! It is super inexpensive and easy to make too!
Disclaimer: In the name of full transparency, please be aware that this blog post contains affiliate links and any purchases made through such links will result in a small commission for me (at no extra cost for you). As an Amazon Associate I earn from qualifying purchases.
Project Specifics
- Length of time for project: 2-3 hours
- Cost: $15 (not including cost of drill bit…which was about $25 at Home Depot. I can’t find a link online but will include a picture below)
- What you’ll need: One 10′ 1 x 6 common board, one 8′ 1 x 2 common board, paint or stain that you have on hand, 3″ drill bit
- What I learned: For some reason drilling out a large circle uses a lot of drill energy. My drill kept trying to overheat so I would do this part in short spurts. A more powerful drill would probably make this part a bit more enjoyable.
Design Inspiration
Over the summer I was on a girls trip in Nashville. While trying to find a gift for my son we popped in to the Nashville Predators hockey shop. In that store they had a huge hockey puck display hanging on the wall. It looked so awesome but the price tag was right around $300! Not only is that way out of my price range, but I also knew this was something that I could make myself.
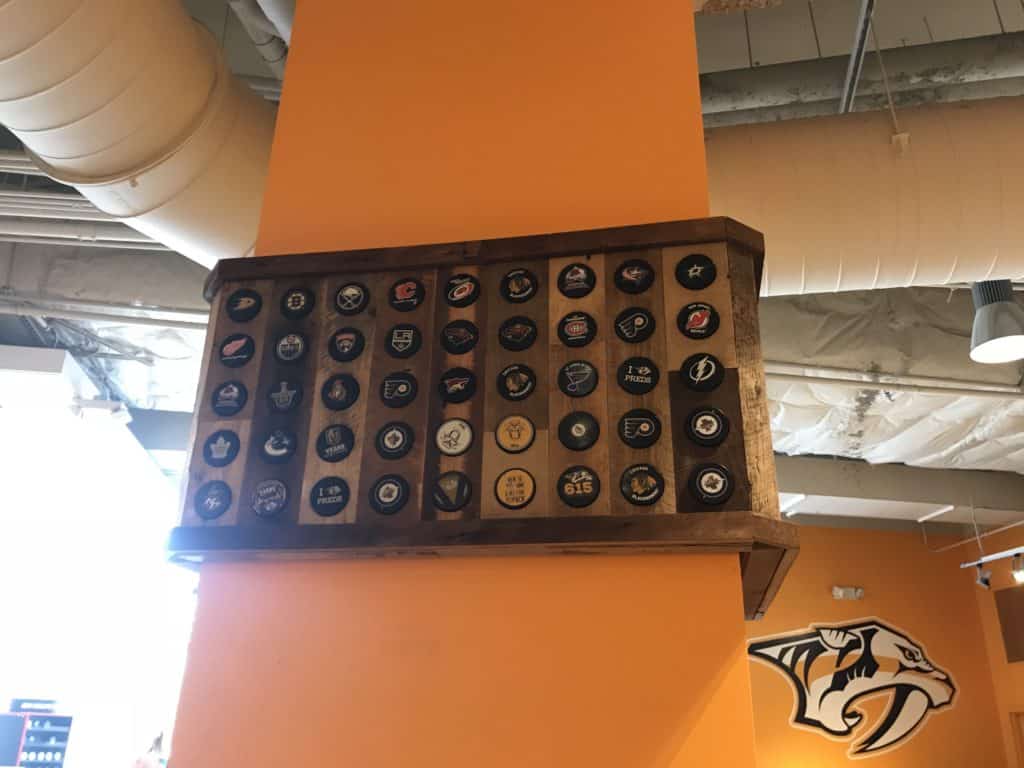
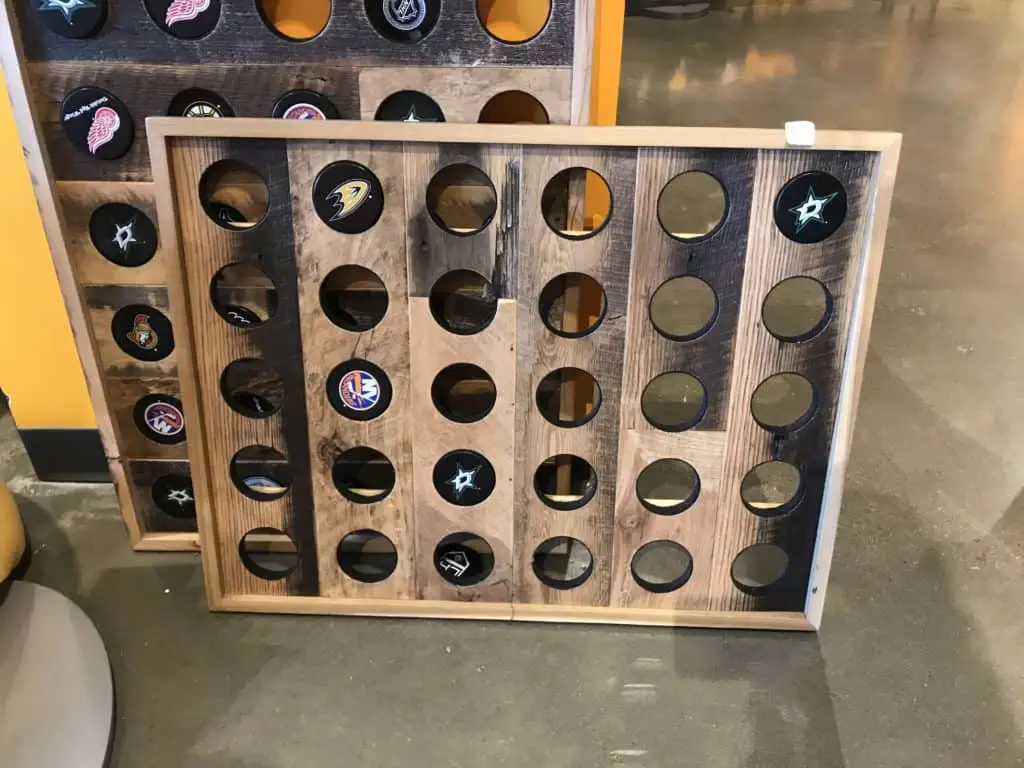
My inspiration
So when I got home I decided to give it a shot! It was even easier than I predicted! This project takes one 10 foot 1×6 board, one 8 foot 1×2 board, and a 3 inch drill bit. That is it! It just requires a little bit of planning in regards to how much space you want between your holes and how many pucks you want to display.
After giving this handmade hockey puck display to my son for his birthday, he informed me that I should’ve added one more row because I didn’t have enough for all the national hockey league. Insert eye roll here. But honestly you can make it whatever size works for your space. This one just ended up with 5 rows because it perfectly used up a 10′ board (which is the longest I can fit in my van).

Measure, Cut, Build!
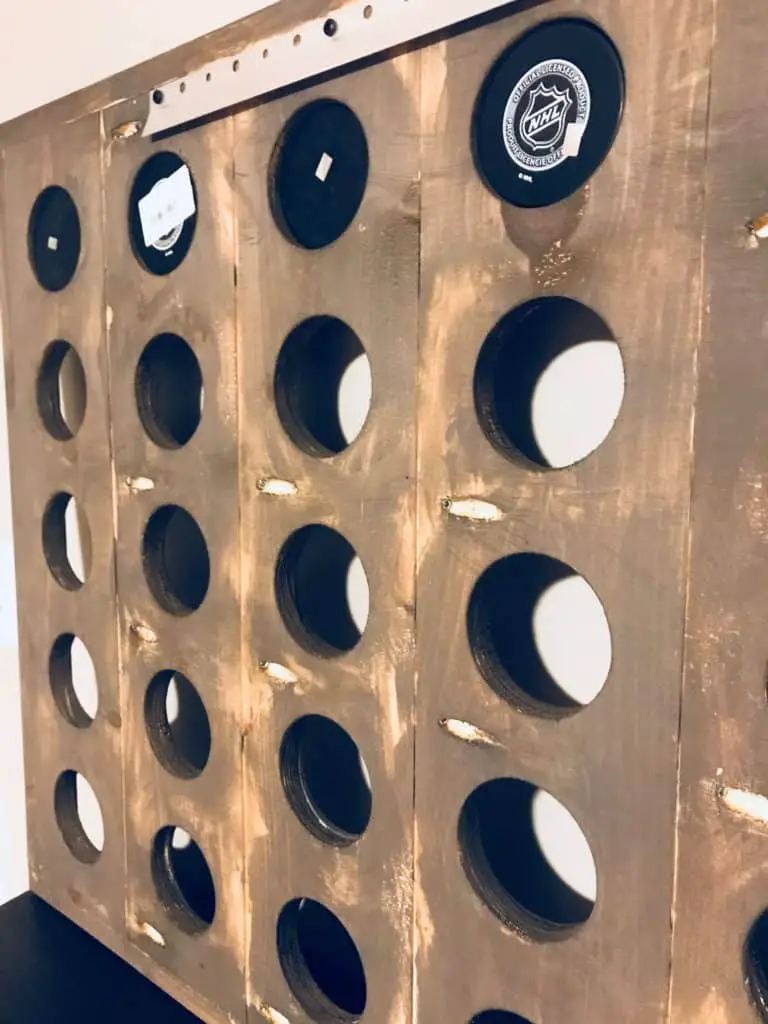
Measurements: I cut each board to 24″ in length. This accomodates five 3″ holes with 1.5″ of space between each. After the boards were cut, I measured out and drilled all of the 3 inch holes. I started from the top and measured down 3″ (1.5″ gap and then another 1.5″ to the center of the circle which is where you will place your drill bit).
This took a little time because my older drill didn’t exactly love the work I was tasking it with. So I did this piece in small bits of time. If you have a more powerful drill, you could probably crank this part out in like an hour. I’m having a hard time finding a link for the exact drill bit/hole saw I used, so I’m including a similar version I saw on Amazon.
With all the holes drilled out I placed some pocket holes on the backside and attached all the boards together with wood glue and pocket hole screws. The 1×2 frame was then cut to fit and attached with wood glue and a nail gun. In order to hang it I purchased a picture hanging cleat that was strong enough to hold the weight of the piece. It was then attached to both the wall and the back of the frame.
Pocket Holes 
Large picture hanging cleat
Initially I was going to line the inside of the hockey puck holes with felt but it was a bit too tight with the felt in place when I tried to fit it with the hockey pucks. If you want your hockey puck holes lined with felt (which does look nice and adds a more professional finish) I would suggest getting a drill bit that is maybe 3 1/4 inch in order to accommodate the extra width of the felt. Otherwise the 3 inch hole is pretty perfect. It’s a really tight fit but honestly that’s what you want so the pucks aren’t sliding in and out.
You can stain or paint your hockey puck display to fit your (or your recipient’s) decor. You also might want to do a quick sand inside each cutout just to make sure it is nice and smooth.
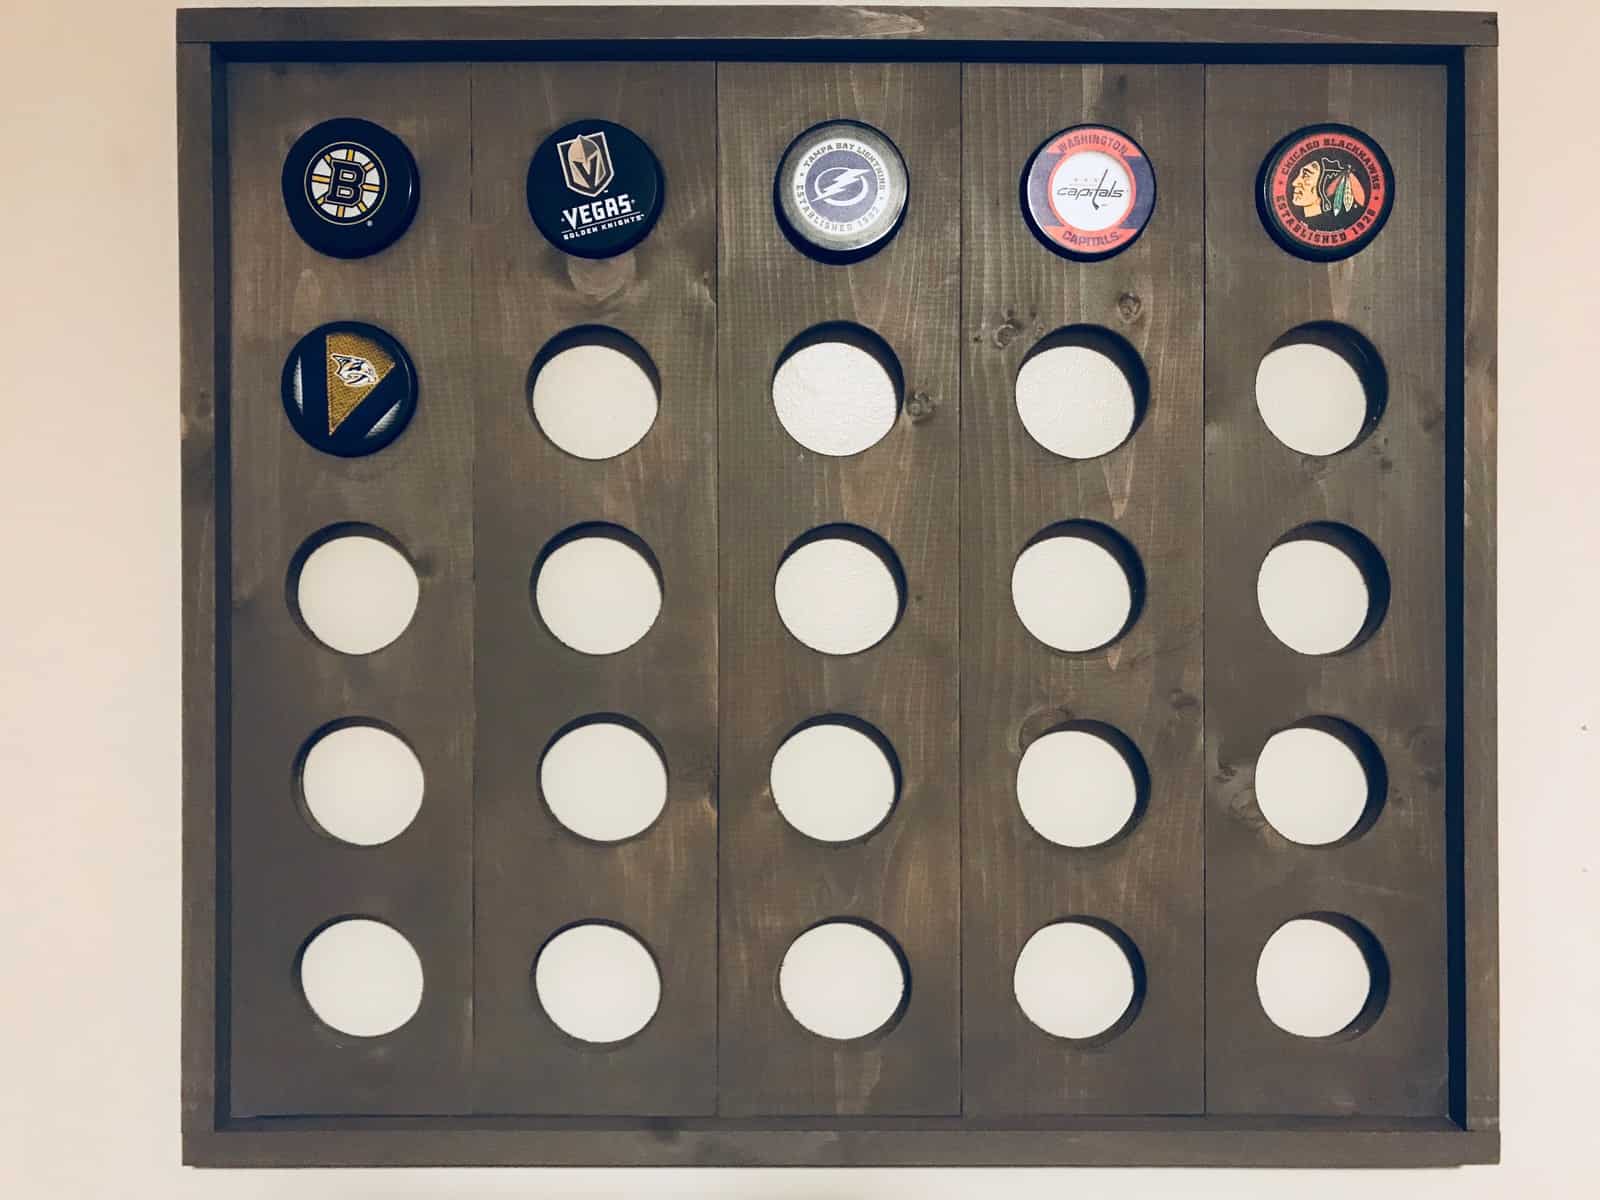
Final Product
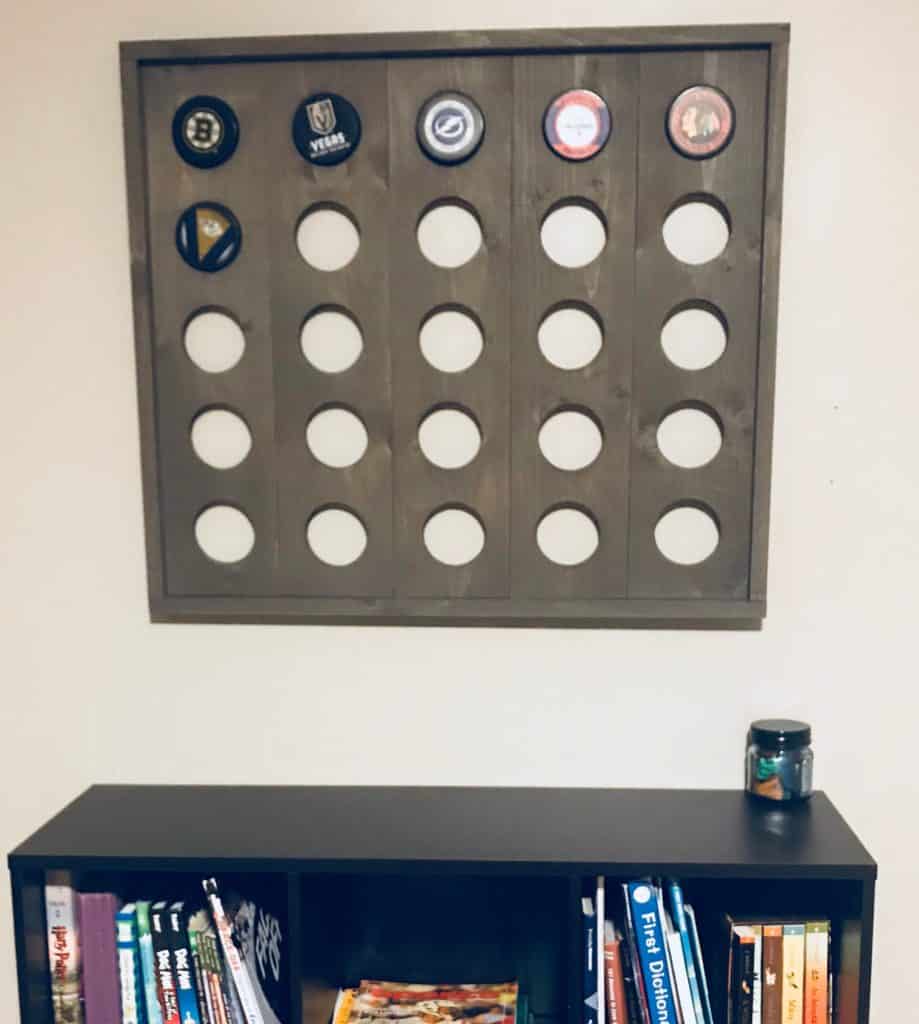
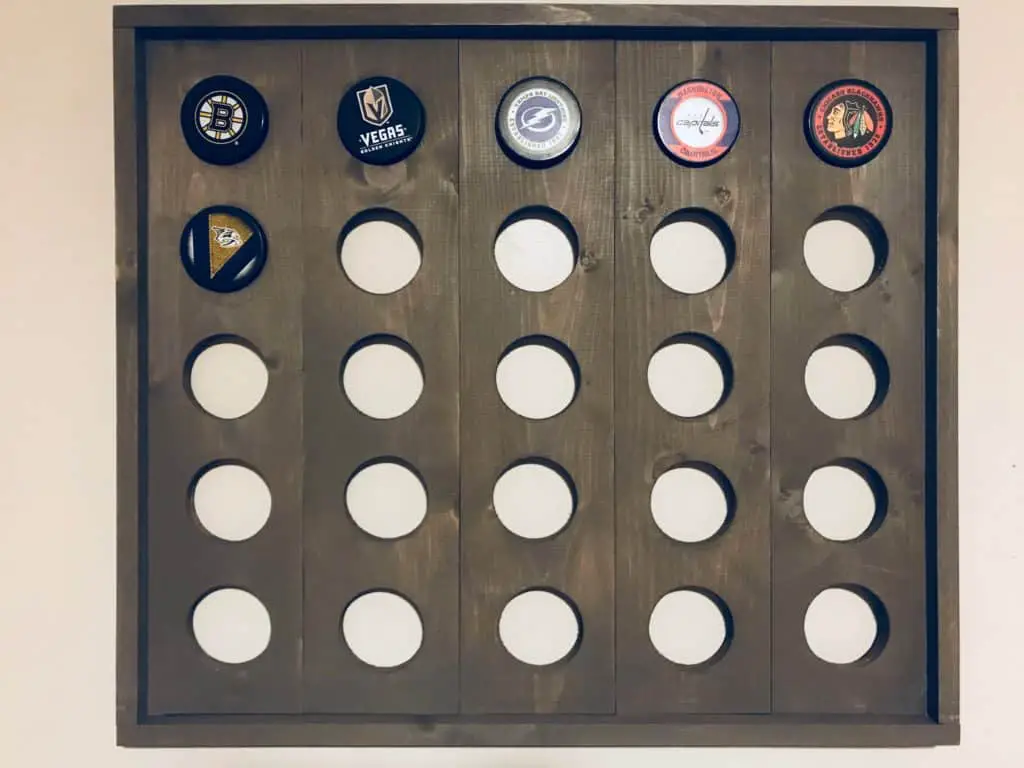
Hope you enjoy this project! I know the hockey fan in your life sure will! My son loves it and is super excited to collect more pucks!
Oh…and hang on to a few of the circles you drill out of your wood (like 5)! I will have another fun project in a couple of weeks where you can use a few of those too!