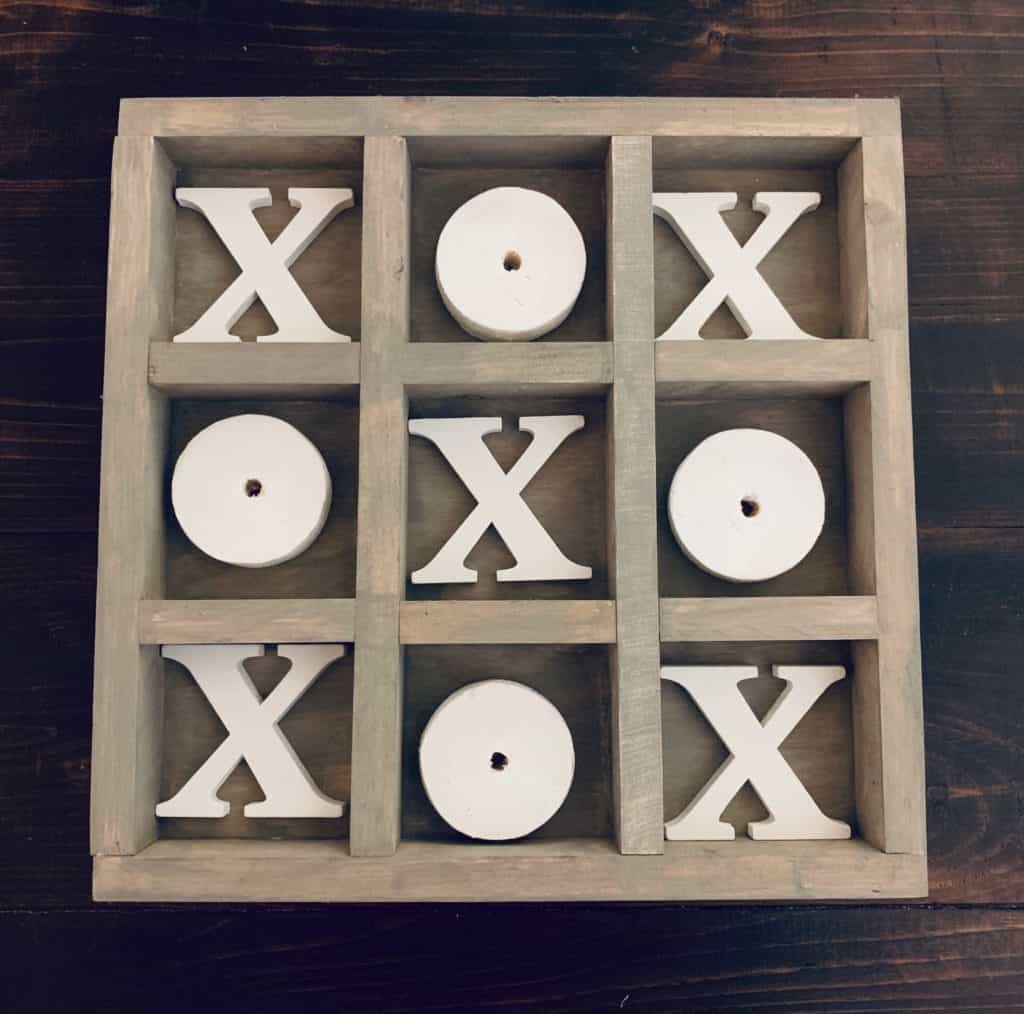
Rustic DIY Tic-Tac-Toe Board
Christmas shopping can be tough. My kids both had birthdays a couple of months ago and still have toys that are unopened and not yet played with. I’m not super excited to contribute even more to that mess. Making something by hand for them feels better to me than buying something new off the shelf. This rustic DIY tic-tac-toe board is something that the boys can play together and also something that will look nice left out on the coffee table as decor. Win, win.
Supplies for this Rustic Game Board
The best part of this project for me is that it was 100% made from scraps I had in the garage (except the X’s, which I’ll go into a little bit later)! So this project for me was almost free! Even if you had to purchase all of the supplies it would still be less than $25 which is a steal for such a pretty and decorative game board.
Cut List
2 pieces cut at 14 1/4″ (1×2 board)
4 pieces cut at 12 3/4″ (1×2 board)
6 pieces cut at 3 3/4″ (1×2 board)
14 1/4 x 14 1/4″ square piece of 3/4″ plywood (if you don’t have access to a scrap piece of plywood, try a 1×8 board cut down with two side by side pieces measuring 14 1/2″ in length which would make a square that is just a tiny bit wider but cheaper than buying a small sheet of plywood.
Project Inspiration
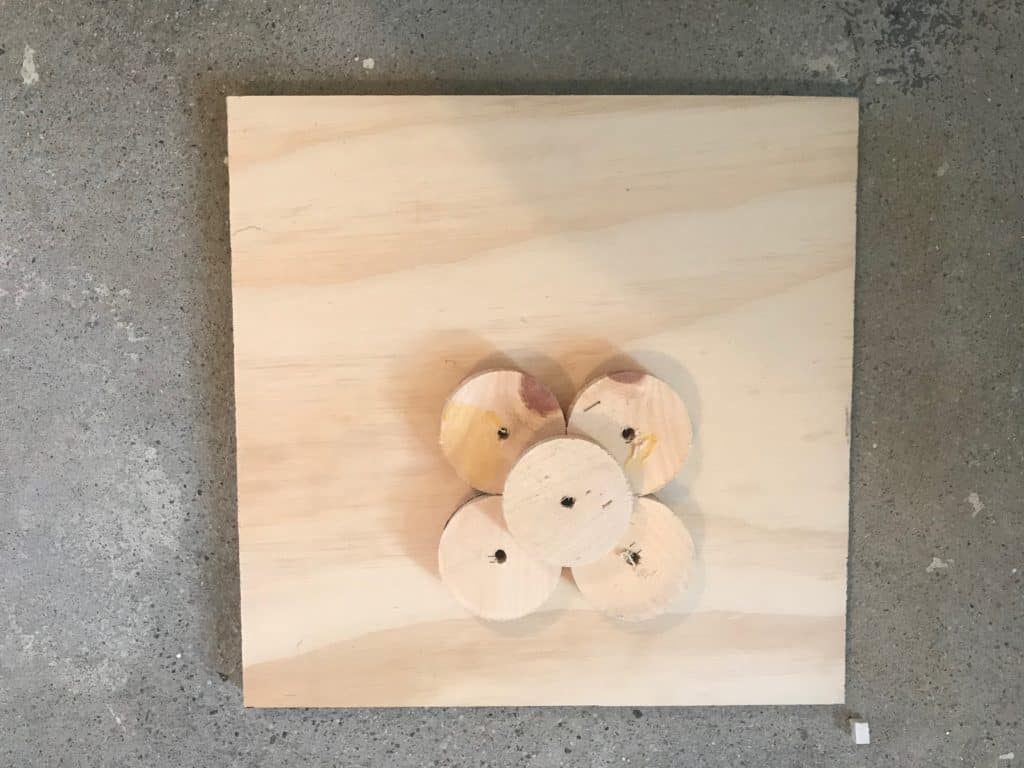
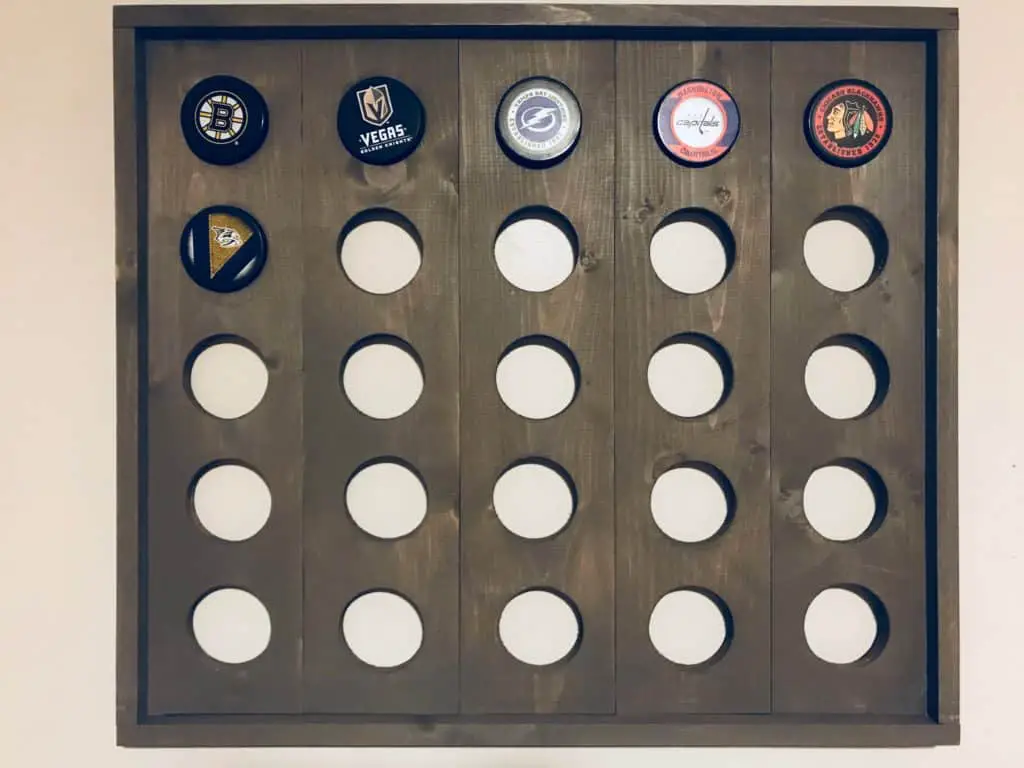
The inspiration for this project came from a random Instagram post I saw that had something similar sitting on a coffee table amongst the Christmas decor it was really showcasing. When I saw it I was like, woohoo! That’s a great way for me to reuse those circles that I cut out of my hockey puck display! Then I did a little happy dance.
The size of my circle (or O, as you may call it) determined the dimensions of my game board, but you can alter yours to fit whatever you plan to use as your game pieces. Each small square space should be about a half inch larger than the size of your playing pieces for ease of getting them in and out.
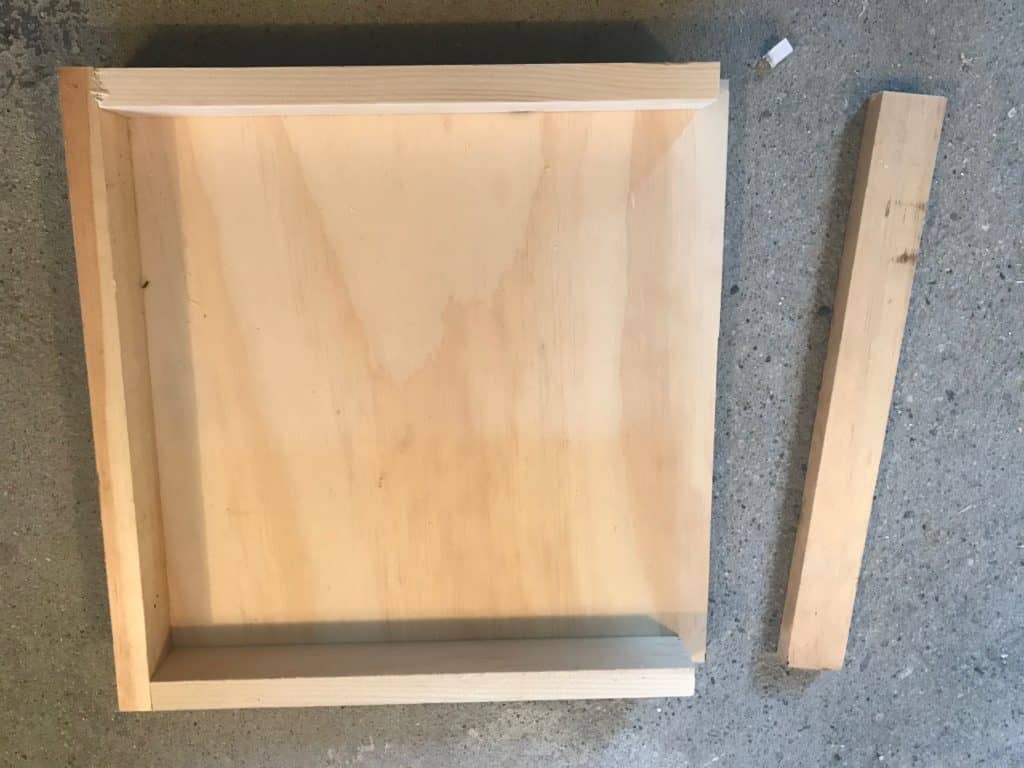
The O’s were 3 inches across so I used that to calculate what I wanted for the width of my board. Luckily enough, I had a scrap piece of plywood on hand that was already magically at 14 1/4 inch width. I had planned to do a 14″ board but decided to just leave it at it was and cut the length of my board to be exactly the same as the width to create a square. My framing and middle boards are 1x2s, which have a 3/4 inch width. This left my individual squares measuring 3 3/4 inches and that worked pretty perfectly for the size of my circles.
Tic Tac Toe Board Assembly
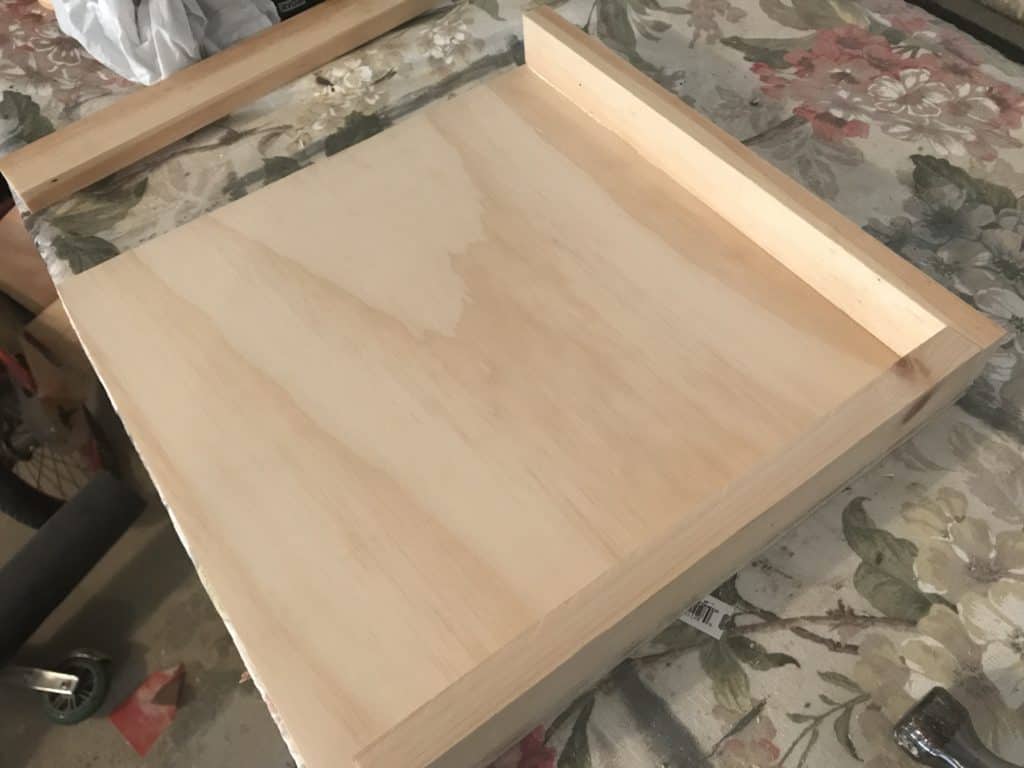
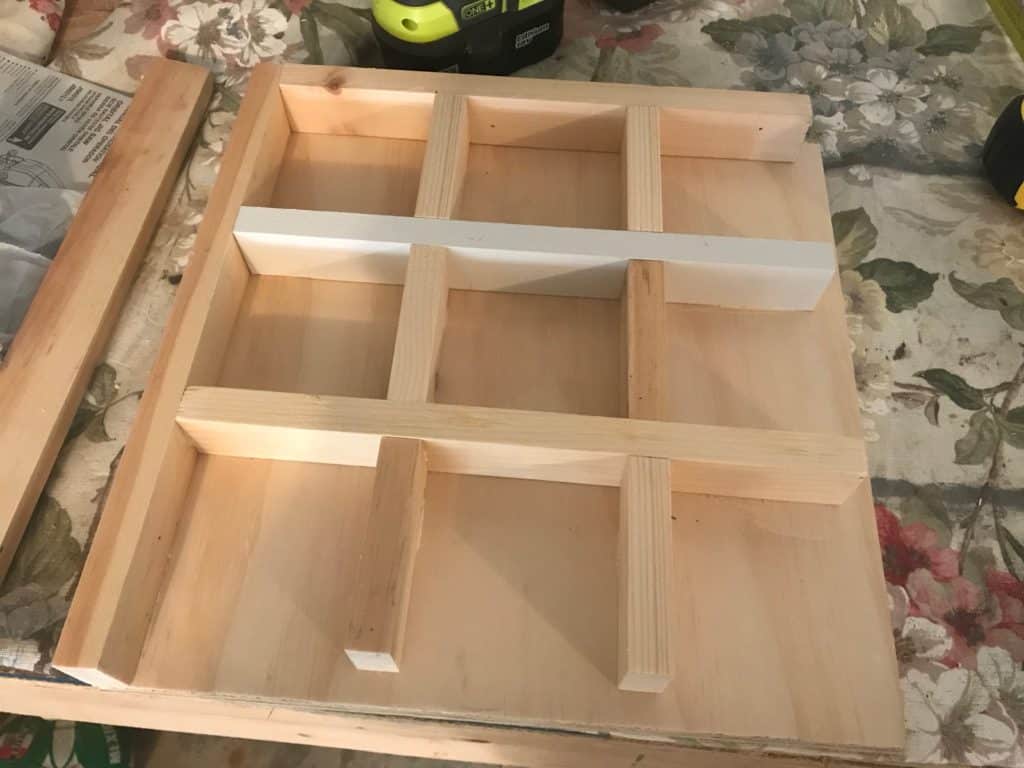
The cut list is as listed above and the pictures will walk through a bit of how I assembled things. All pieces were attached using wood glue and a nail gun. Once the pieces were cut the assembly went quite quickly!
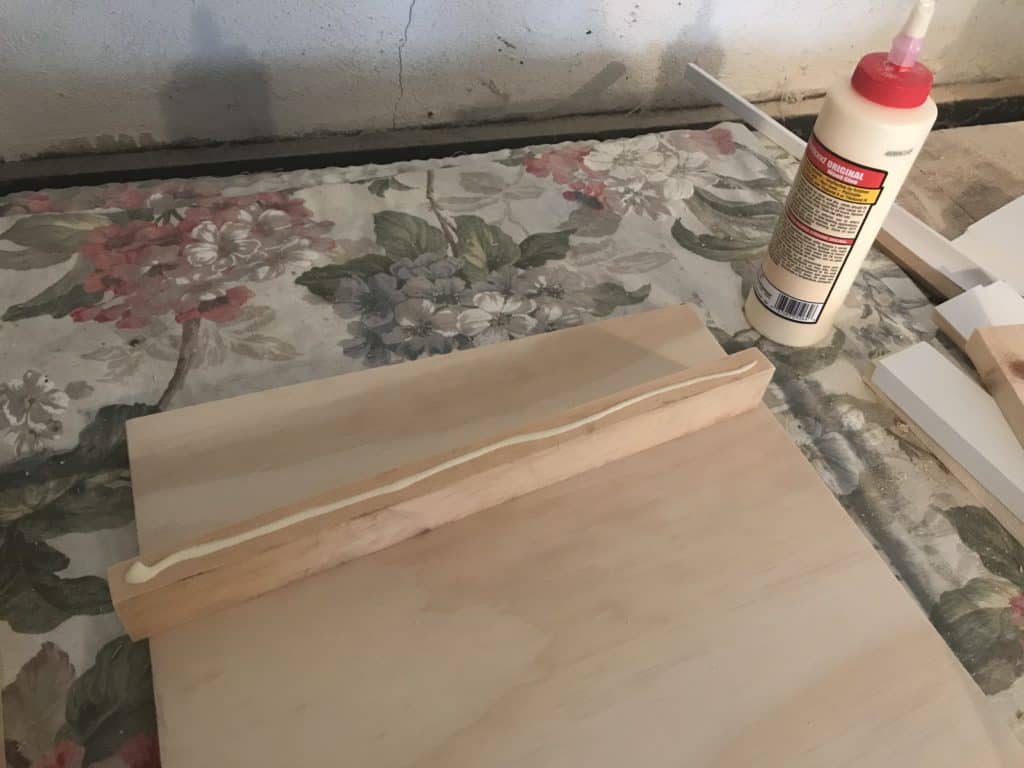
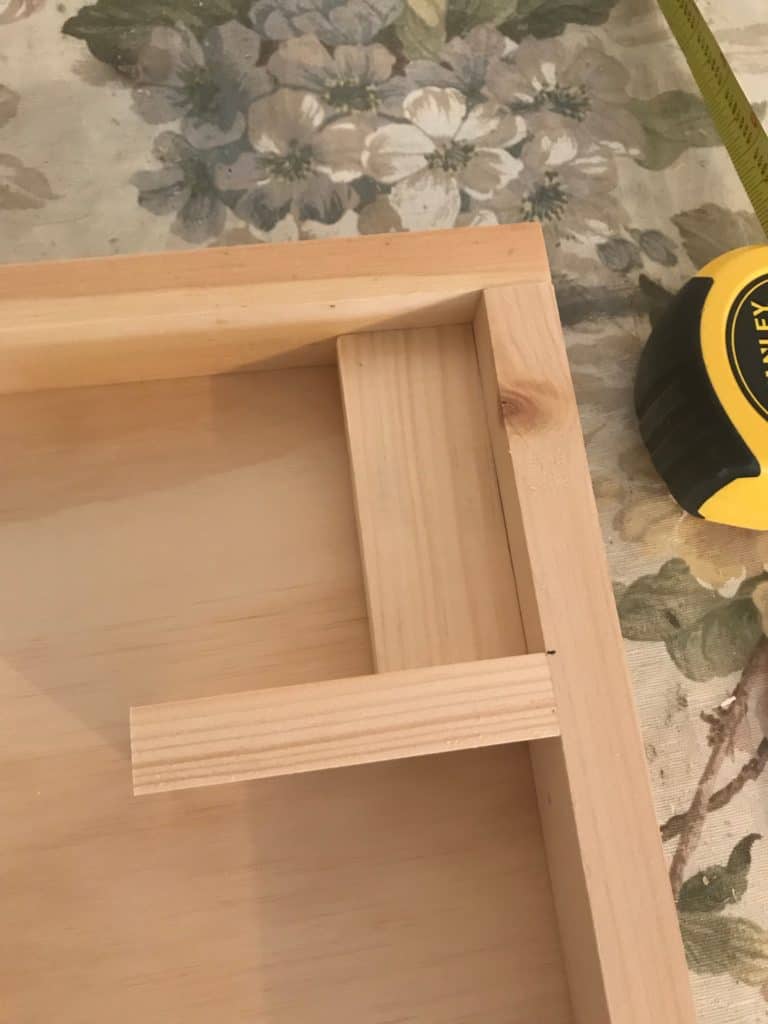
I used the small pieces as spacers. 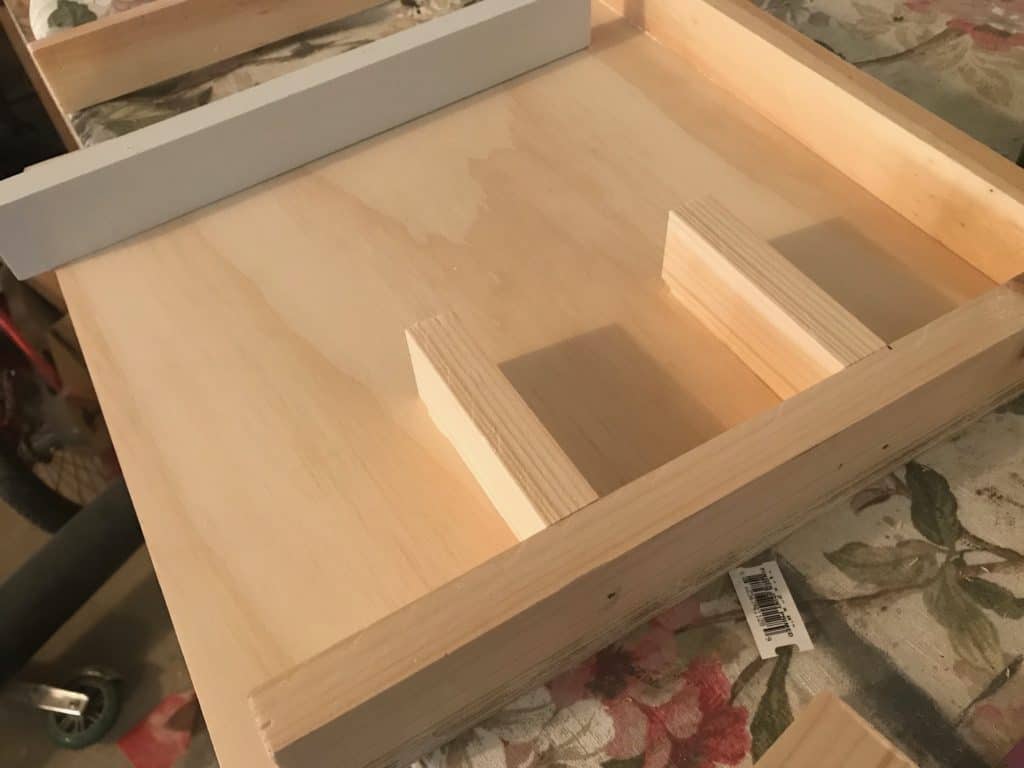
As I mentioned before, my O’s were already cut from a previous project. I’m going to pretend like all of you reading this post have taken the time to make every single project I have ever posted on my blog (haha, yeah right!). However, if this is not the case for you, then you can take a scrap piece of wood and use a 3 inch hole saw attachment for your drill to make these cuts. Alternatively you could go to your local craft store and try to find wooden letters in the dimensions that you want.
In fact, that is exactly what I did for my X’s. My initial plan was to make and assemble everything I needed for this project from the scraps that I had in the garage. As I was brainstorming for how I was planning to make my X’s, I came across these wooden letters at Hobby Lobby for $1.49 each.

Unfortunately that price just couldn’t be beat! With the amount of time and effort it would’ve taken me to cut, assemble, sand, and paint five X’s for this project, it just made a ton more sense to purchase them since they were so inexpensive! Even with paying for shipping, I still felt that spending $15 for five letters versus 2 to 3 hours of my time made more sense. It may feel like cheating for you woodworking purists out there…but totally worth it for me! No regrets.
Painting/Finishing
Now that everything is assembled, it is time for finishing! One of the scrap 1×2 boards that I used was primed white, which took staining off the table for me. So I decided to paint it a little bit darker because the X’s that I was purchasing were also already white. The board was painted using a darker greige paint that I had on hand. The circles were painted white to match the X’s. This gives the game a really rustic and farmhouse decor type vibe. You could totally do something a lot more fun and colorful here too if you wanted! But I think I’m allergic to color.
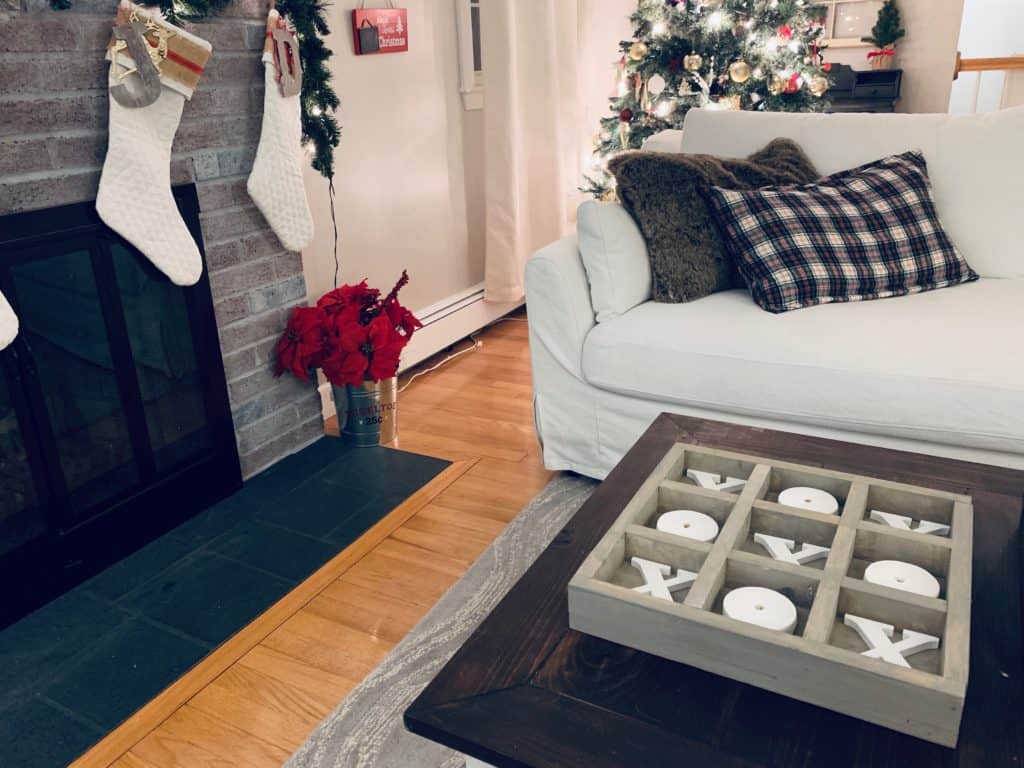
And with that, the project is done! Quick, easy, inexpensive, and a great handmade holiday gift for the family! My kids will really love this rustic DIY tic-tac-toe board (I hope)! Otherwise it will just sit there on the coffee table looking pretty. Happy holidays!