DIY Wooden Christmas Sign
I’ve been seeing these Christmas signs everywhere! And for good reason, they are gorgeous! A little pricey for my taste though. Luckily, some of the simpler versions are really pretty easy to make yourself, even without all the fancy tools, printers, and cutters. I’ll show you some tips and tricks for how to make your own DIY wooden Christmas sign for either home decor or an awesome handmade holiday gift.
Supplies
- Cost- $4-10
- Length of time for project: 1-2 hours
- What you’ll need:
- plywood (any size you’d like. Mine was 3/4″ thick but honestly I think thinner would be better!)
- #1 8′ 1×2 common board- $4
- Stain of your choosing- I used Varathane Briarsmoke
- White paint- anything you have available to you
- Computer and printer- for creating your text
- Black sharpie
- Black acrylic paint (and flat paint brush)
- What I learned: These signs are really pretty simple and there are so many options/styles to play with! For the price and the time commitment, this may be my new favorite project!
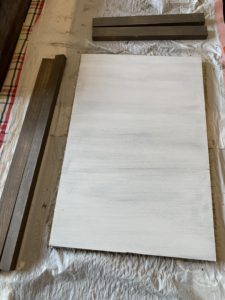
These signs can be made in any shape or size that you like. It really depends on what you are looking for to fit your space. I started by using a scrap piece of plywood I had lying around in my garage (Dimensions are approximately 14 x 20, give or take.). Eventually I think I would like a much bigger sign, but felt like this would be a good one to start with.
I did have to purchase an 8 foot 1 x 2 board in order to make the frame. The cost for that was about four dollars. Those boards were then cut to length to frame out the piece of plywood.
I started by staining all of the pieces with Varathane briarsmoke stain. Then I painted the plywood with a couple coats of white paint (the frame was not painted). Adding paint on top of the stain will allow me to go back a little later and sand, creating a more weathered affect.

Inspiration
Now, onto the hardest part of this project, which is picking your design! Seriously, that is the hardest part. I could scroll Pinterest all day looking at these signs. I rounded up about 4 options and shared with my IG friends to get some advice. Most people liked #1 (not the one I chose), so I will add that to my list for possible products to sell down the line. I didn’t choose it for the time being because I was having a bit of an issue getting the text just right…plus I was just drawn to #4.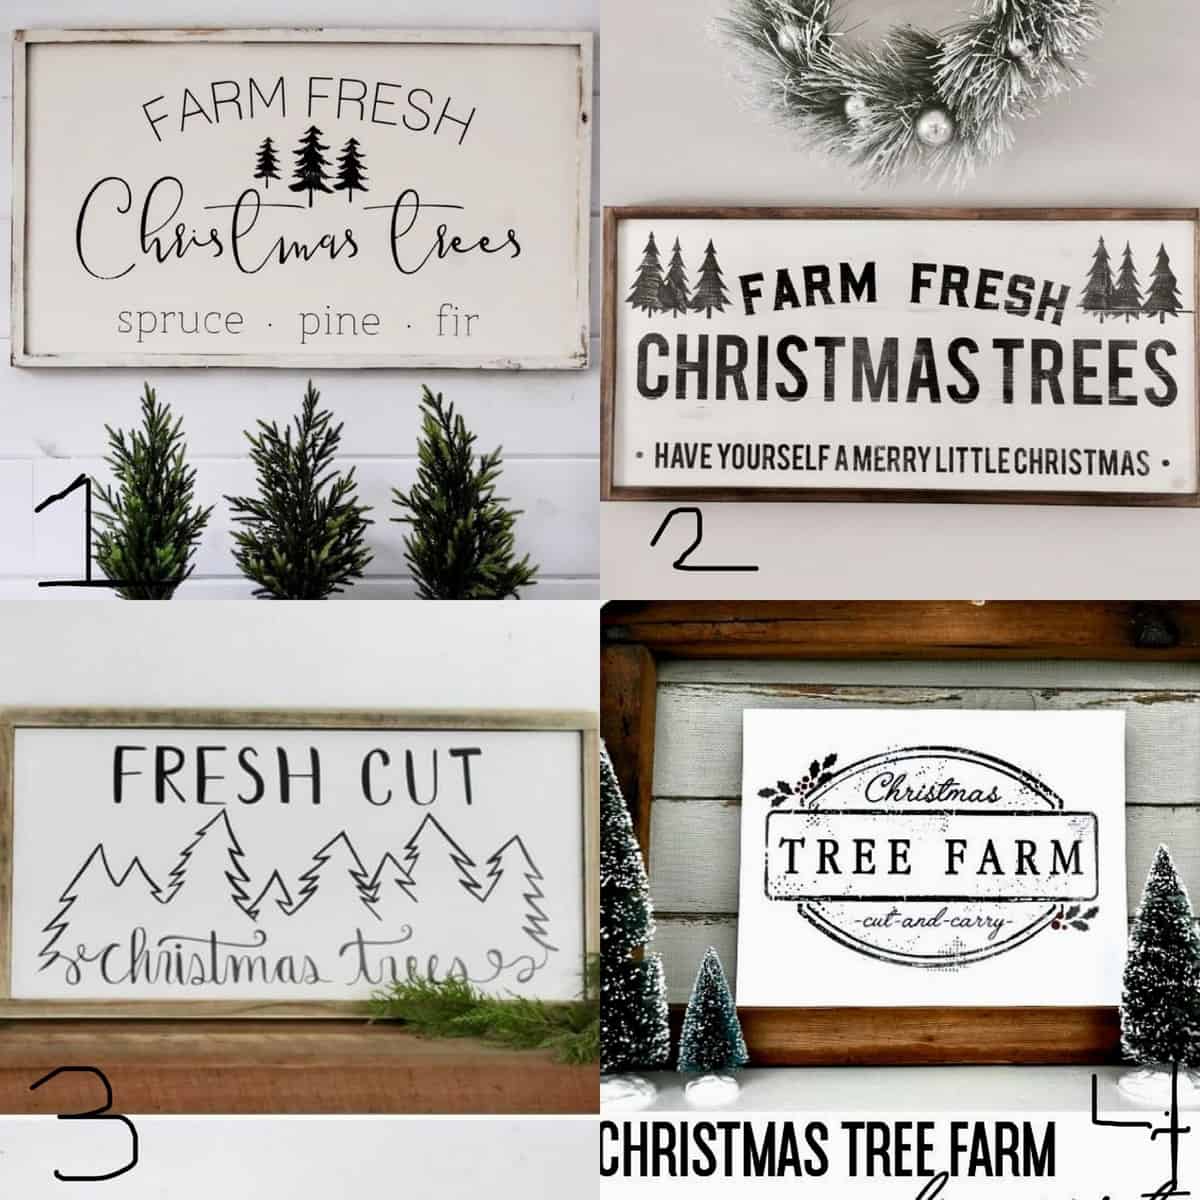
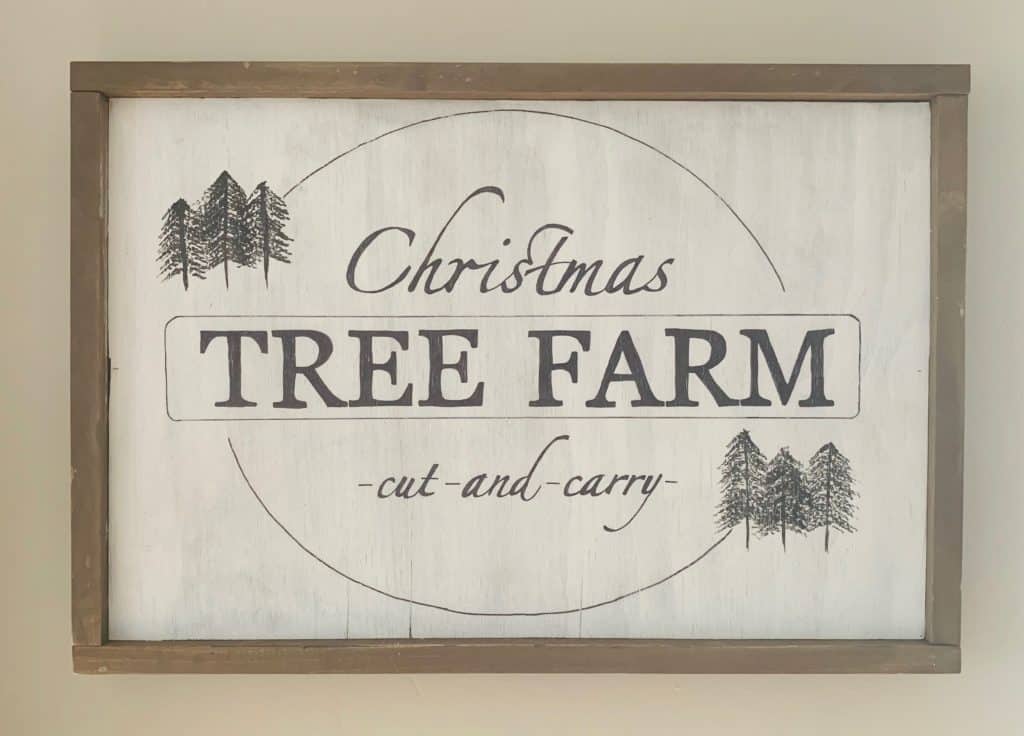
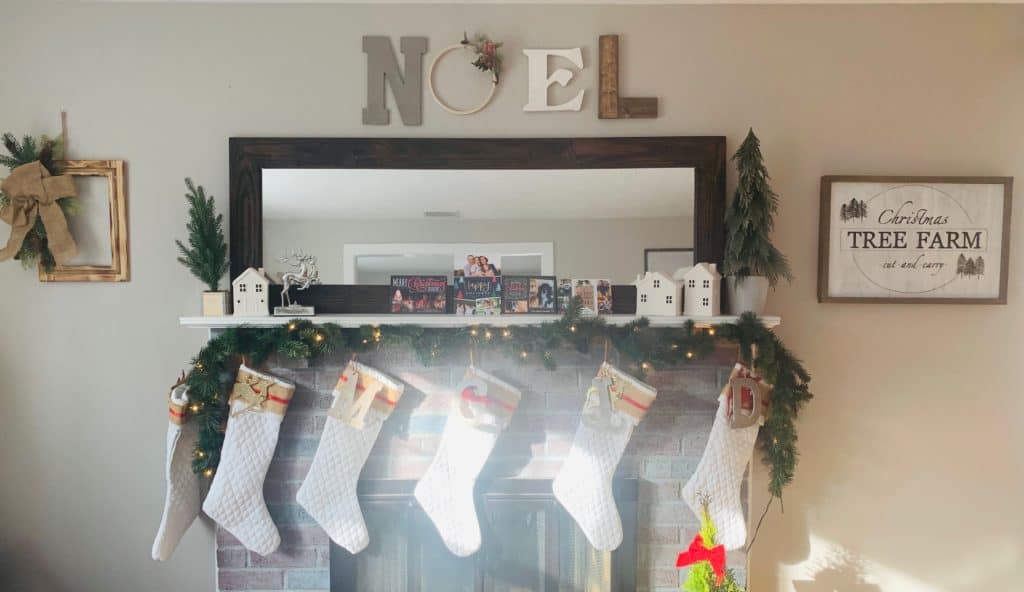
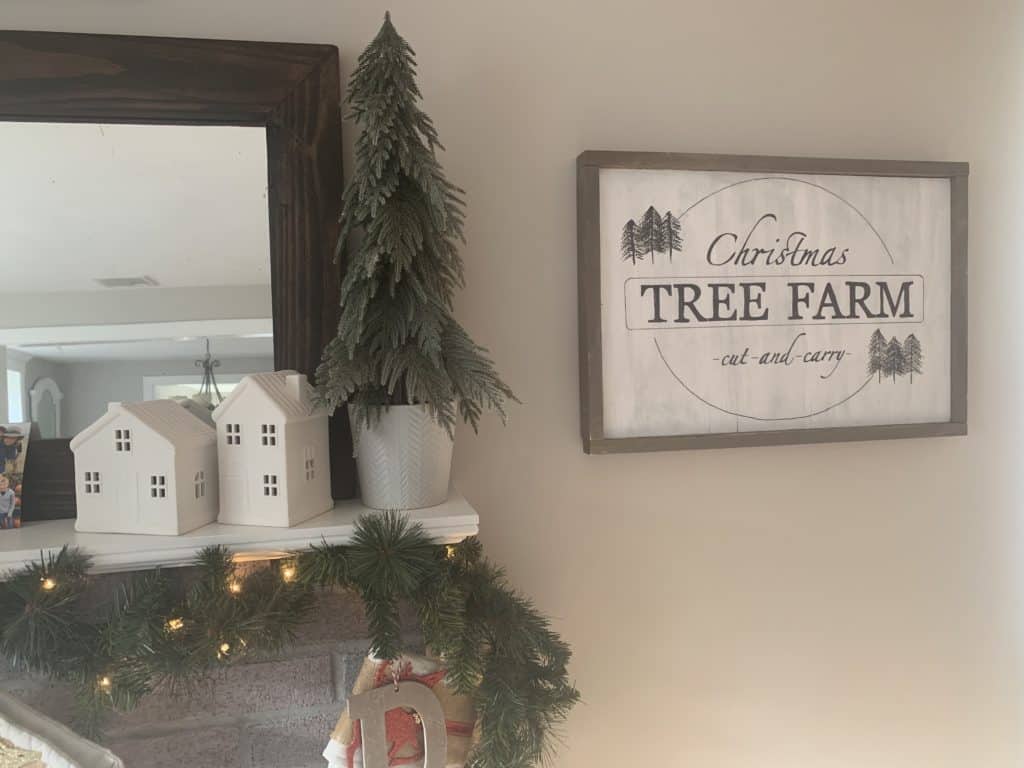
My design stayed relatively true to the layout of #4 but I added the cute aspect of the tree clusters from #1 to change it up a bit.
Creation
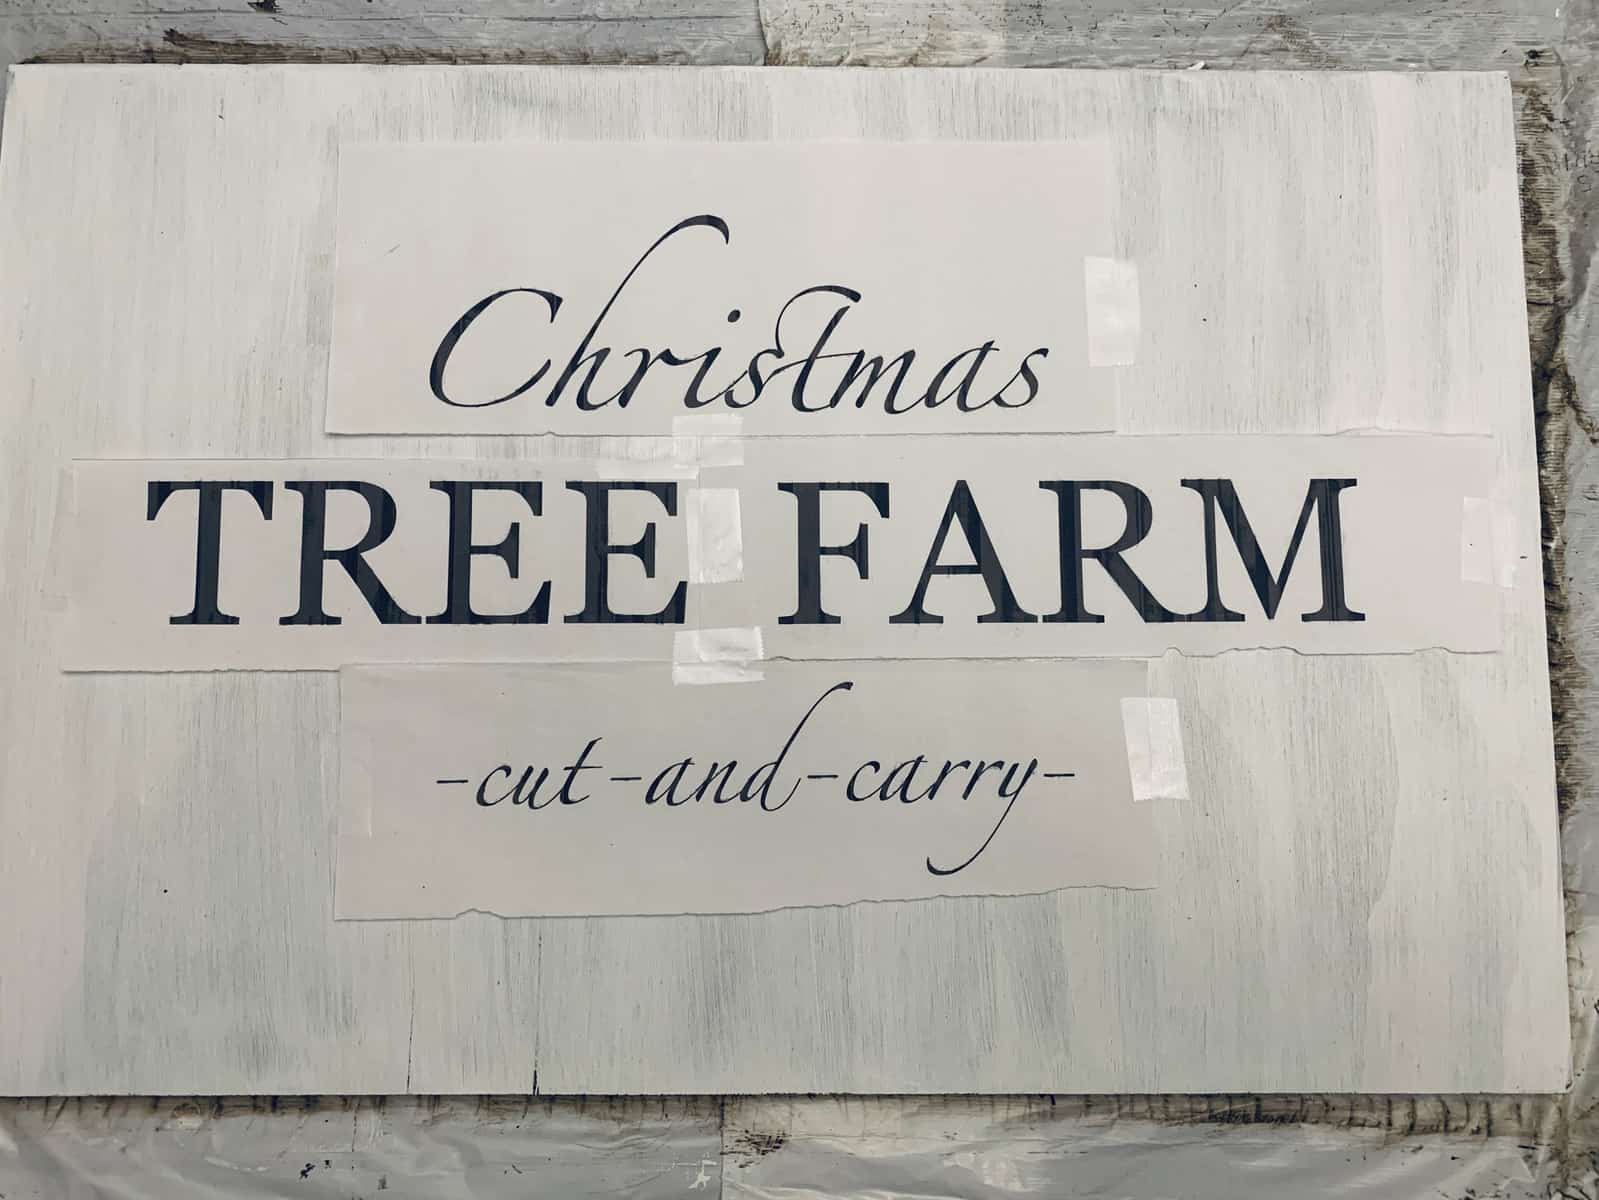
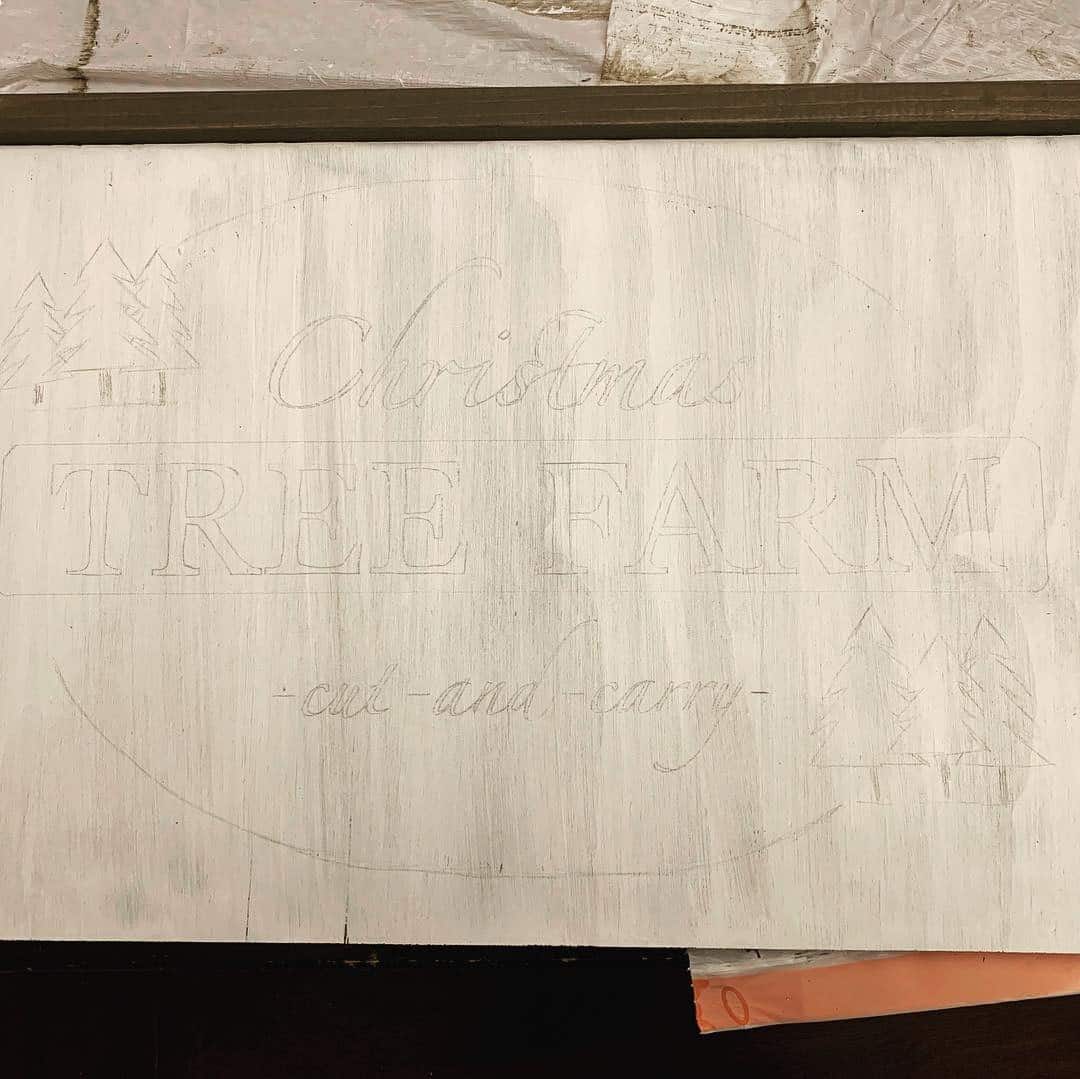
OK, now once you’ve decided on your text, you need to create it in a word document on your PC. For my top and bottom text I used a cursive like font on the landscape piece of paper and blew it up to the full size of that piece of paper. The text in the middle is a little larger so that was one word per line so each work takes up a full sheet (still landscape). Font on this one was a little bit more traditional, caps only.
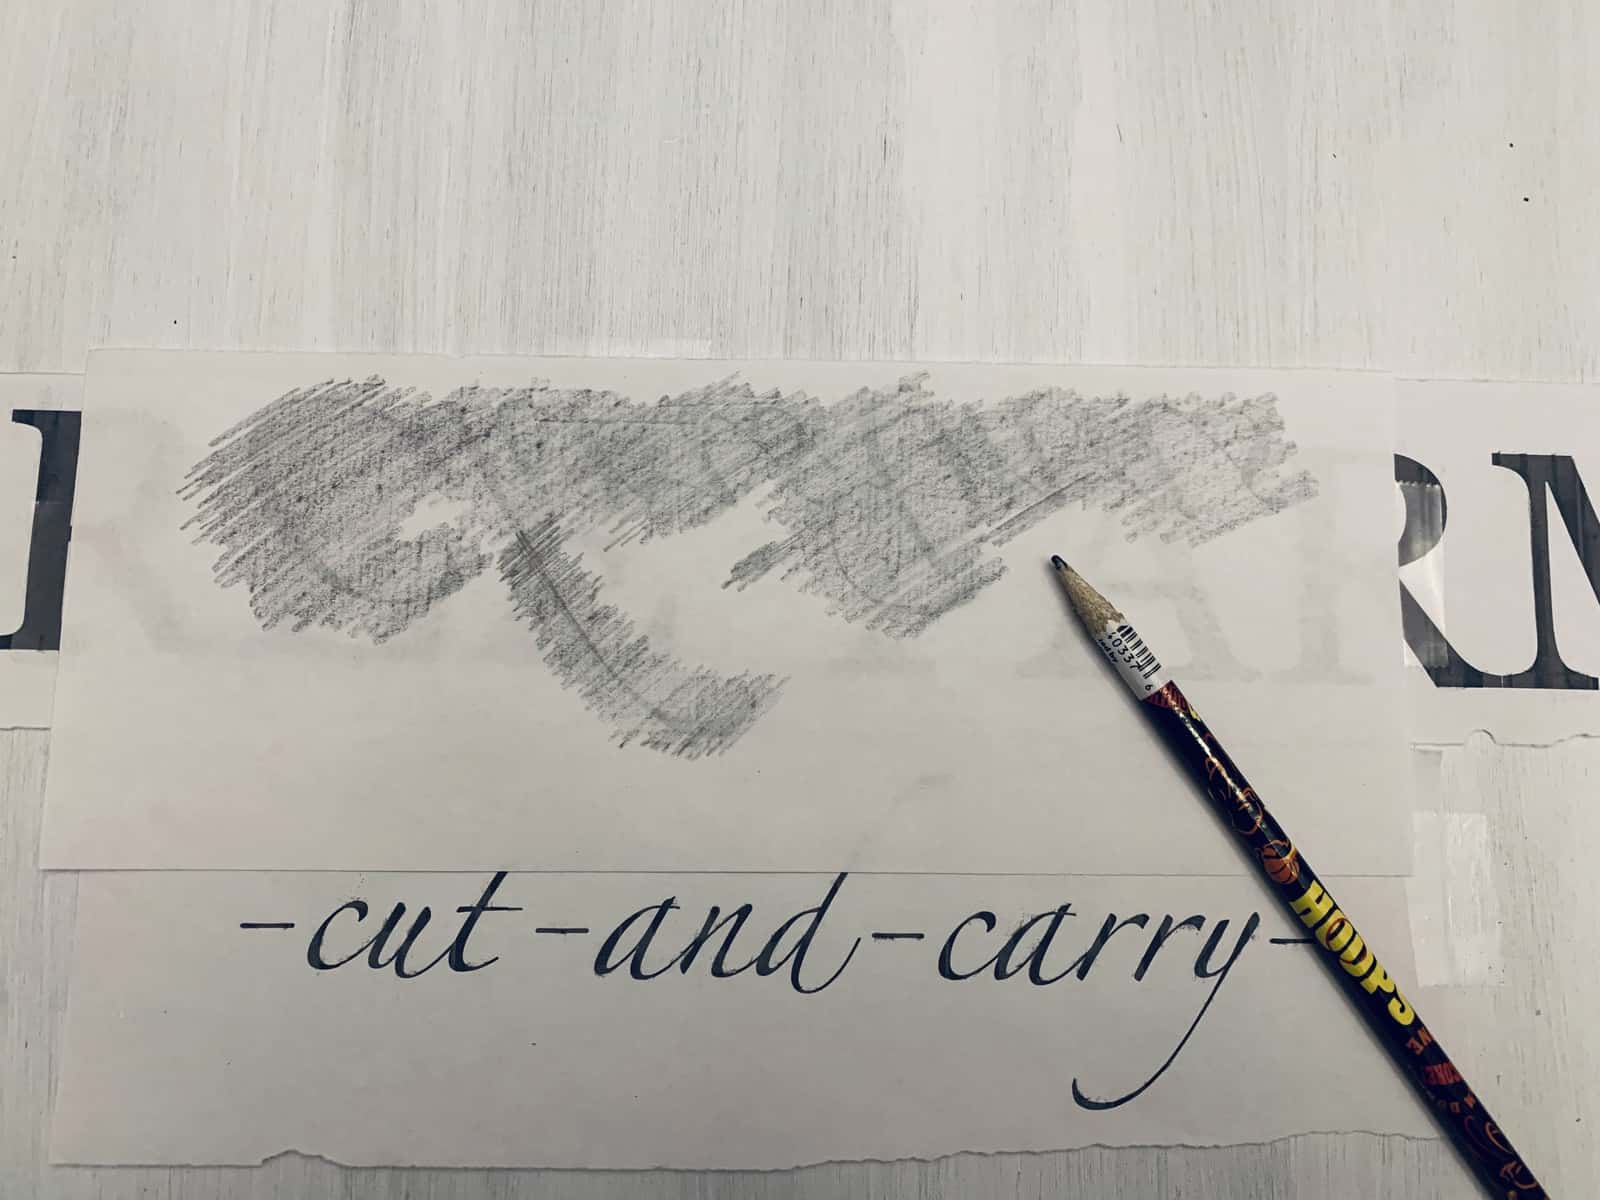
OK, now here is where I am going to blow your mind! I wish I could remember where I saw this tip on Pinterest, because I would gladly give credit to whoever came up with this idea. After you found the placement for your text, you turn the paper over and scribble all over it with pencil. Then flip it back over and trace over the letters. The pencil that you have scribbled on to the back of the paper will then be transferred off directly to the board. Brilliant!
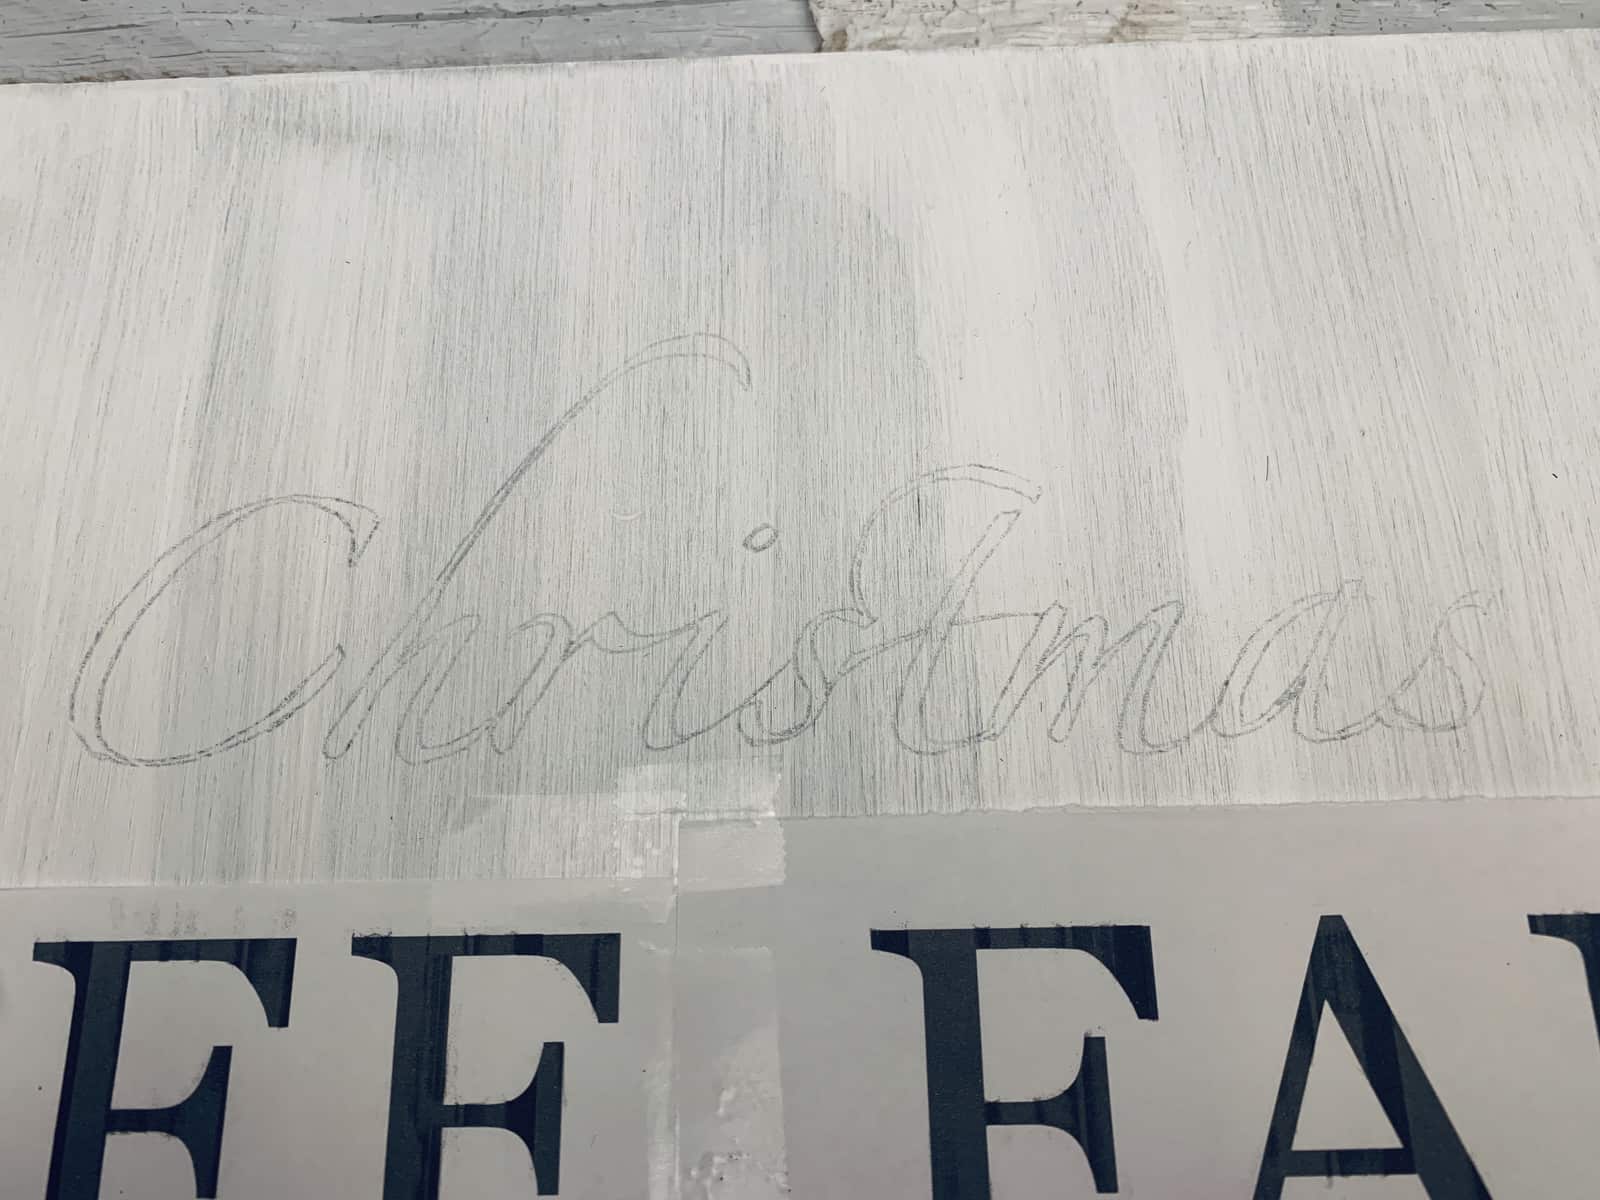
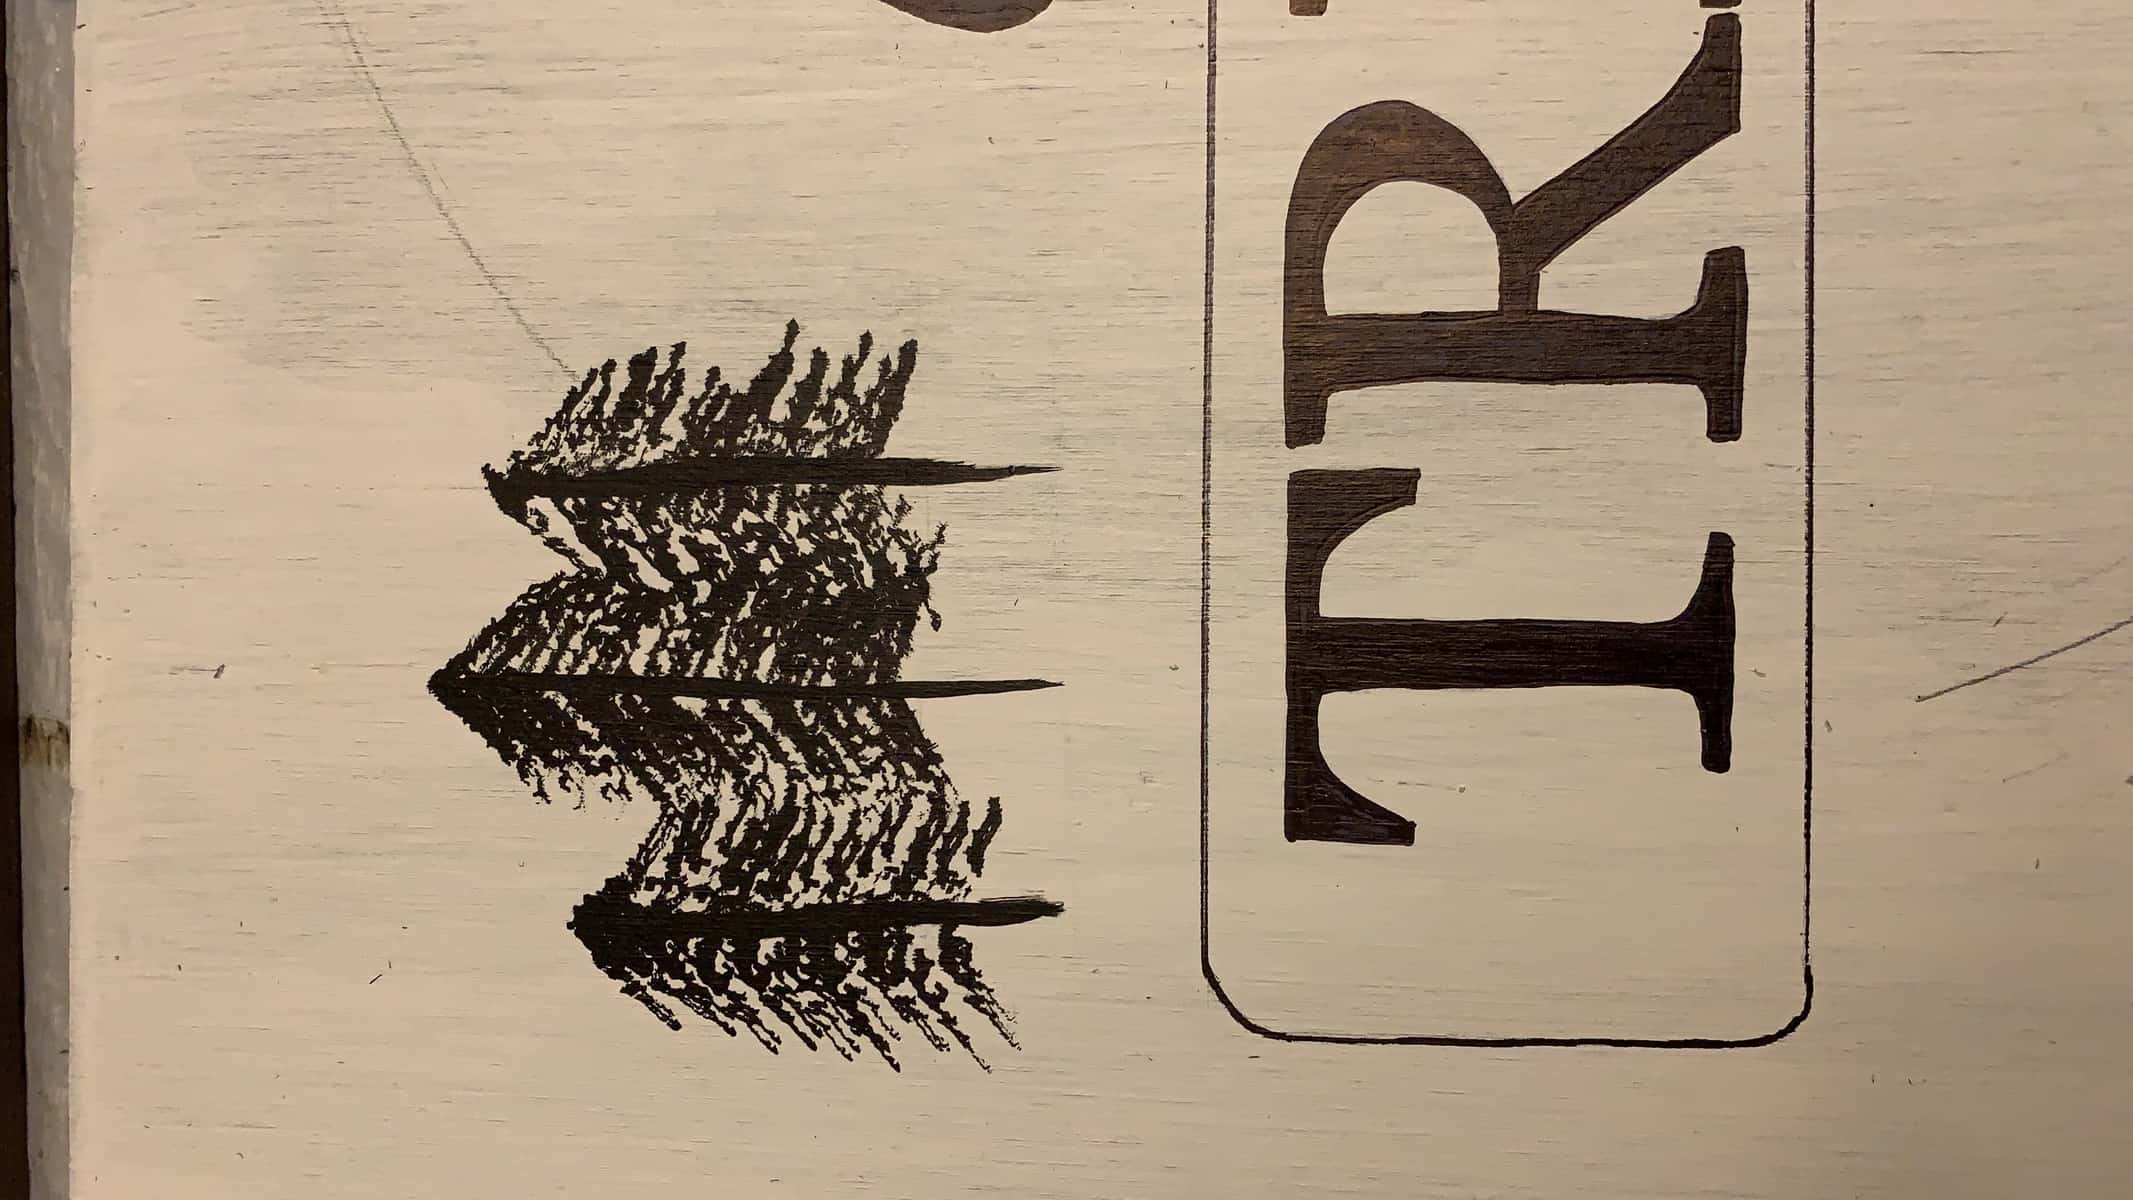
Now all you have to do is fill in these words with paint, or sharpie, or whatever you would like to use. I tried a sharpie this time around and it actually worked great. Black acrylic paint was used for the trees. You can find a short little video in my saved IG stories if you want to take a look at how I painted the trees.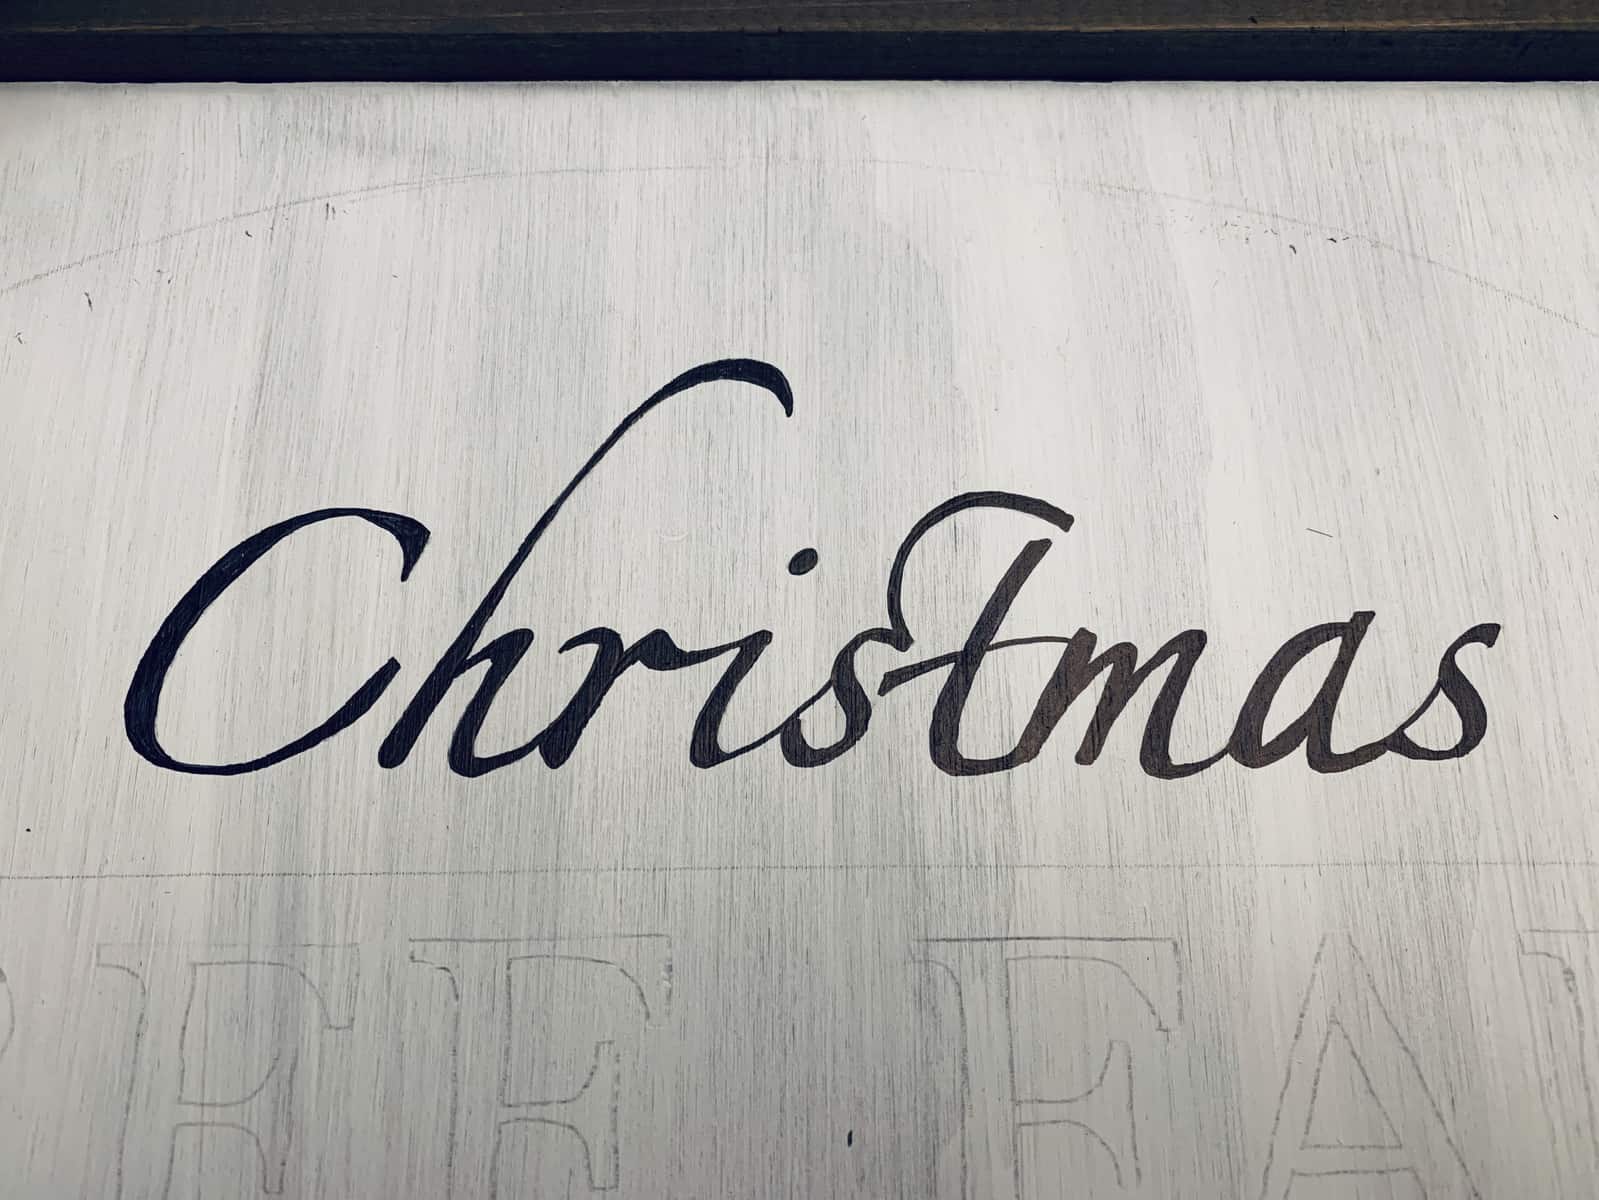
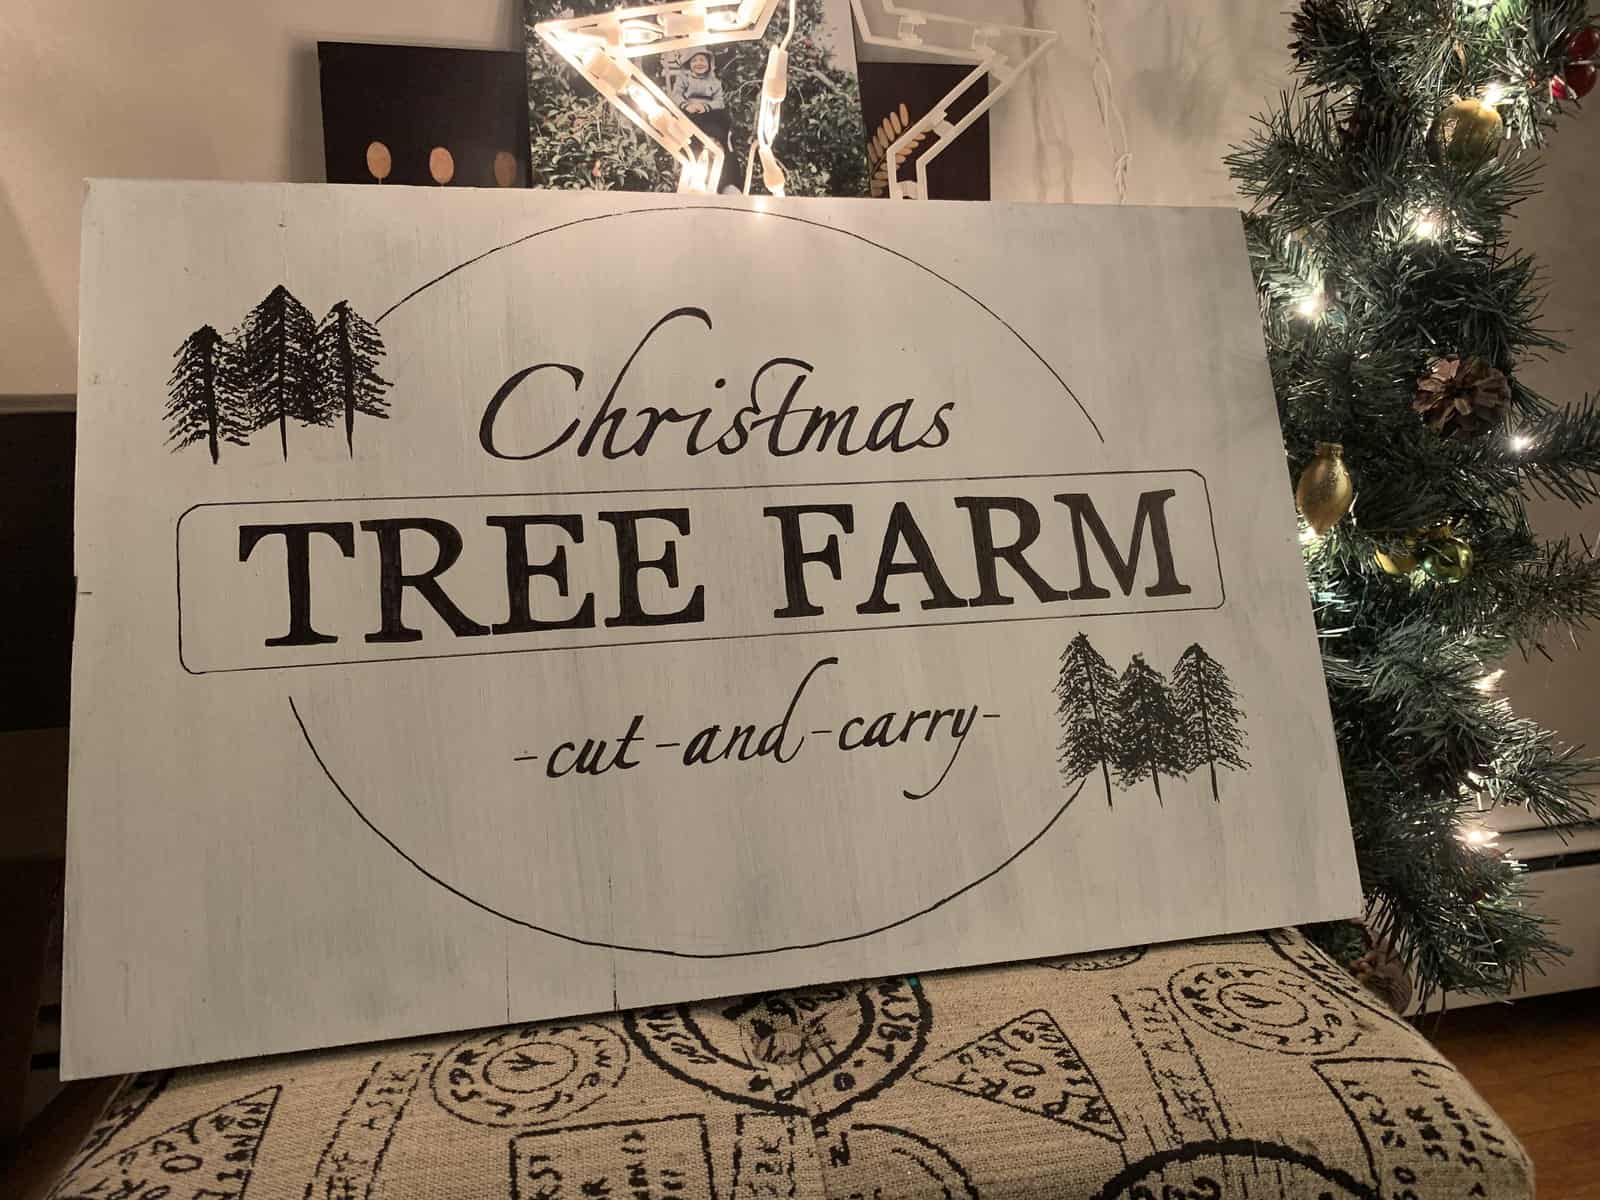
Final Product
When everything is nice and dry, go over it with a light sanding just to age it a little bit. Then attach the frame and you are done with your DIY Wooden Christmas Sign! Mine was attached using wood glue and a nail gun.
Sounds like a lot of steps as I’m writing this out but honestly, it took me less than two hours from start to finish. I will definitely be making another wooden sign in the future and hope this gives you the motivation to try one yourself!