Faux Brick Feature Wall- One Room Challenge
As I mentioned last week, I’m participating in the One Room Challenge and this is week 2 of 6! Super happy to share this project and all of my progress moving forward! This is week 2 but technically project number one! Last week I shared my inspiration board for my son’s bedroom renovation. This week, I’m sharing a faux brick feature wall!

Disclaimer: In the name of full transparency, please be aware that this blog post contains affiliate links and any purchases made through such links will result in a small commission for me (at no extra cost for you). As an Amazon Associate I earn from qualifying purchases.
Week Two:
The inspiration came from my lovely friend Laura over at The Restoring House. Please go give her some love and check out her amazing feature brick wall (and tutorial) as well as all her other incredible home renovations!

Supplies
This project starts with Kingston hardboard brick panels from Home Depot. They run about $30 per panel and the panels are 4′ x 8′. This wall required like 2 1/2 panels. I also picked up a 3.5 quart bucket of Dust Control Joint Compound. If you weren’t aware, you can order online from Home Depot and then go quickly pick up in store! This has been a game changer for me!
Installation
You can go about hanging the panels a couple of ways. If you look back at The Restoring House post, she uses both adhesive and a nail gun. Laura also references her inspiration in her tutorial post, which comes from Corey at Sawdust2stitches. If you look at Corey’s post, you will see she just used a lot of nails so that she could have the option of removing the panels in the future. I opted for the latter as I am a commitment phobe/serial mind changer and don’t like to be locked into one thing.
Again, if you look at both tutorials, you will see they both do a couple of different things when prepping the panels for hanging. Sawdust2stitches hangs her panels without notching out any bricks. The panels are hung with straight edges and the seams aren’t really visible at all. The Restoring house, however, uses a jigsaw to cut along the edges and notch out the bricks just to hide the seam a bit more. In all honesty, I could not see the seams in either project so I decided to skip the step of notching out the bricks and just hung the panels with straight sides hoping that the joint compound I’m planning to layer on top will help hide things for me.


As I mentioned before, the panels are 8′ tall. My walls, however, are not 8′ tall, plus there are baseboards. So using my jigsaw (inside the house, shhhh….don’t tell my husband) I cut the panels to the appropriate length before hanging. I also had to make cuts to go around the window and my baseboard heating, so it’s a little bit like a jigsaw puzzle in those sections, but overall really not super complicated.

German Schmear Technique
Once all the panels were hung, I caulked the edges and the seams. Then I began applying the joint compound to the top. The process for applying the joint compound is called German Schmear, which just makes me giggle every time I say it! Basically you just take a big glob of the compound on your flat trowel and slather it across the bricks in a relatively thin layer. Check out Sawdust2stitches for a quick video tutorial. Work in small sections so it doesn’t dry too quickly, as you might need to brush some off or move some around to achieve the desired effect. You can also check out my IG story highlights here for some video.
You want some of the red brick peeking through, but the white joint compound tones it down and makes the brick panel look more vintage and textured. It really gives a great finish!
At this stage, I started to freak out a little bit. Because of my seams, I needed to apply a bit more joint compound along that line to smooth it out. When doing that, the seam became WAY too obvious as there was basically a white line of thicker compound running right along the seams. So after a little brainstorming, I decided to add a second coat of joint compound over the top to help blend it all a bit more. I had hoped to have a bit more red brick peeking through, but overall I’m very happy with how it looks now! If I could do it all over again, I think I would do the extra step of notching out bricks along the seam like The Renovation House did in her project. Lesson learned…

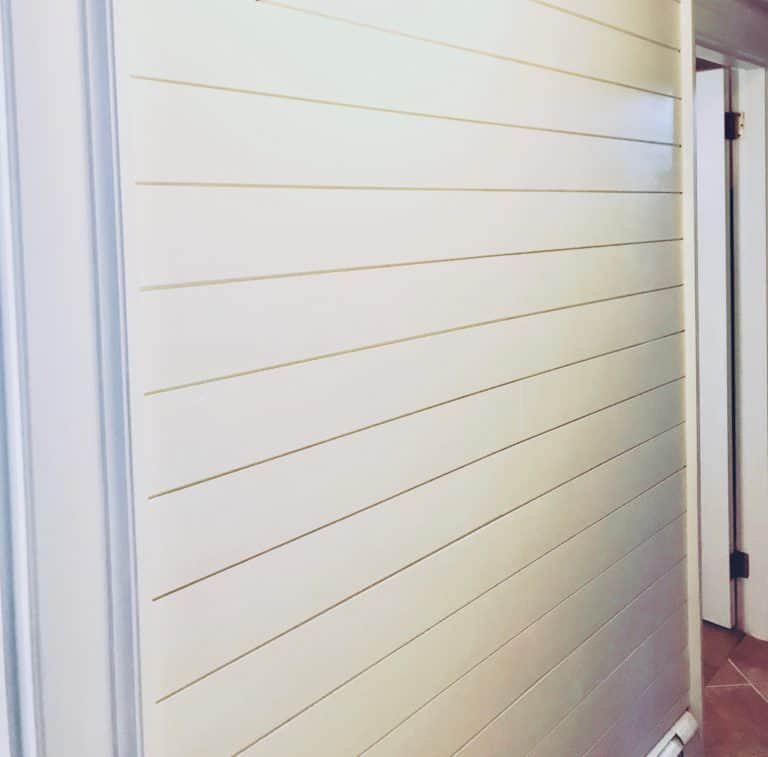
With just one coat joint compound 
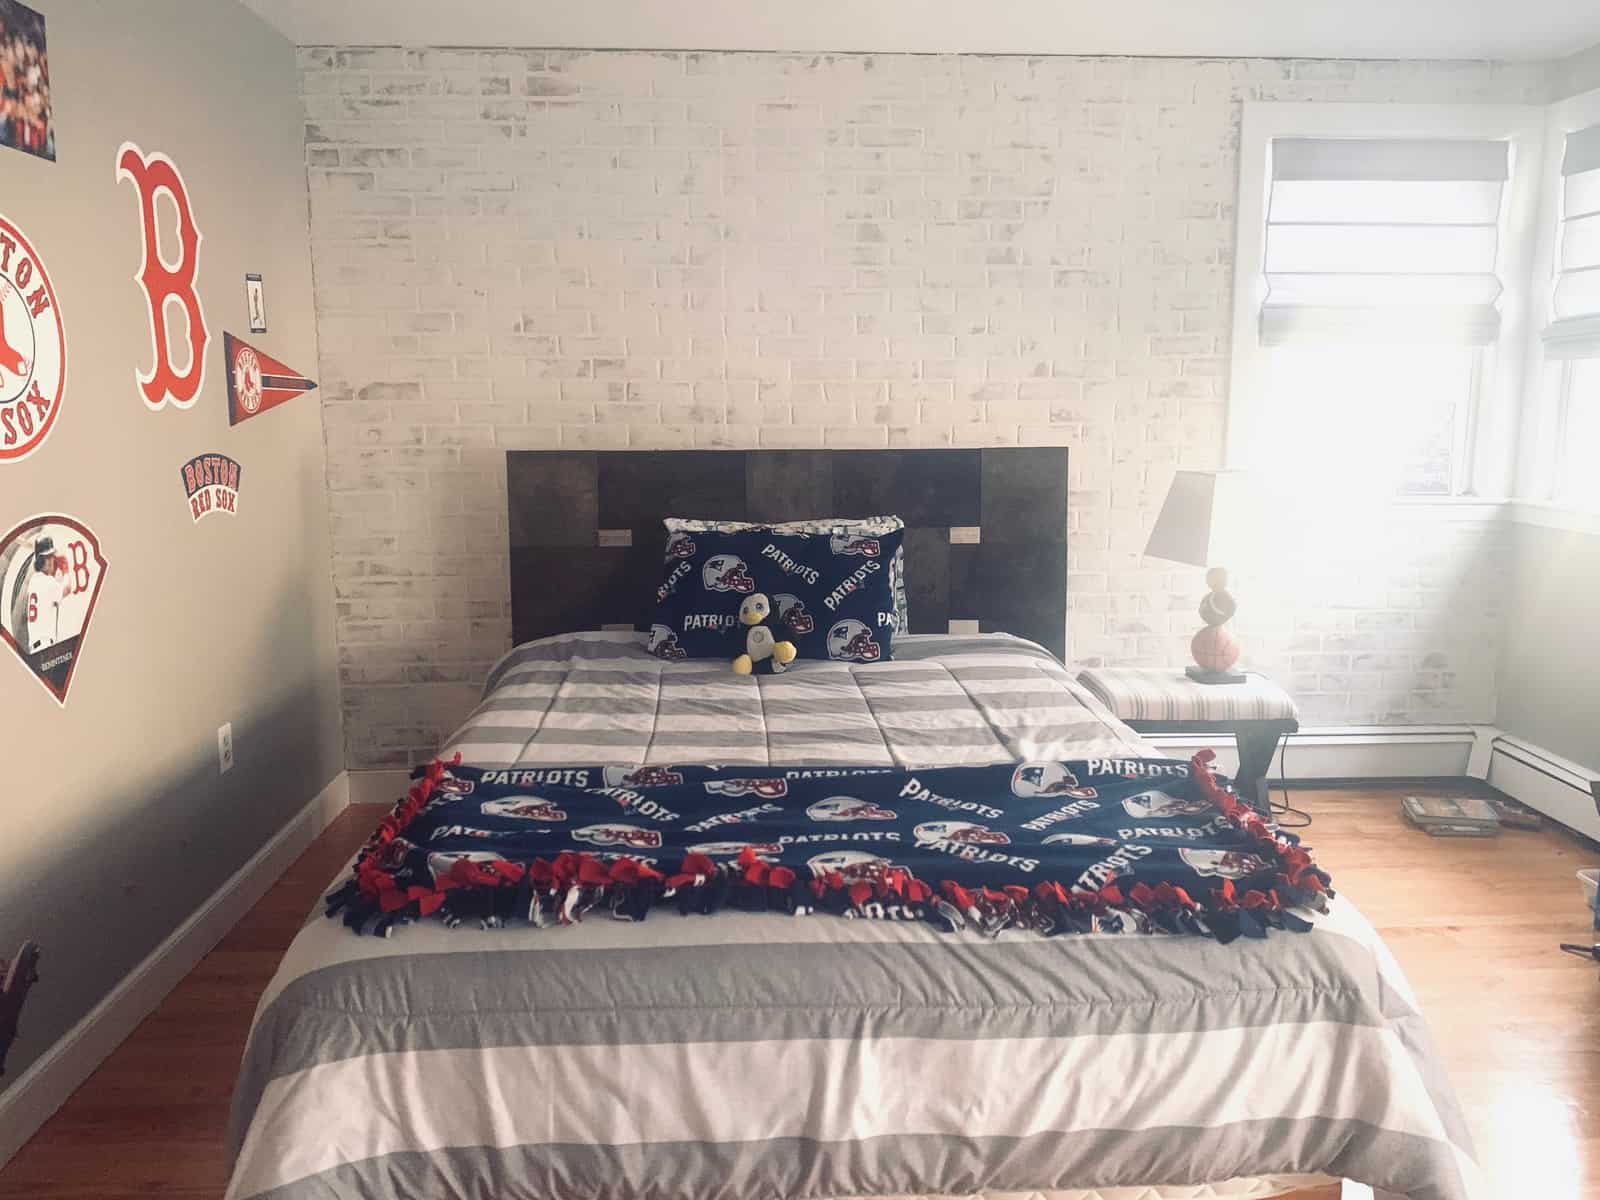
After two coats- seams much less visible!
Finishing Steps
Once the joint compound is dry then you should seal it. I say SHOULD because I haven’t decided yet if I will. I purchased 3.5 quarts of the low dust joint compound and when I rub against it, really no dust or crumbles come off at all! So though I know I should seal it…I might hold off for now. I mean, I’m on a deadline, yo! If I do go back and seal, I think I will use a clear polyurethane vs. a whitewash paint, as I think the paint would take away even more of the color I’m wanting to keep.
And that is it for the faux brick feature wall! I love the character it adds to the room! It cost about $100 and approximately 4-6 hours of active working time to complete. Lots more projects to complete over the next few weeks and I’m ready to move on to the next! I hope you love this brick feature wall as much as I do! Such an amazing addition to my son’s soon to be updated room!
Things left to do:
- Updated bed and headboard
- Bookshelves/side tables
- Bedding and rug
- Desk??
- Wall art


Stay tuned for next week and all the other week two one room challenge updates! You can find all those here and I promise you will not be disappointed!