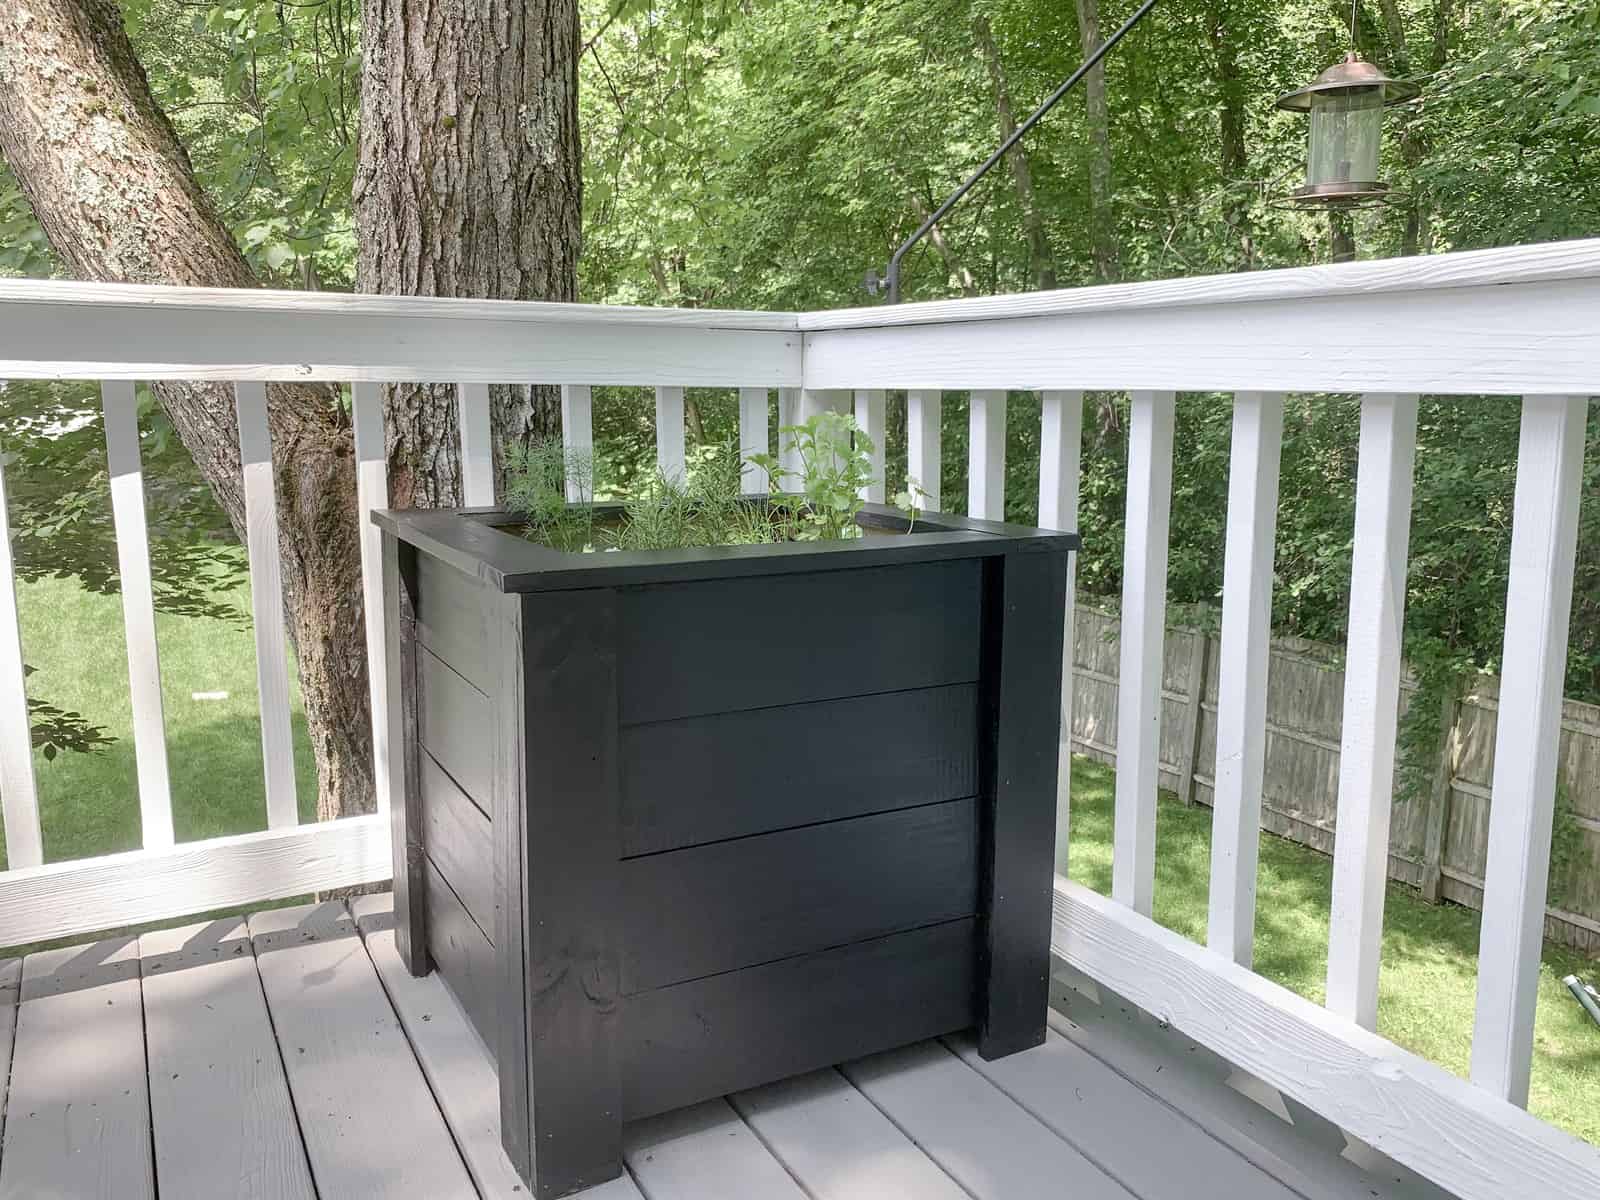
DIY Large Wooden Planter
Previously I shared with you how I updated my outdoor space with a deck refresh. Now I’d love to share with you how I made this DIY large wooden planter to go on our newly updated deck! It is a fun and easy build that adds a lot of style to your outdoor space while saving you a lot of money as well!
Disclaimer: In the name of full transparency, please be aware that this blog post may contain affiliate links and any purchases made through such links will result in a small commission for me (at no extra cost for you). As an Amazon and Home Depot Associate I earn from qualifying purchases.
Length of time for project: 4-6 hours
Cost: ~$50
What you’ll need: (4) 8′ 1×6 boards, (1) 8′ 2×2 board, (3) 8′ 1×4 boards, 2″ screws, wood glue, stain or paint ( I used a black staWhat I learned: Pressure treated wood works in the place of cedar if you can’t find any (and I couldn’t).
Getting Started
I really love big outdoor planters and having been scoping out styles for a while in order to add my own to our outdoor space. I’d hoped to make this large wooden planter out of cedar, but my local stores don’t seem to carry much cedar product. It was a bummer, but I was assured that I could use pressure-treated wood in place of the cedar so I decided to give that a shot.
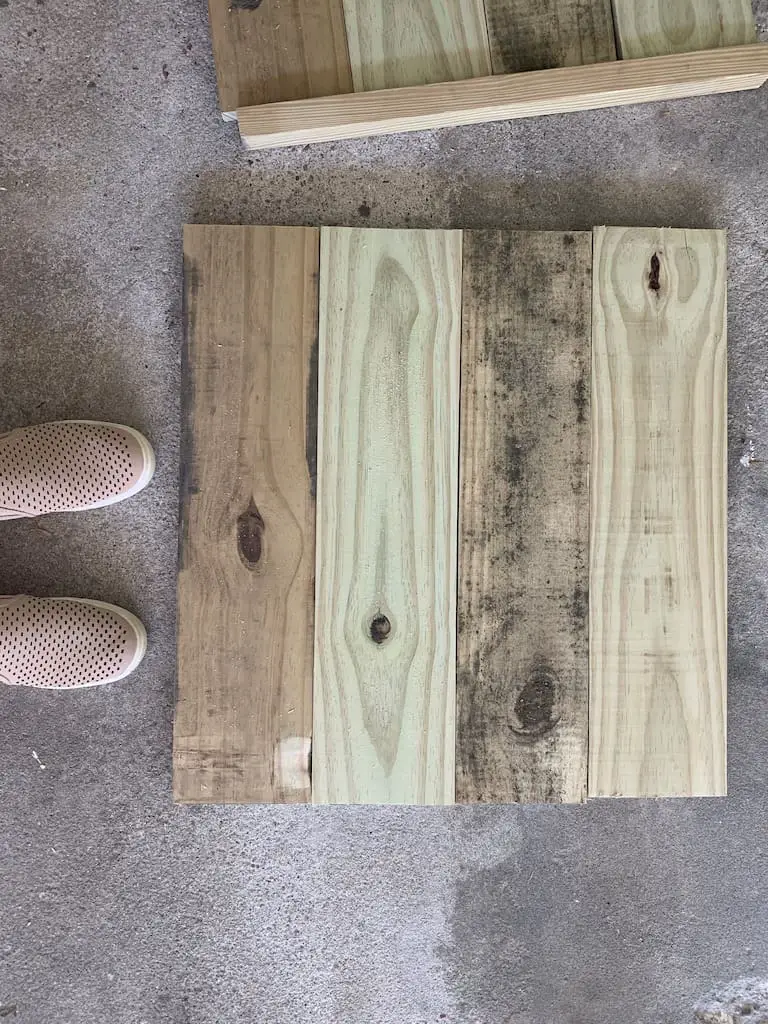
For the horizontal boards on the sides, I purchased four 8 foot long 1×6 pressure treated boards. These boards were all cut to just about 24 inches in length. You will need a total of 16 pieces cut to that size (4 for each side).
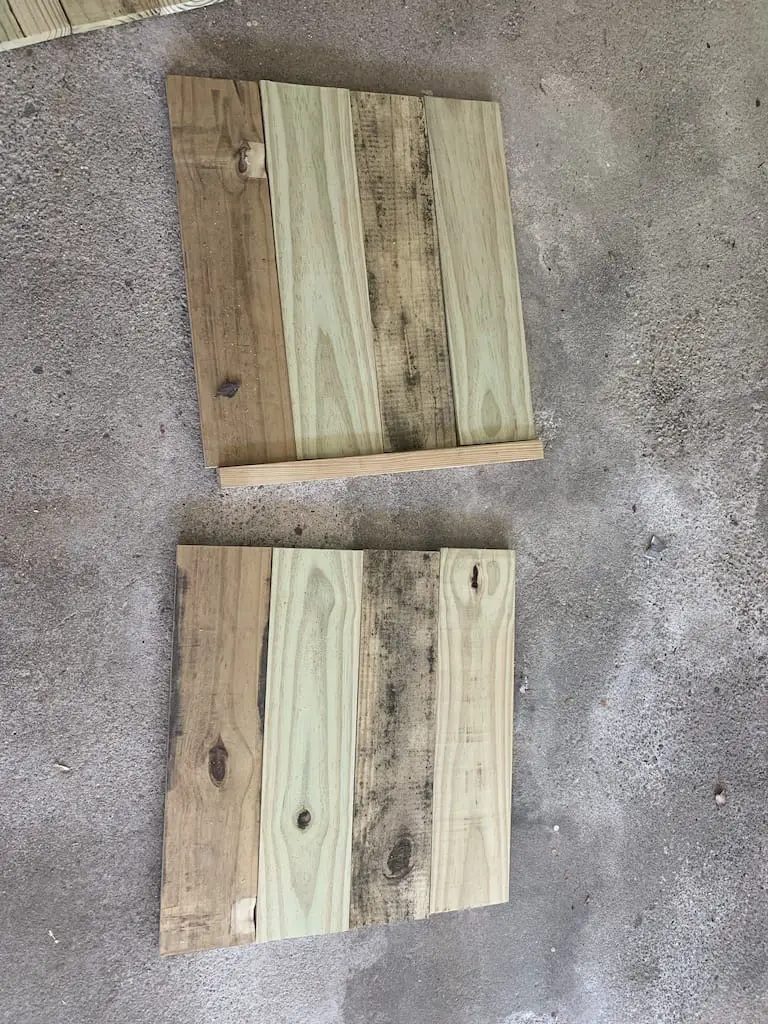
Assembly
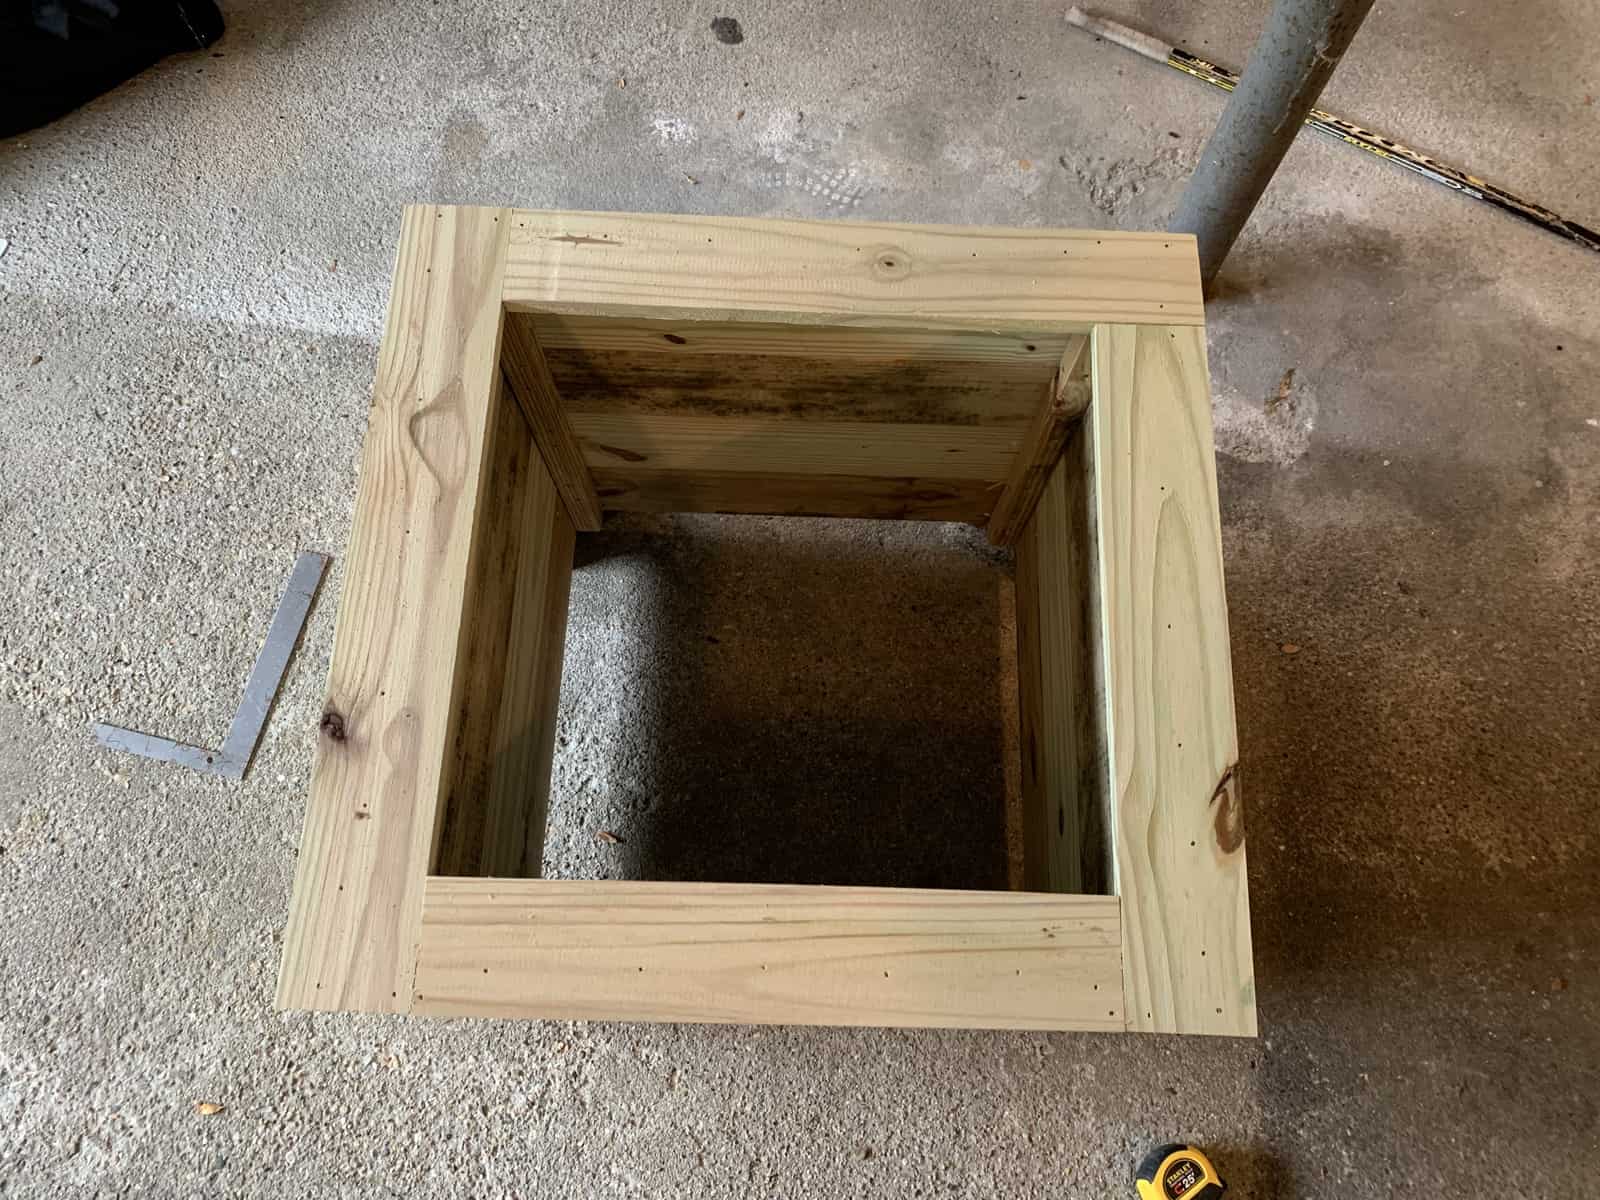
Once the side boards are cut, a 2 x 2 pressure-treated board was used to attach them together. This piece was cut to 22 inches, or just a little short of the height of the 4 horizontal boards. I lined the horizontal boards up together on the ground and put the 2×2 on top of it. This was then screwed into the horizontal boards from the backside using two 2″ spax screws per board.

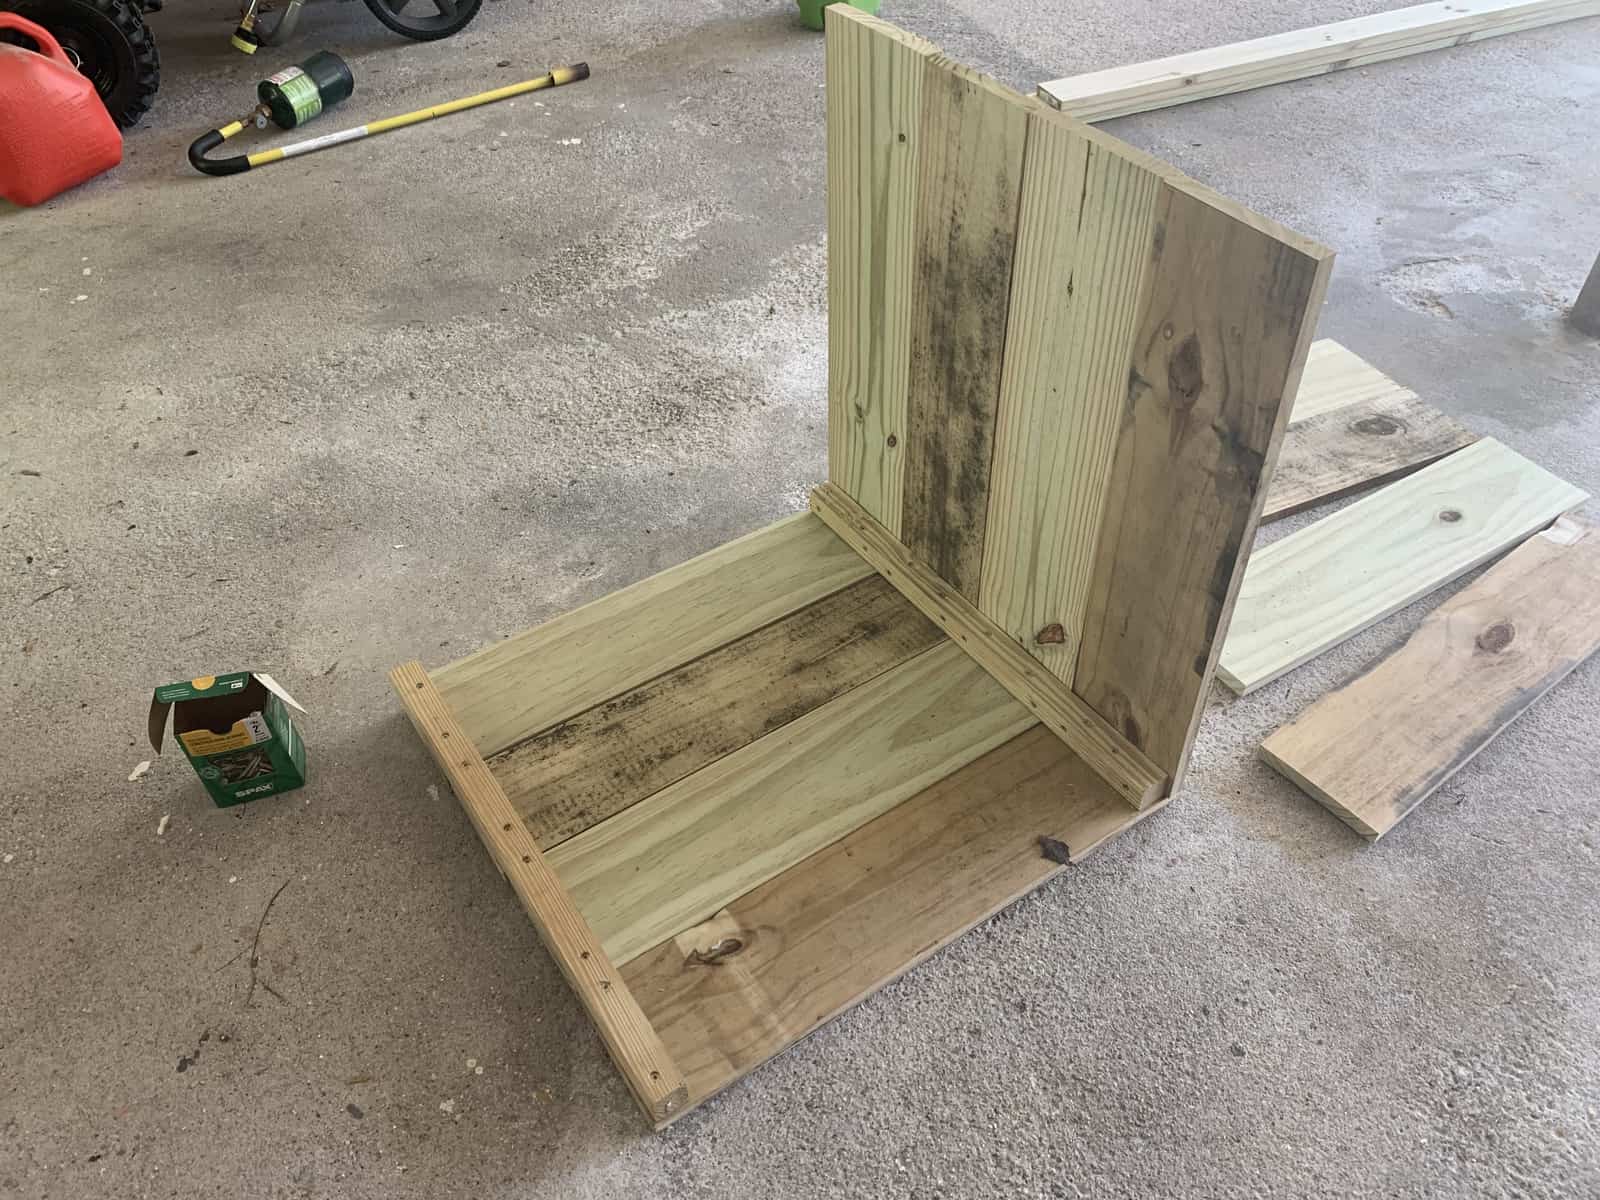
Because of the way these are attached, the outside horizontal boards will overlap a bit in the corners (butt joint). The easiest way to figure out how to overlap is to make four separate panels. Each panel should have the 2 x 2 on the same side. I attached my first 2 x 2 on the left side and then continued with a left aligned 2×2 as I assembled all the panels (check the picture below if this is confusing). If you mess up the overlap and overlap the corners differently on each side, it will not create a square. So keep this in mind with your assembly.
Trim
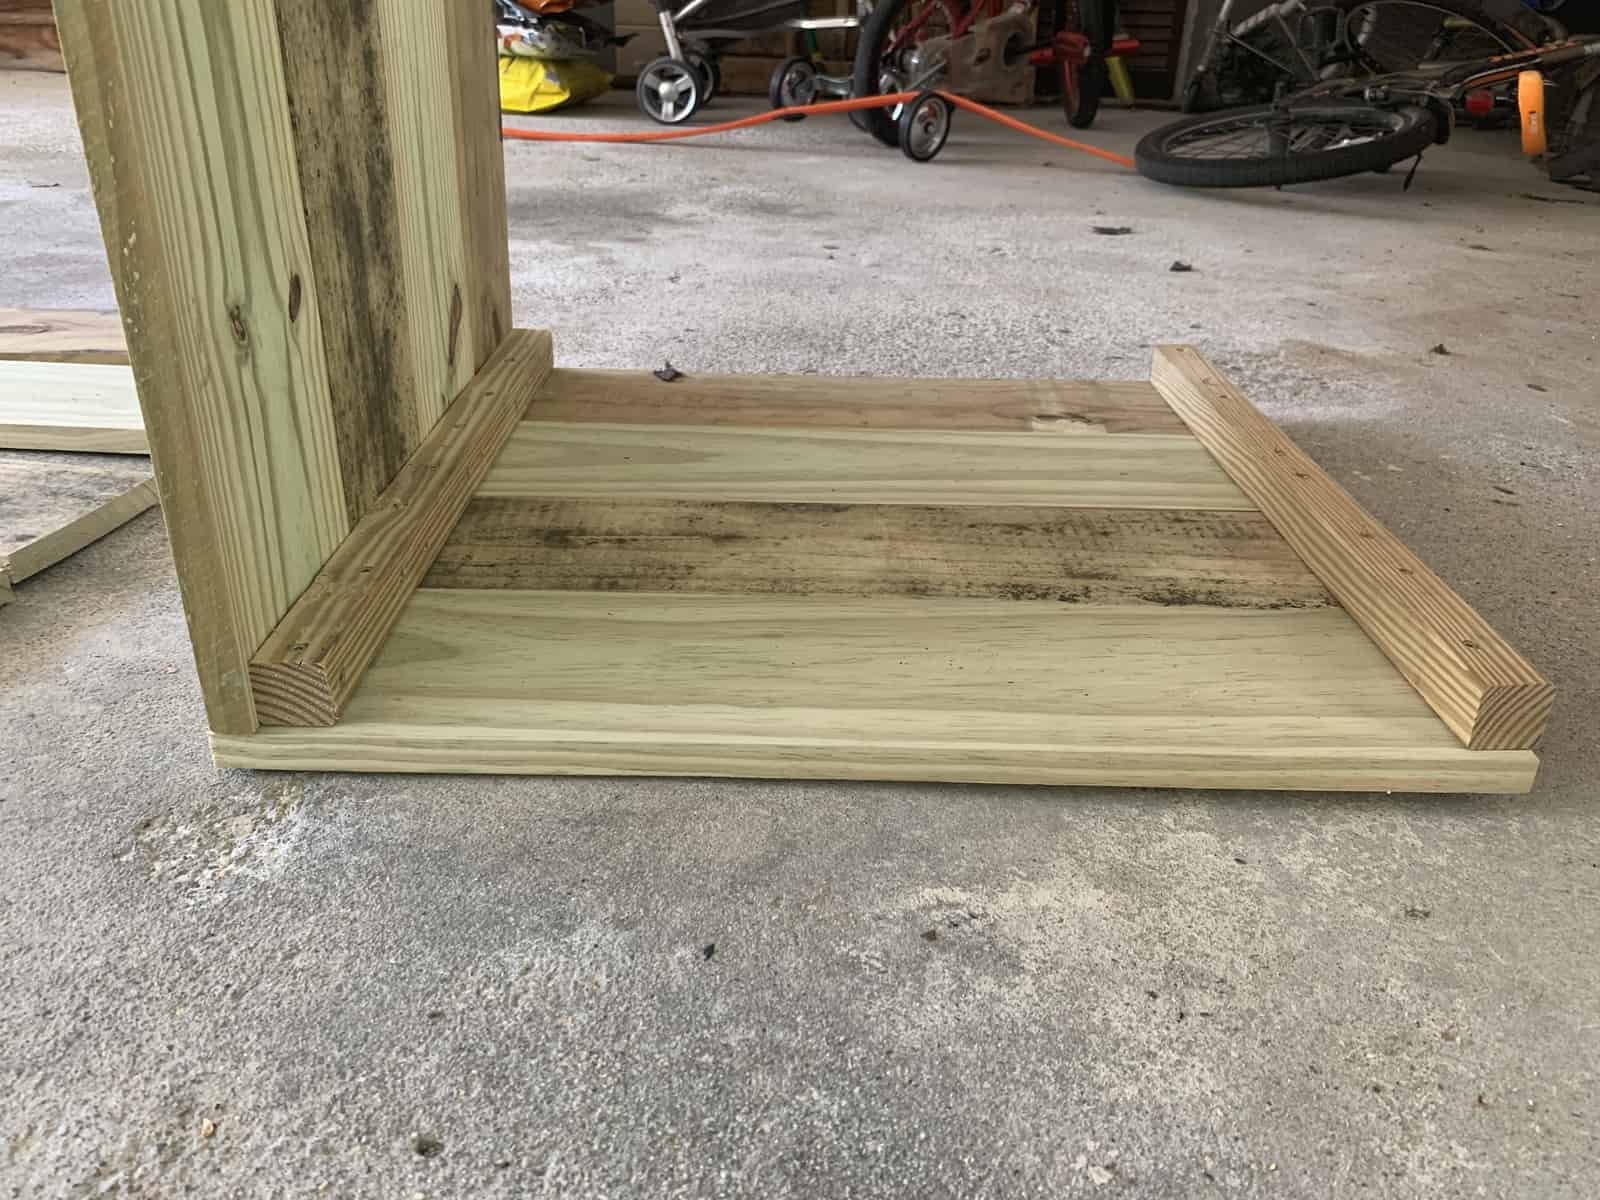
Once the box is assembled, it is ready for trim pieces to pull everything together! The smallest pressure treated boards that I could find were 1x4s. Originally I thought I would rip them down and make them smaller, but since my box is about 24 x 24″ around, it is pretty bulky and substantial. I decided to go ahead and use the 1x4s as is and really like the chunky appearance it creates.


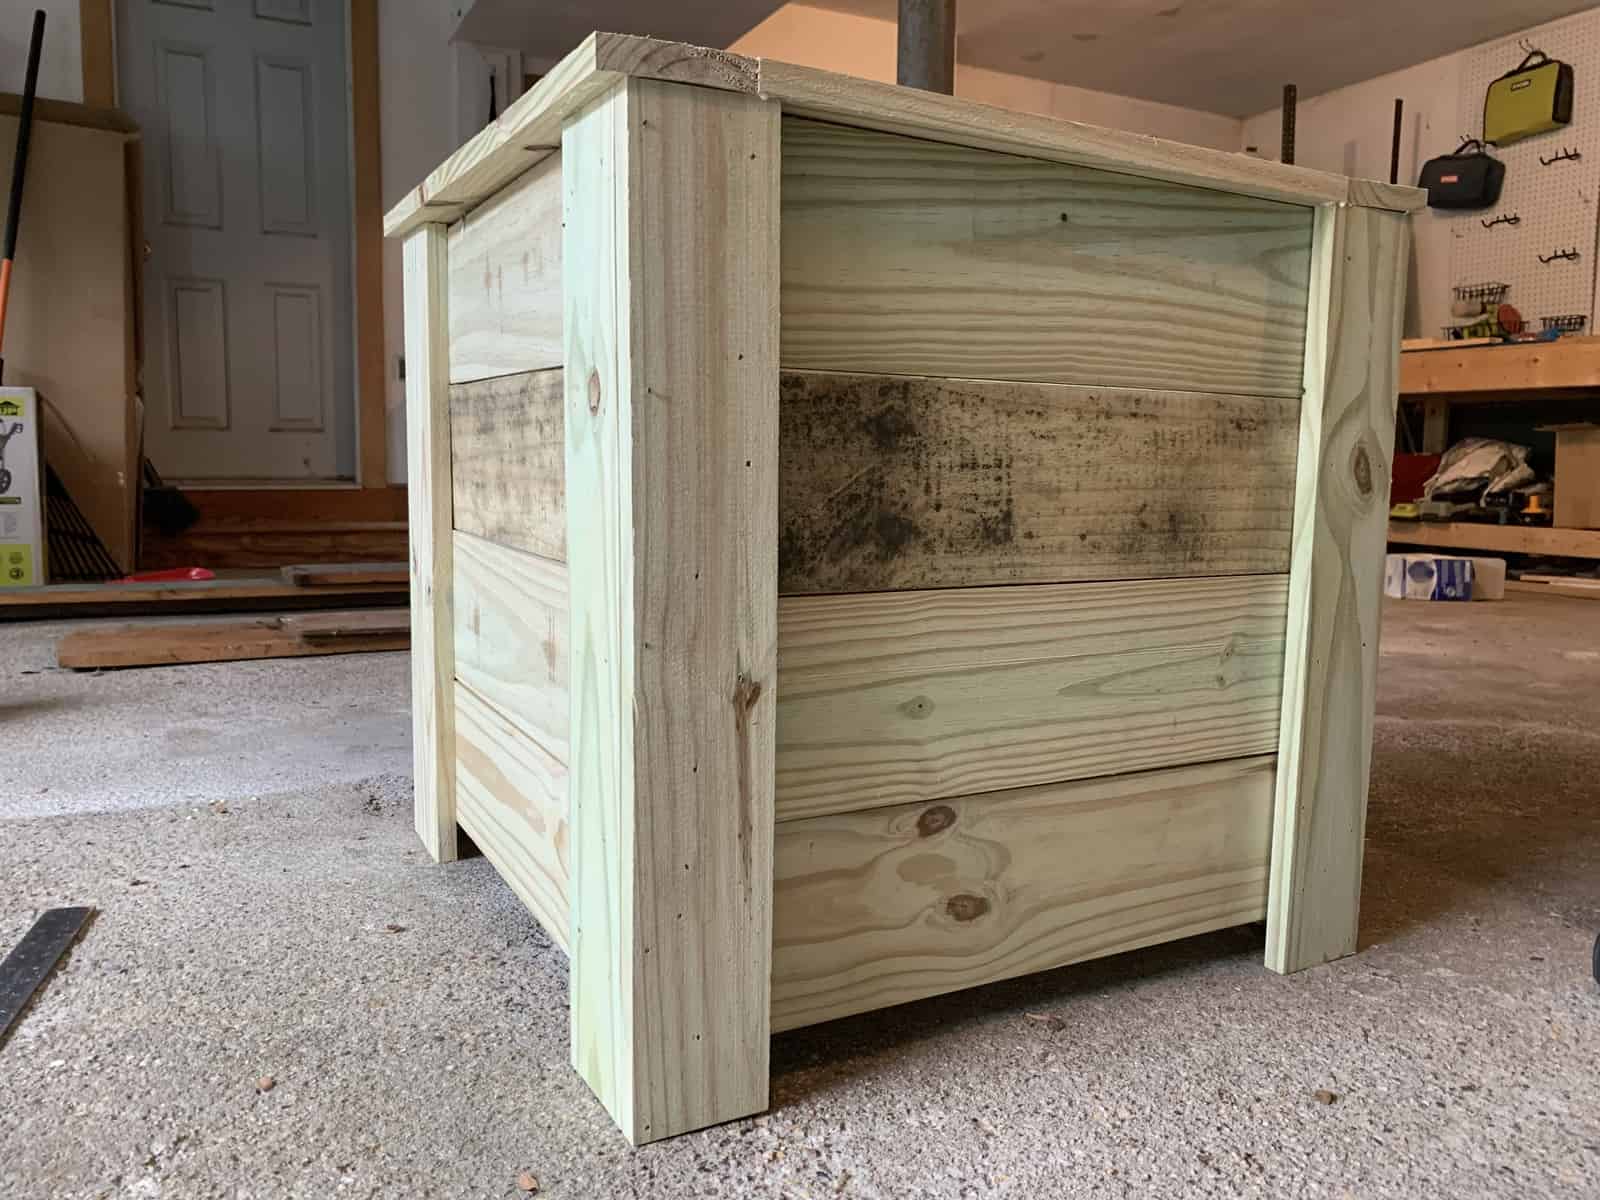
These boards were cut to 24 inches in length and create a little foot at the bottom. Again they overlap at the corners in a butt joint and you will want to arrange yours to make sure it looks good visually. I attached these with wood glue and 2 inch nails.
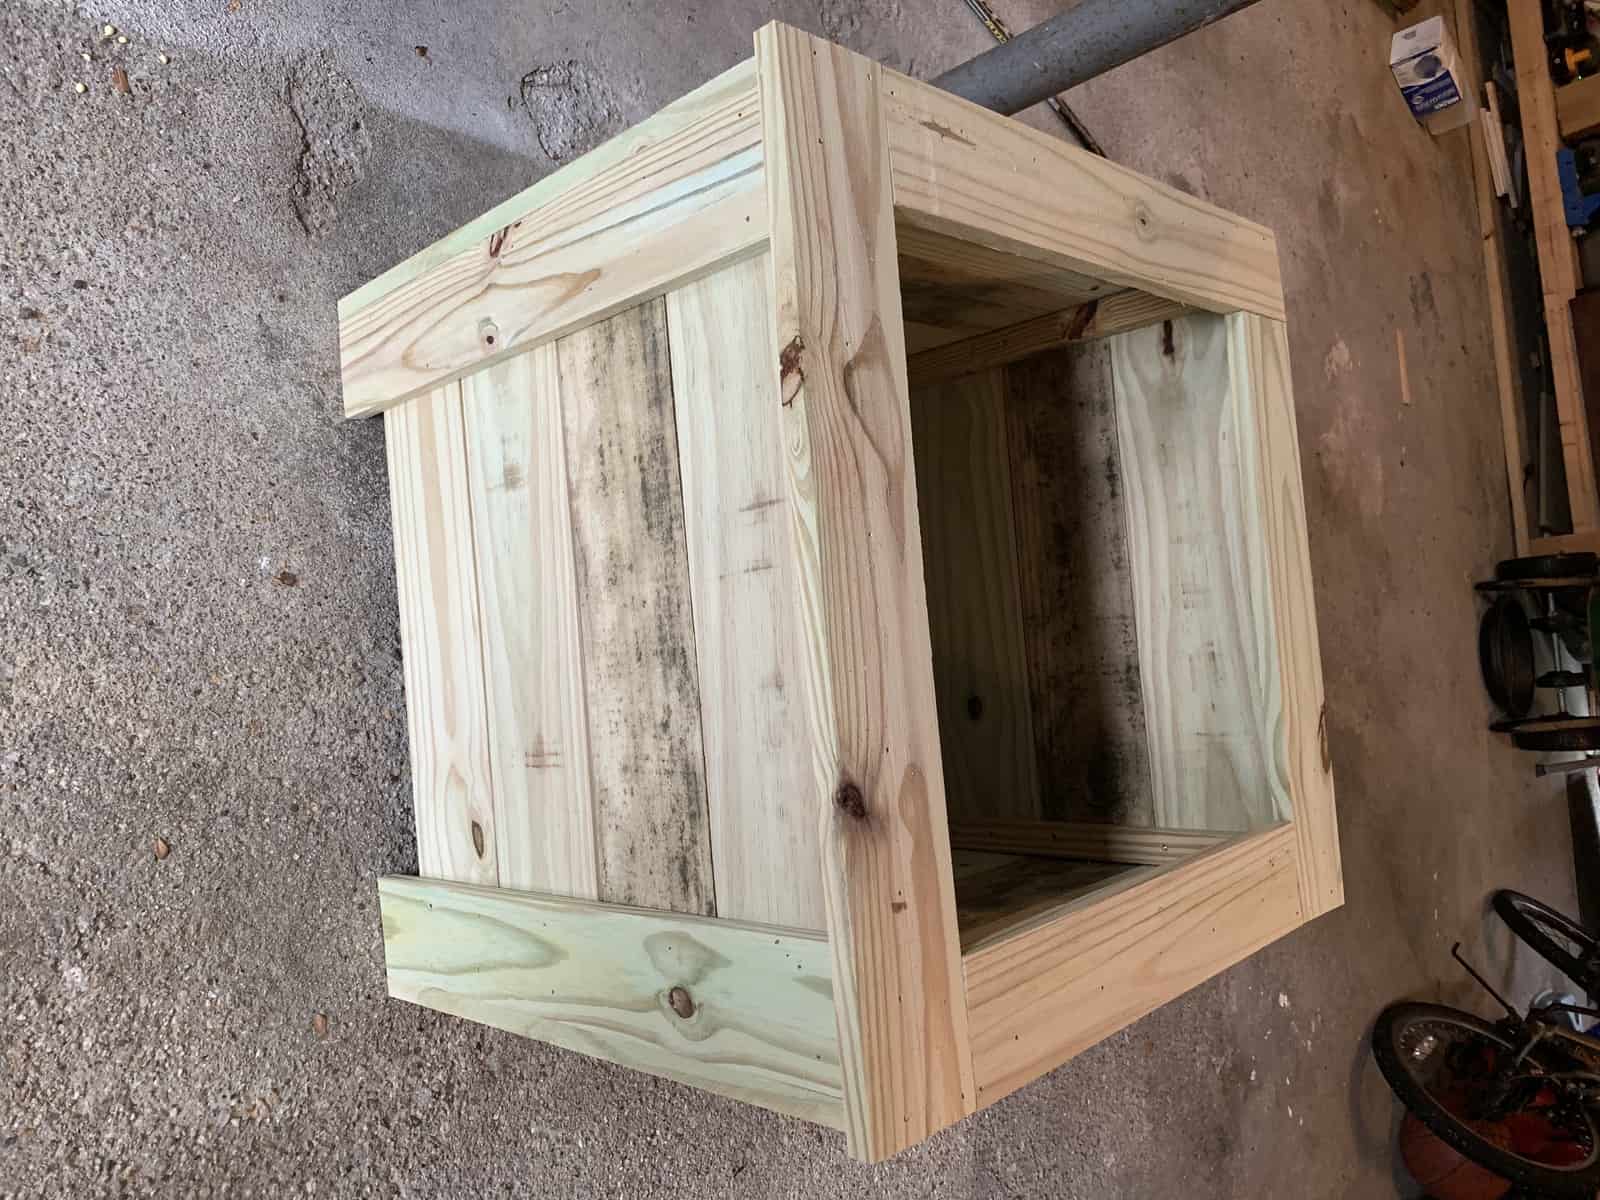
Last bit of trim to apply is the top edge to make things look nice and finished and cover up the seams. These were cut with a small overlap on each edge of the planter. They were attached using butt joints, wood glue, and nails. Miter joints would look great here, but with the elements, the wood will expand and contract a lot and I didn’t want to deal with the appearance of big gaps if my wood decided to wiggle around.

Inside Slats
On the inside I added a couple of 2x2s to the sides in order to place some internal bottom slats. You’ll need the slats to help keep the soil in place. I placed the 2x2s about halfway down inside the planter. You could choose whatever depth works for you and the type of plants you want to put in.
Then slats were added inside, just using scrap pieces I had around the garage. The slats were nailed in with my nail gun. A weed barrier liner was stapled in, more than anything just to keep the soil from falling through the slats. If you are putting another pot inside the planter, you could definitely skip this step. Sorry I forgot to take pics of this step!!
Finish
Last part to this project is finishing it up! I ran my palm sander over it lightly just to get off any extra dirt and debris and smooth things out a tiny bit. This is an outdoor piece so it doesn’t need to be perfectly smooth. I then applied Varathane black classic stain, with a satin polyurethane mixed in. I applied one coat with a clean sock, my go to method, and the piece was done!
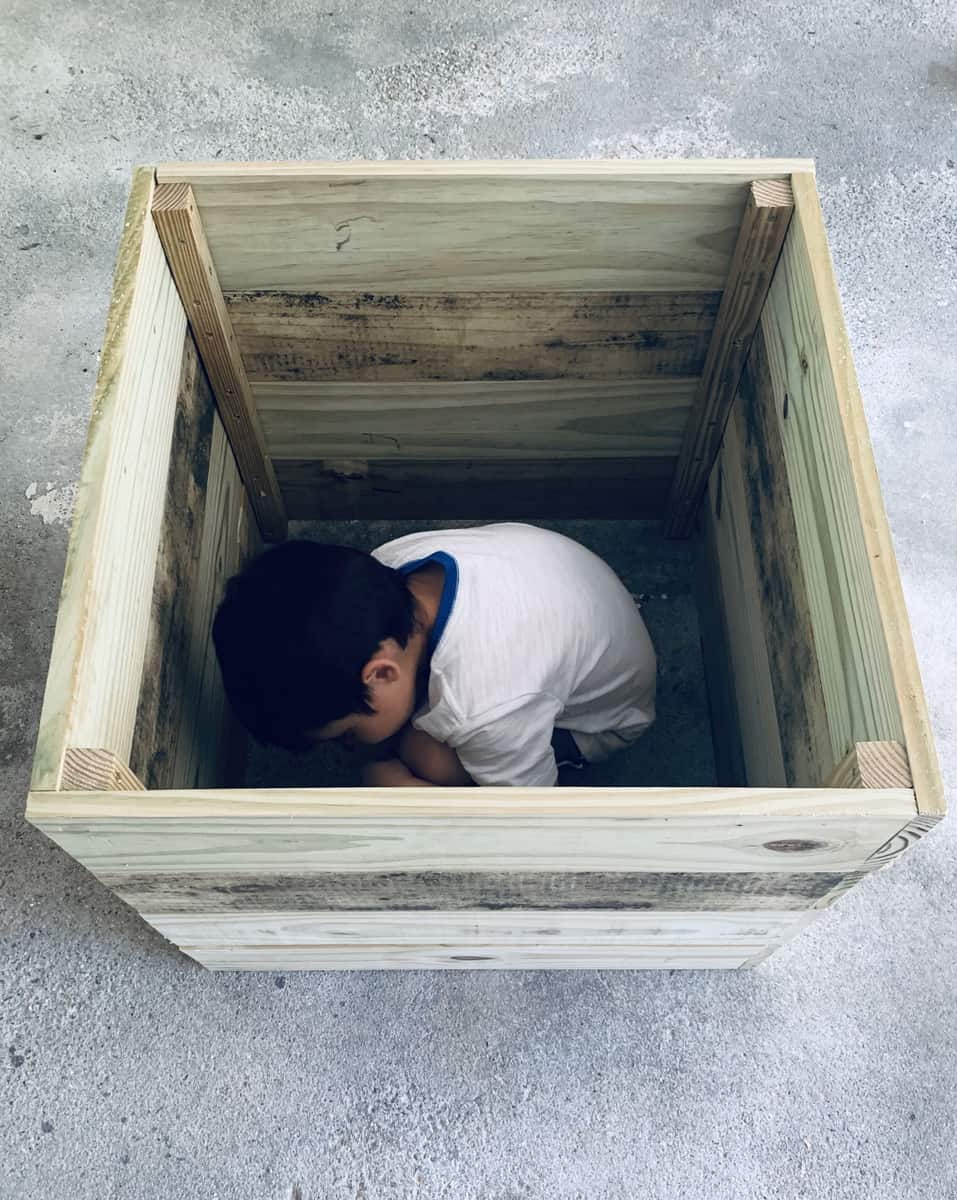
Fair warning, this large wooden planter uses a lot of soil! We added in several buckets of dirt, a whole big bag of potting soil, and some additional compost just to fill this baby up. You could easily make it a bit more shallow. Just raise up your side pieces and slats and you won’t have to use quite so much soil.


Hope you enjoy this beautiful DIY large wooden planter! It really looks awesome and I promise goes much quicker than reading this post! We decided to add some herbs to this planter and I can’t wait to use them this summer!