Farmhouse X Leg Bench
Looking for some adorable farmhouse seating without breaking your budget? This DIY farmhouse X leg bench is the perfect solution for adding additional seating and style to your home. Made with mostly 2×4 lumber, this baby is as sturdy as it is beautiful! Below I’ll show you how to make one of your own!

X Bench Inspiration
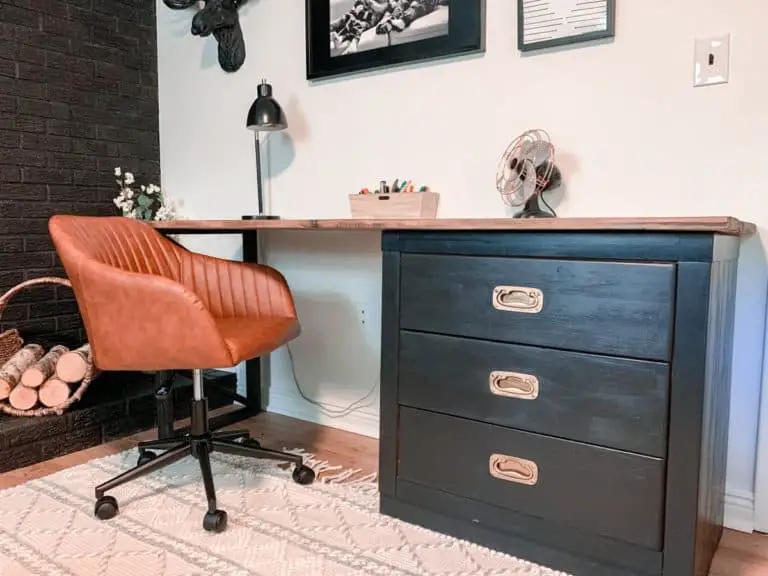
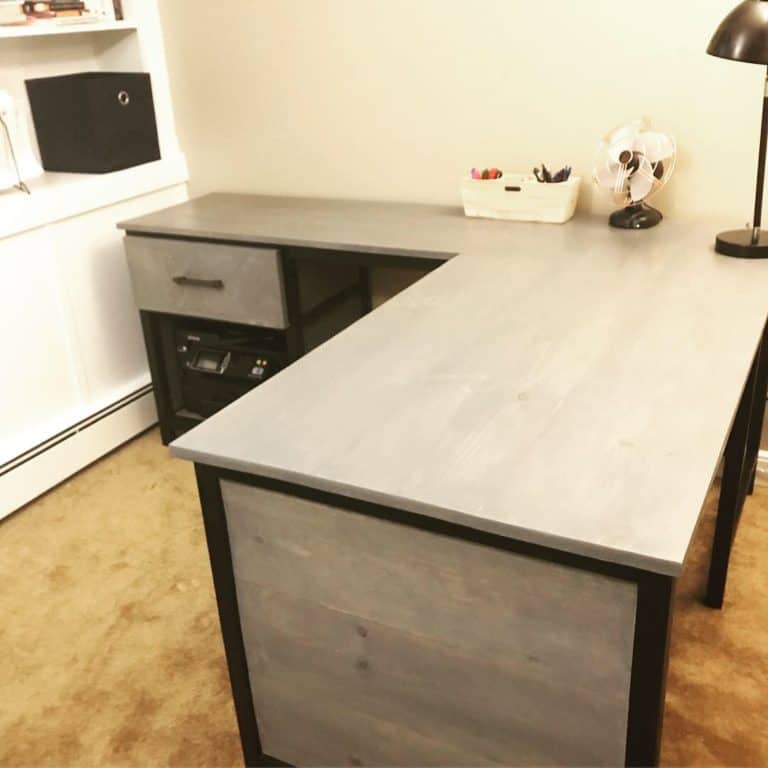
A while back I posted about a an old desk that I had found and refurbished using chalk paint and gel stain. This desk needed seating that wouldn’t block the beauty of the desk itself and thus, the DIY farmhouse X bench was born!
Supplies
- 2x4x12″ piece of lumber
- 3/4″ plywood: (check the home depot scrap bin if you don’t have any lying around!)
- 2″ piece of foam, 1/2 yard: (use a coupon at Joanns! This stuff is pricey!)
- 1 yard fabric
- Total Cost of Supplies: $25-28
Building the Base
The top portion of the base is essentially a rectangle of any size (customize it to your needs) attached using wood glue and pocket holes. The feet for the bottom should be the exact same length as the sides for your top. I cut 6 14″ pieces in total. 4 are used for the rectangle top (all pieces of wood are the same length but when you butt them together, the length is now 14″ + the width of the 2 side pieces).

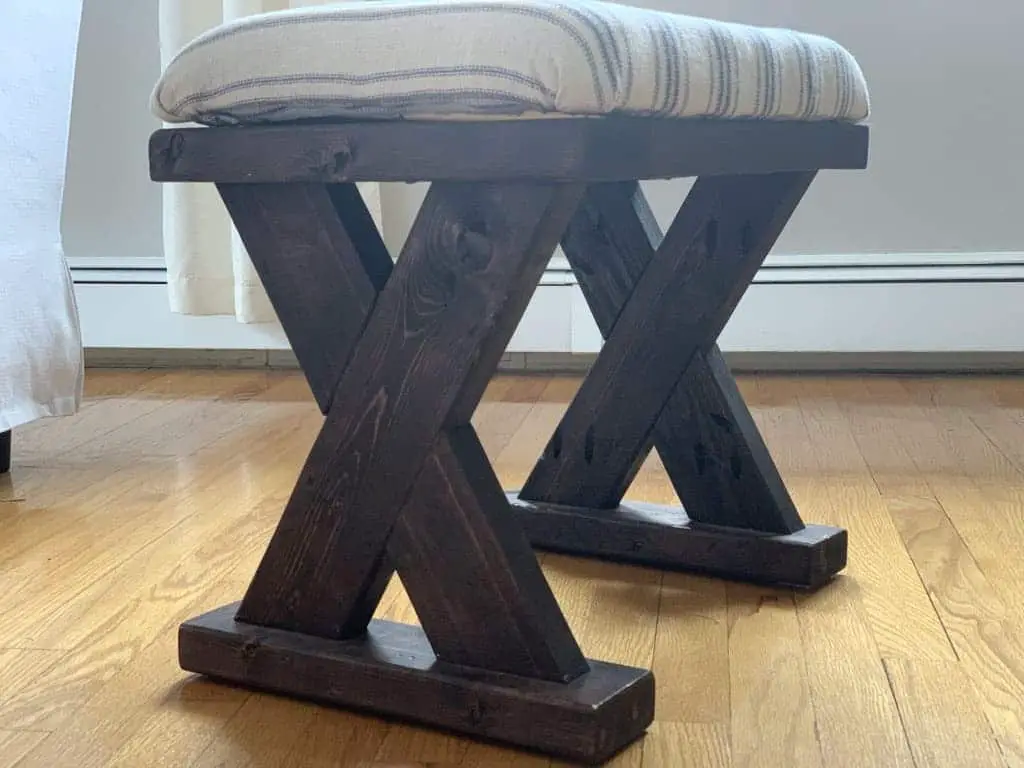
X Legs
The X legs required a bit more experimenting, and I will be honest, angles are not my jam. Of course I didn’t write down the exact angles I cut when I cut them, so here I am after the fact trying to re-figure it out. I’ll give you my best guess but I recommend either trying first with scrap wood or drawing out on cardboard how you want things to align.
The best I can tell, I cut 55 degree angles on the long pieces, which are 15″ in length. The short leg angles face each other creating a long side and a short side. The sides attached to the top and base are the same angle as the long pieces. The sides attached to the long piece are sharper angles, about 60 degrees I think. By all means, if there is a simpler way to figure this out that I am missing, please leave me a comment below! Happy to learn a less obnoxious way to make angle calculations! Pocket holes and wood glue were used to both attach the x legs to the feet, the top, and each other. See the close up below of my pocket holes.


Give the base a light sand after it is assembled and then finish as desired. You can also use wood filler along the connections just to give a smoother finish. This piece is stained using General Finishes Java Gel stain but you could definitely paint as well!
Upholstered Top
To create the upholstered top, 3/4″ plywood is cut down to the same size as the top of your base. Then 2 inch foam (purchased from Joannes fabric) is placed on top. I like to secure with a little spray adhesive but you definitely don’t have to. The fabric is then centered on top and wrapped tightly around both the foam and plywood. Secure the fabric to the bottom of the plywood using staples and a staple gun. Any fabric can be used for this project. I really love the grain sack farmhouse vibe, so I purchased this fabric off Etsy. It is fantastic quality and looks great! Highly recommend.


Once the upholstered top is finished, you just place it on top of the base and screw and from the bottom.

Aside from the trickery the angles provide (which is minimal, I’m definitely over dramatizing here), this thing is super easy to build and I’m loving how this bench turned out! It adds additional seating and great farmhouse style to our space. Doesn’t hurt that it was cheap and easy too! Try building a DIY farmhouse X bench yourself and tag me so I can see the end product!