Inexpensive Shower Makeover with Paint
I’m in week two of the One Room Challenge and the goal this week was to give the shower an update without spending a ton of money. Of course, at some point I’d love to completely remodel the shower with new tile and a new surround…but for now this inexpensive makeover with paint is the perfect solution!
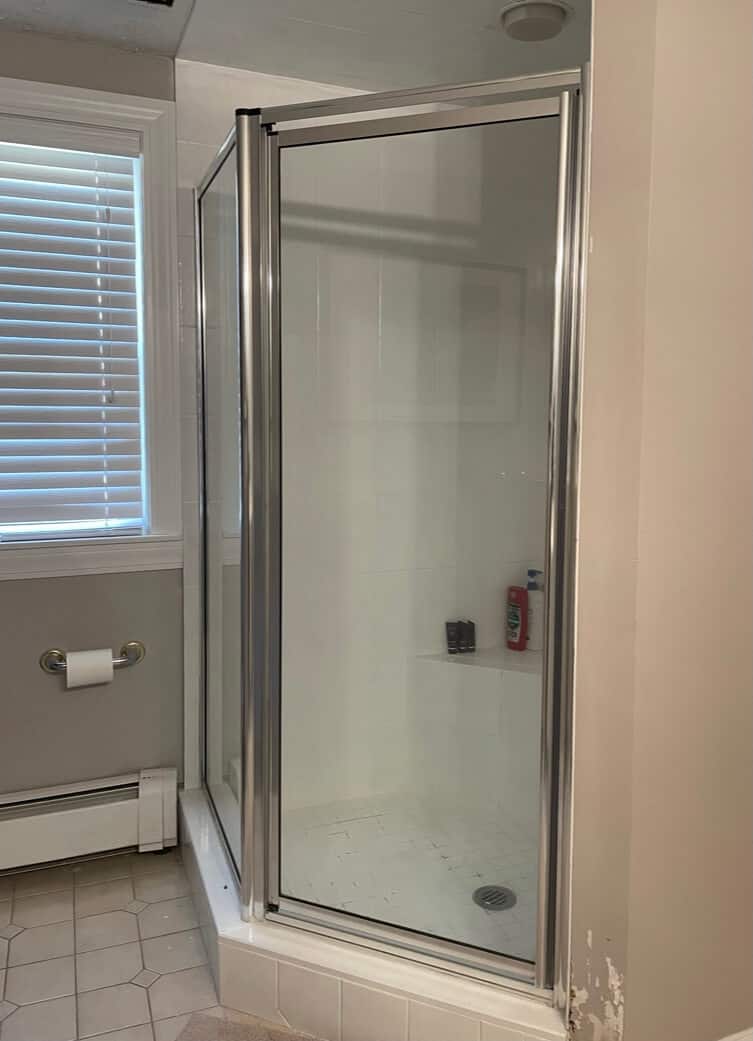
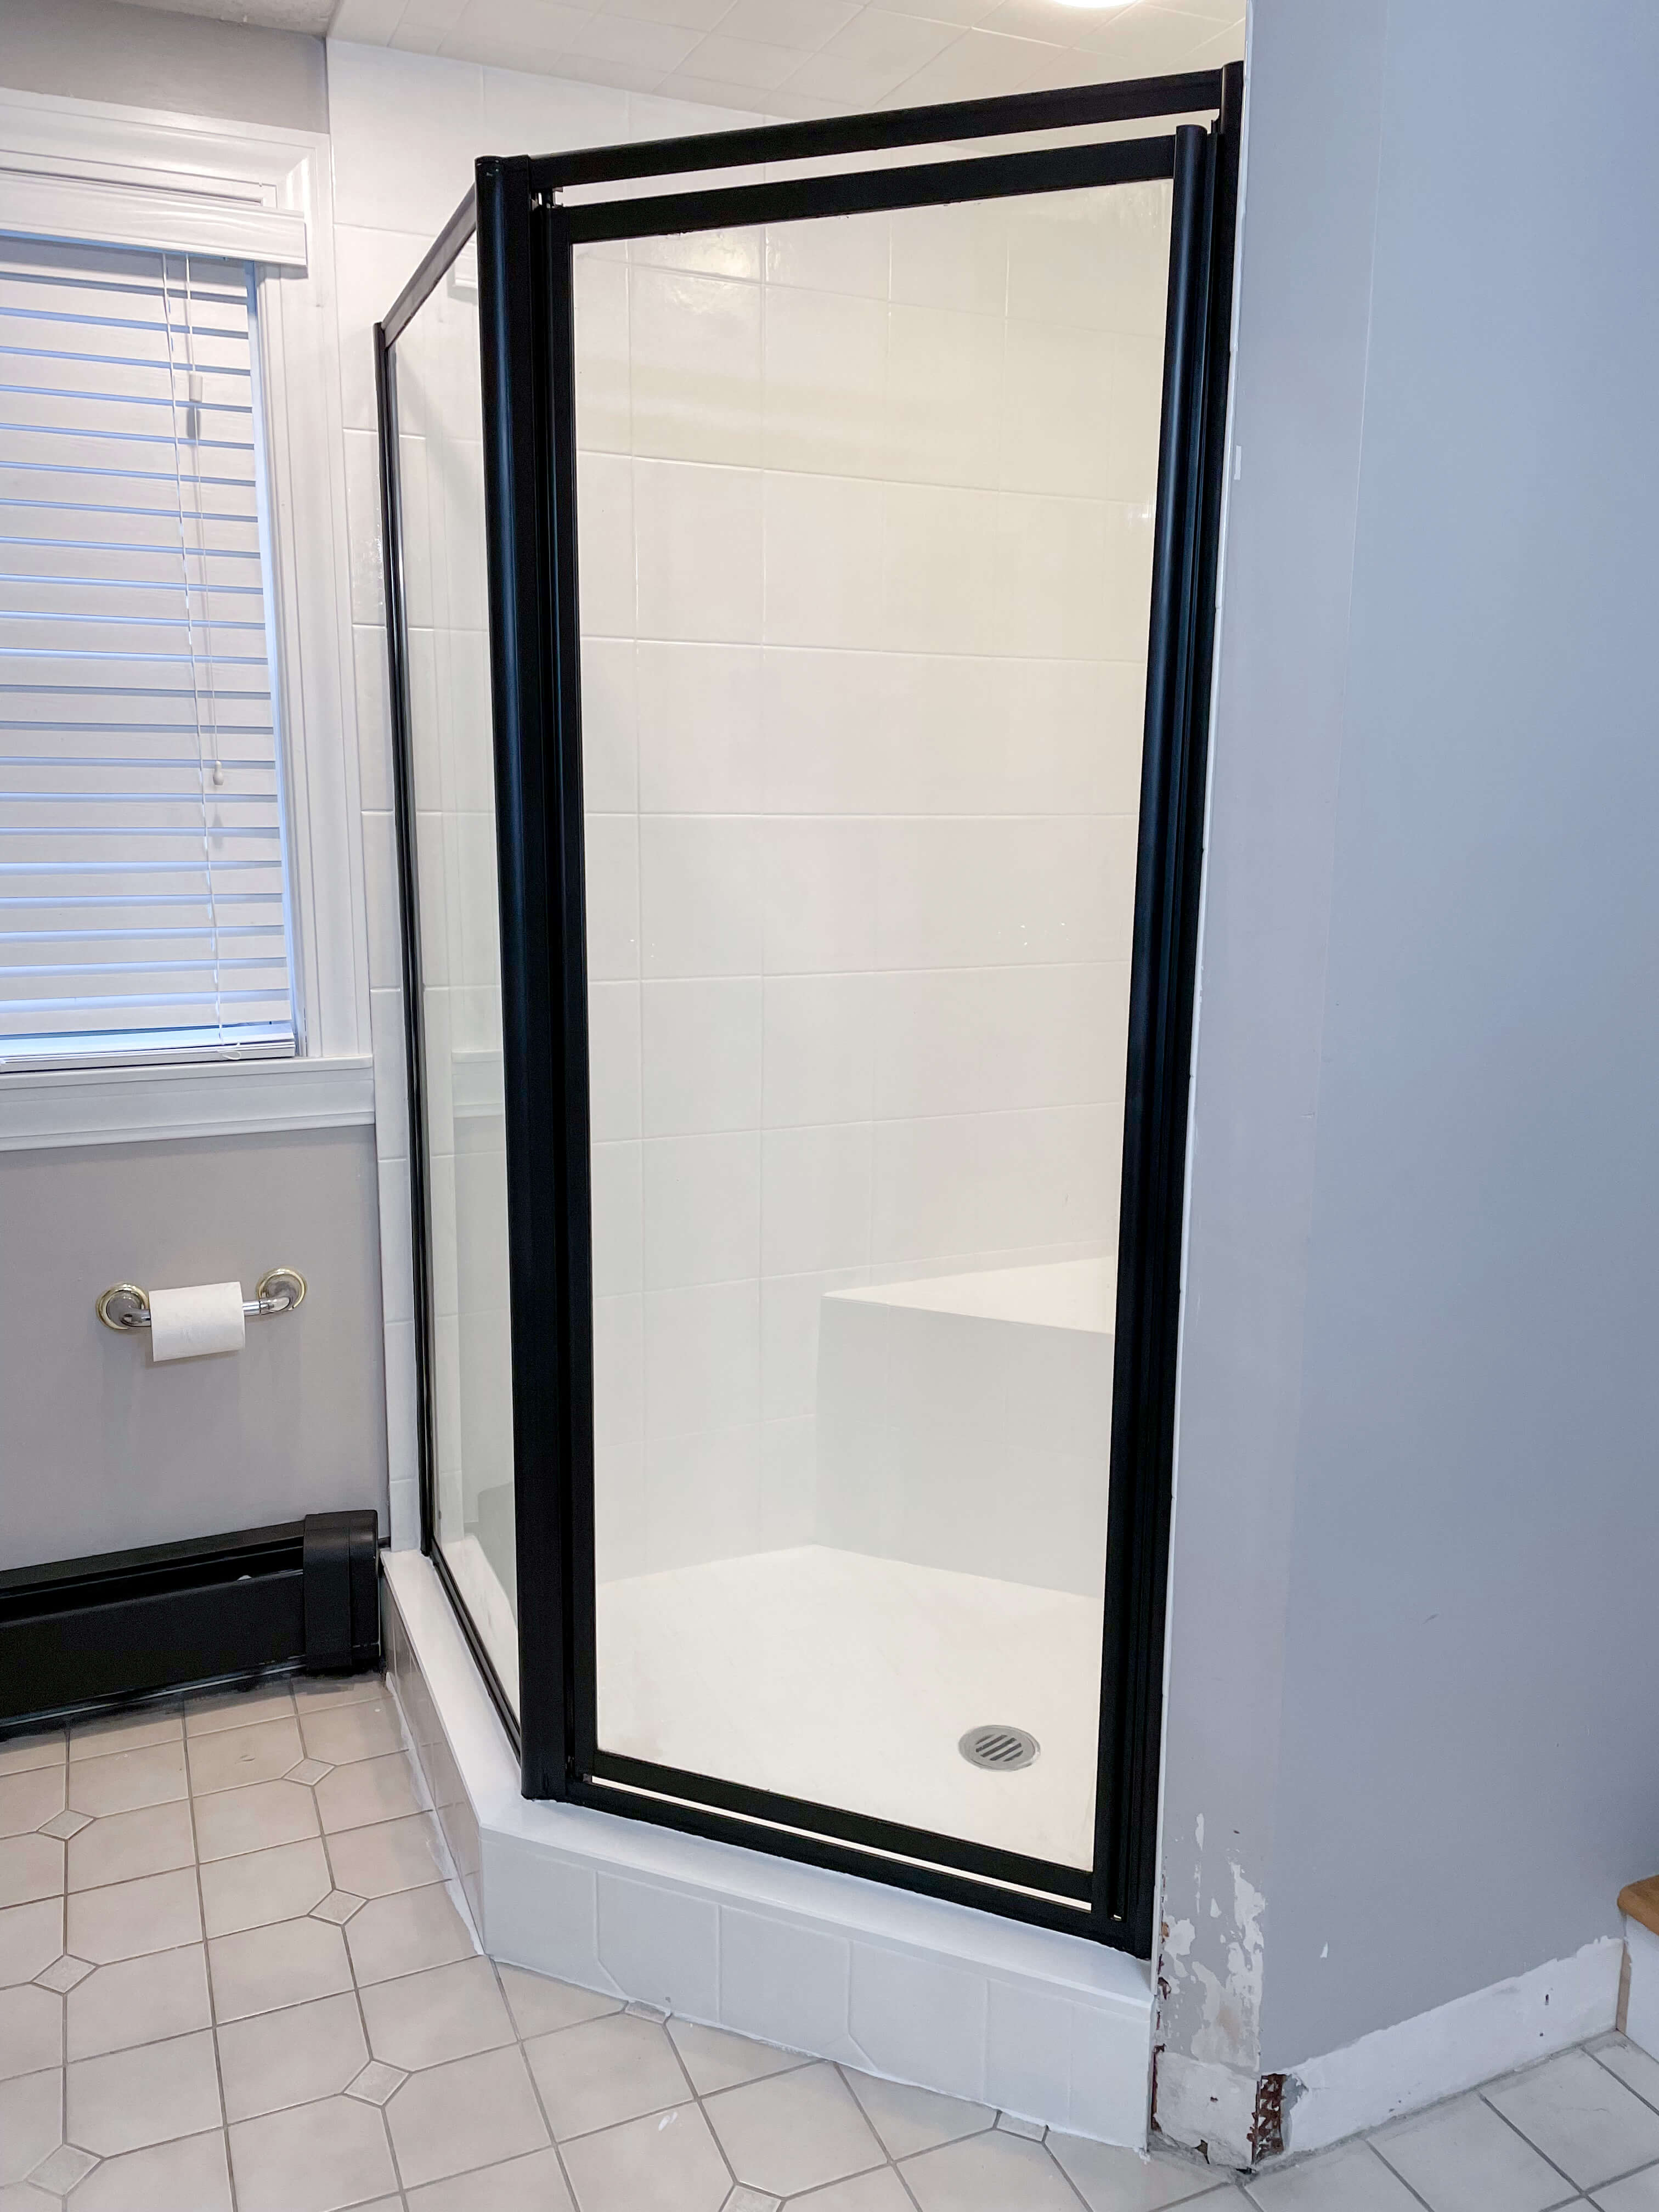
Painted Shower Surround
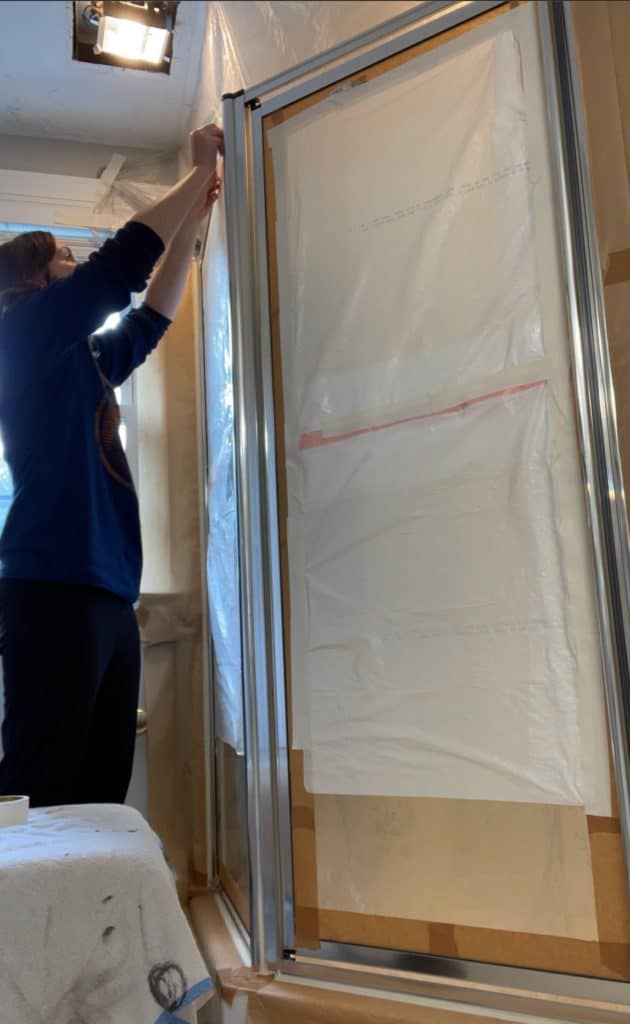
Prep
This is arguably the most important and tedious step in this whole process. You will be using spray paint for the surround and overspray is a beast. Trust me. Even with decent prep I still ended up with spray dust and overspray everywhere! So prep it like a Dexter scene. Tap all along the edges. Plastic covering the glass. Plastic protecting the inside of the shower. Basically all surfaces covered in plastic with tape on the edges. Also clean off the surround to be painted and give it a light sand first too.
Paint
In an ideal world, you should use a light spray of automotive primer first. I did not have this on hand (even though I was almost certain I did) so I went straight to the spray paint. I used Rustoleum flat black spray paint and did three light coats of paint follow by one light coat of clear matte spray sealant. Then I removed all the tape.
Painted Shower Tile
So, full disclosure, I painted these shower tiles about a year ago using the Rustoleum tub and tile product. It wasn’t a great experience. The smell was crazy strong and the coverage was eh. I honestly had a mini panic attack doing it and had to make a trip to the store mid-project to get more product because it just wasn’t covering as expected. Anyway, fastforward a few months and the flooring in particular really started to chip. I was relatively traumatized by my initial experience and was less than thrilled to try this project again. But it needed a refresh and I just can’t deal with a full gut shower reno right now. So I went back to HD and the only product they carry now is Homax Tub and Tile, so I decided to give it a shot.

So far I would say I much prefer it over the Rustoleum version. For one thing, it comes premixed and you can use it as needed then just recluse the can. It goes on relatively thick so coverage is pretty good! And the smell is nothing near what the Rustoleum product was.
The application is easy. First make sure your tile is clean of any dirt and hard water residue. Then stir the product really well and apply. I did the first coat using only a brush. For the second coat (which needs to be done between 3-6 hours later) I used a brush in the corners and a low nap small roller to get a nice smooth application. And I must say, it looks 1000% better now! So much cleaner, brighter, and coverage is way better! I’m extremely happy that I decided to give painted shower tile another go!

Can you believe how much better this shower looks with some black spray paint on the surround and white tub and tile paint inside?! Its like a gut makeover on a mini budget, so major win in my book! Lots more budget friendly bathroom updates coming at you over the next few weeks as I finish up the One Room Challenge! Make sure to check out all the other amazing contributors this season as well for some incredible inspiration!