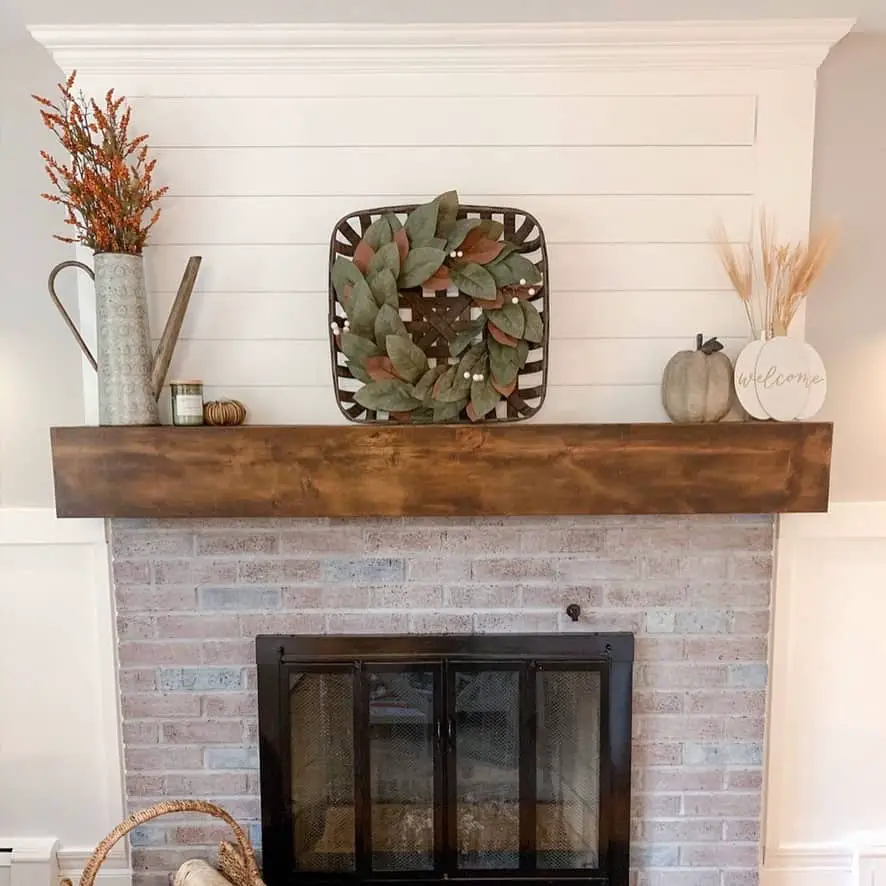
DIY Shiplap Fireplace
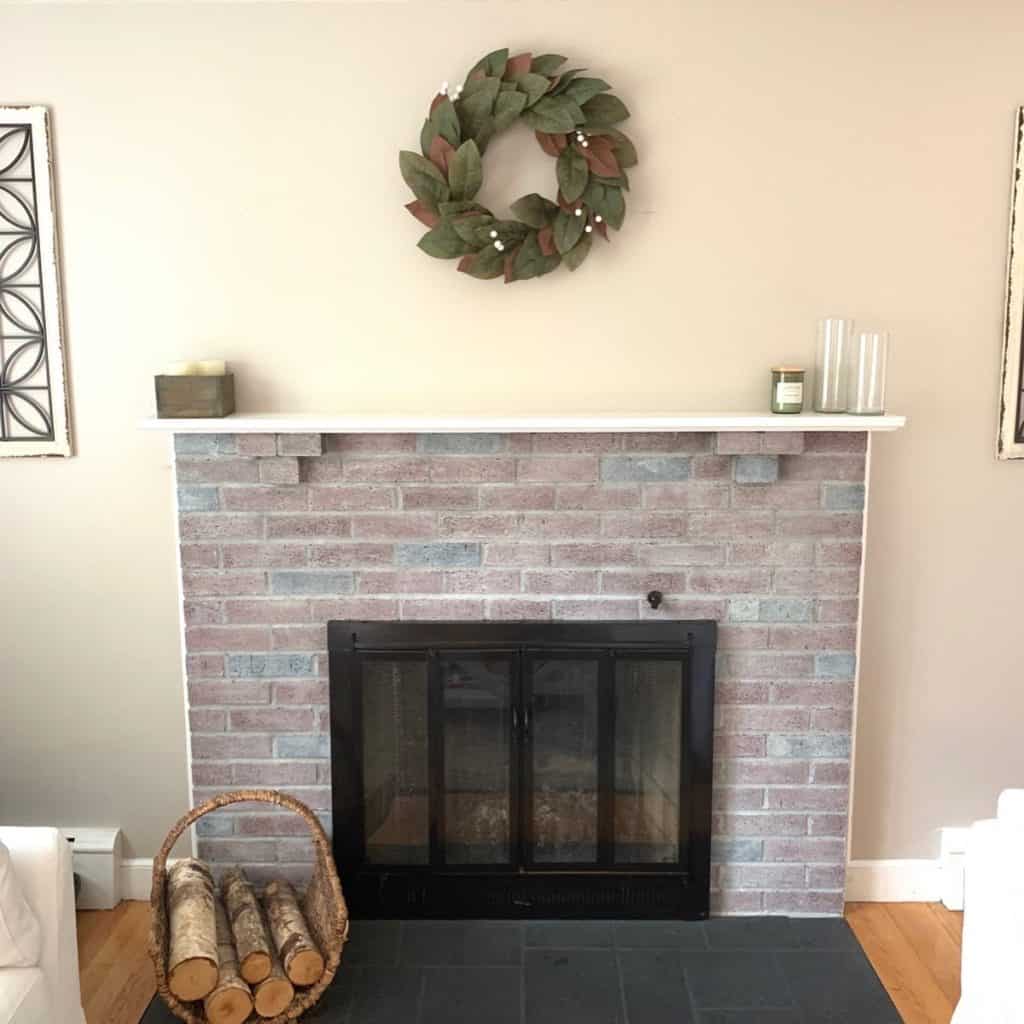
This is the boring Betty of fireplaces. She’s fine. She’s nice. But she’s an absolute dud. So I decided to try my hand at updating her (I mean “it”). In the previous post I created this faux beam mantle (now that’s a looker)! And now I’m tackling the DIY shiplap which is just the cherry on top of this fireplace update. I’m telling you, it is one of the easiest updates I’ve done! I’ve included all of the steps you need to update your own fireplace with shiplap below.
Disclaimer: In the name of full transparency, please be aware that this blog post may contain affiliate links and any purchases made through such links will result in a small commission for me (at no extra cost for you). As an Amazon and Home Depot Associate I earn from qualifying purchases.
Length of time for project: 4 hours
Cost: $55
What you’ll need: #2 6′ 1×6 boards, #3 12′ and #1 6′ nickle gap shiplap boards, #1 8′ piece of crown molding , white paint, caulking
What I learned: Super easy project! Crown molding is always a challenge so just take your time here and triple measure. My pieces were just slightly off but not so much that I couldn’t fill with caulk and make it look ok.
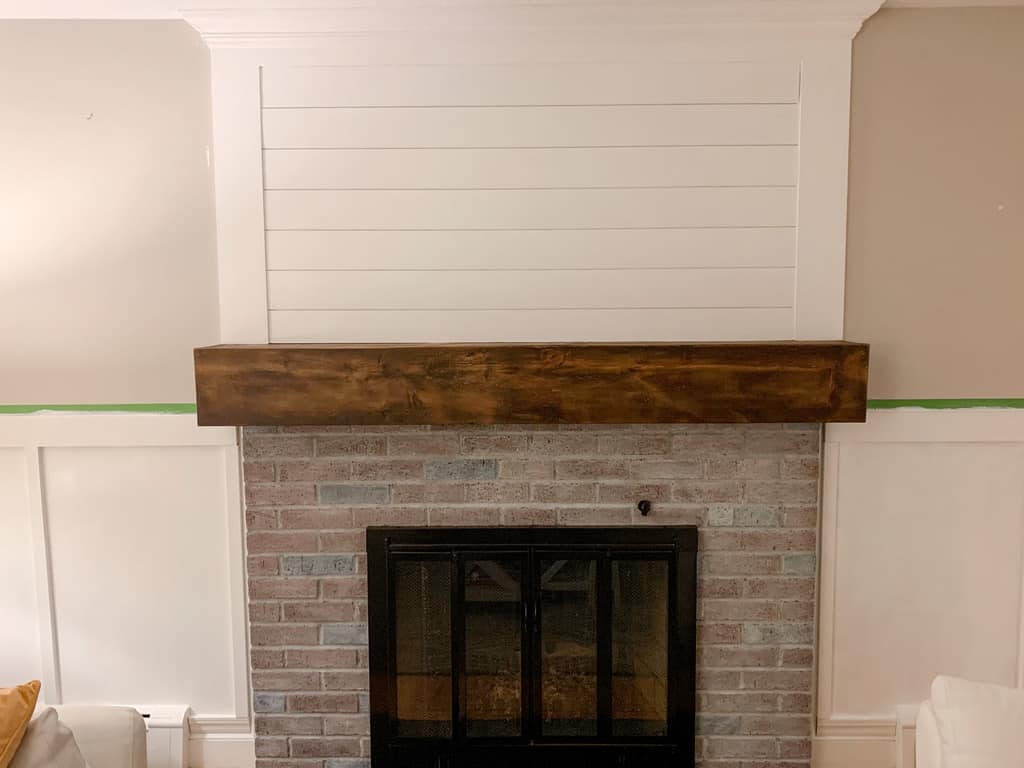
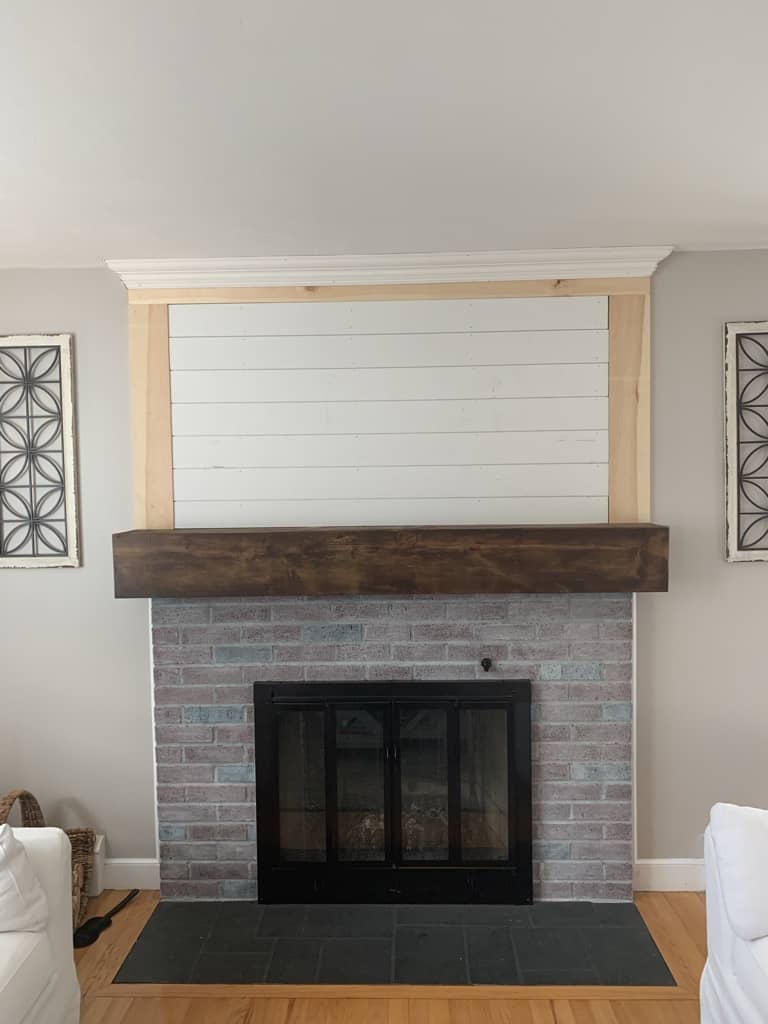
Step 1- Cut and Attach Top and Side Boards
The first step in this project is cutting your 1×6 boards. The top piece should be cut to the length of your mantle (or whatever width you desire) and will go up against the ceiling. The side pieces are cut to the length from the top of your mantle to the bottom of the board that runs along the ceiling.
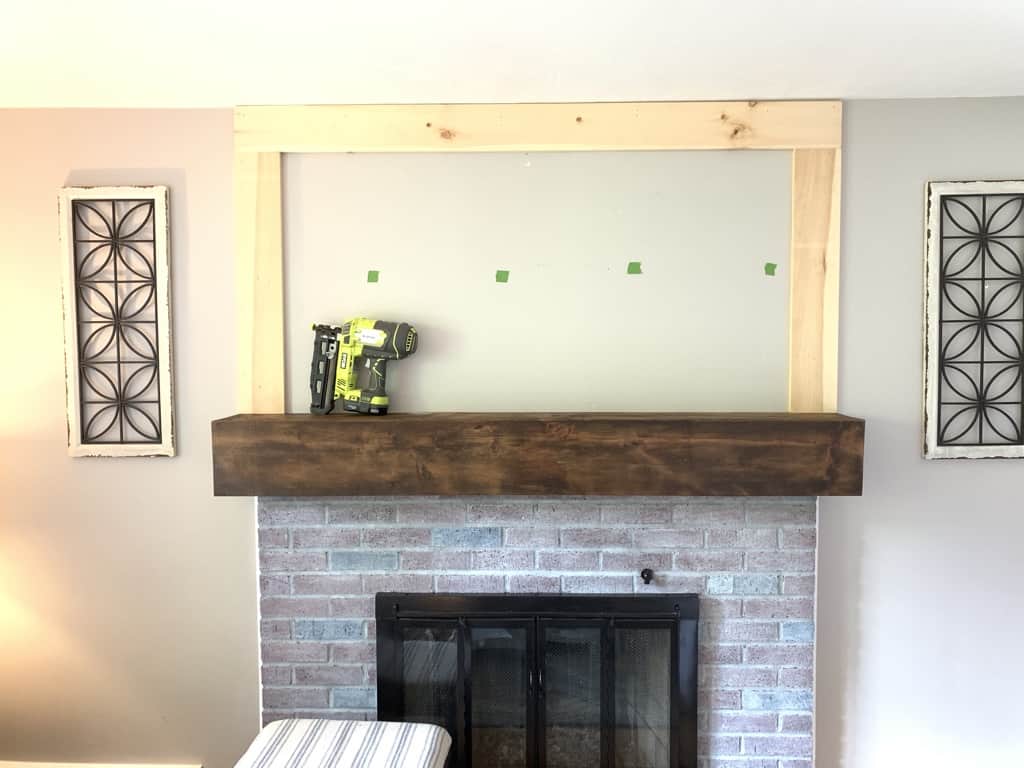
Once these boards are cut you will attach to the wall above the fireplace by first finding and marking the studs. Then using a nail gun, put two nails in the board along each stud. I used 2.5″ nails. You could also use glue on the back of the boards but I didn’t in case I want to pull this down in the future. I attached my side boards first lining them up with the edges of the mantle to ensure nice straight lines. The top board was then mounted and its edges are flush with the outer edges of the side pieces. (I do the sides first because it is easier to get things flush this way and any gaps at the ceiling level can be easily hidden with molding).
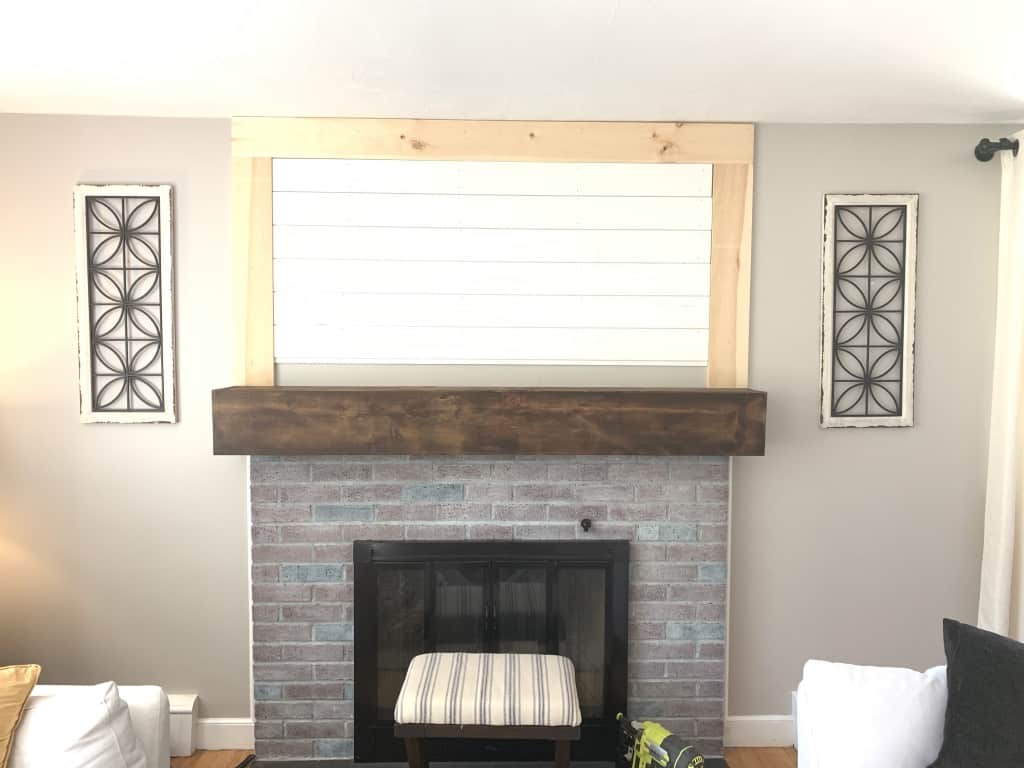
Step 2: Cut and Attach Shiplap Boards
Next the shiplap boards are cut to length to fit between the 1×6 side boards. Place the top board first and work your way down, attaching in the same manner as the 1x6s using nails into the studs. Depending on the height of your wall above your fireplace, the last board may not be the exact right height. I ripped mine to size using my table saw. If you don’t have a table saw you can ask Home Depot to cut this piece to size for you. Alternatively, you could cap this off with a smaller 1″ (example: a 1×2 or 1×4) board that is the size of your remaining gap.
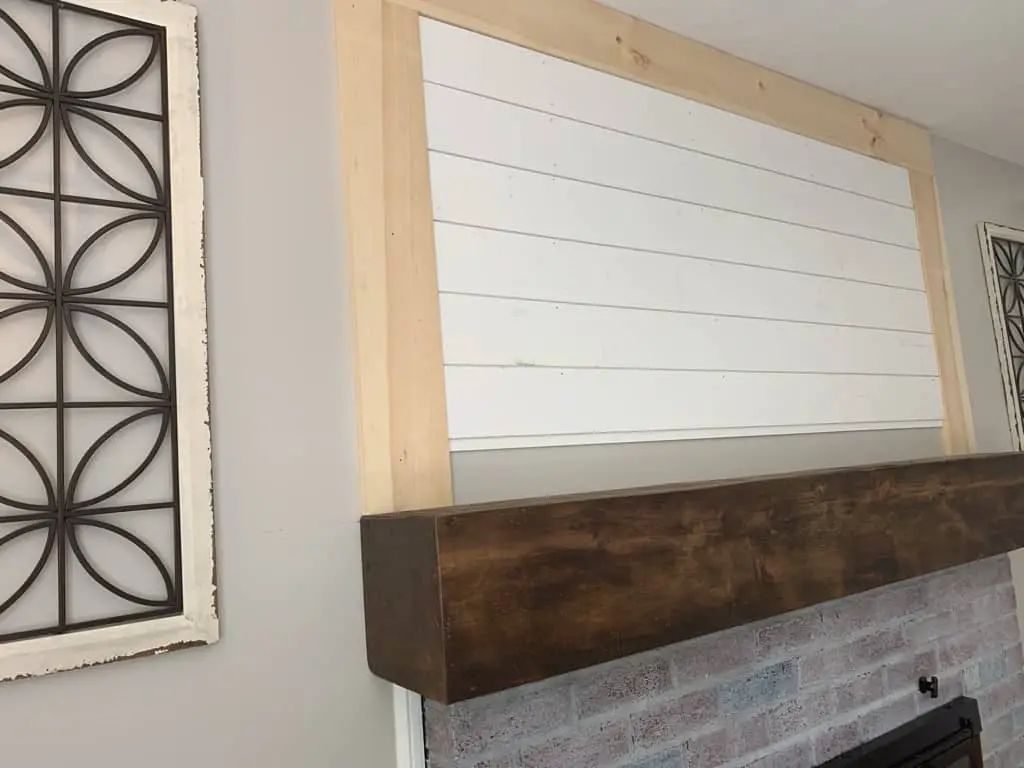
Last Step: Crown Molding (optional) and Paint
I added crown molding to the top as a finishing touch. I love how it caps everything off and gives a really upscale look. That said, I’ve seen other versions of this project that don’t use crown molding and they look just fine. If you find this step intimidating, you can leave it off. It will decrease your cost by about $12 if you decide not to do this part. I always watch this video as a reminder of how to cut crown before I go out in the garage. It’s good to get a quick refresh since it can be a tad confusing.
Once this is done, the last steps are to fill the nail holes, caulk the edges, and apply a couple coats of white paint. A little tedious…but not difficult at all! And when the end result looks like this, it is totally worth it!