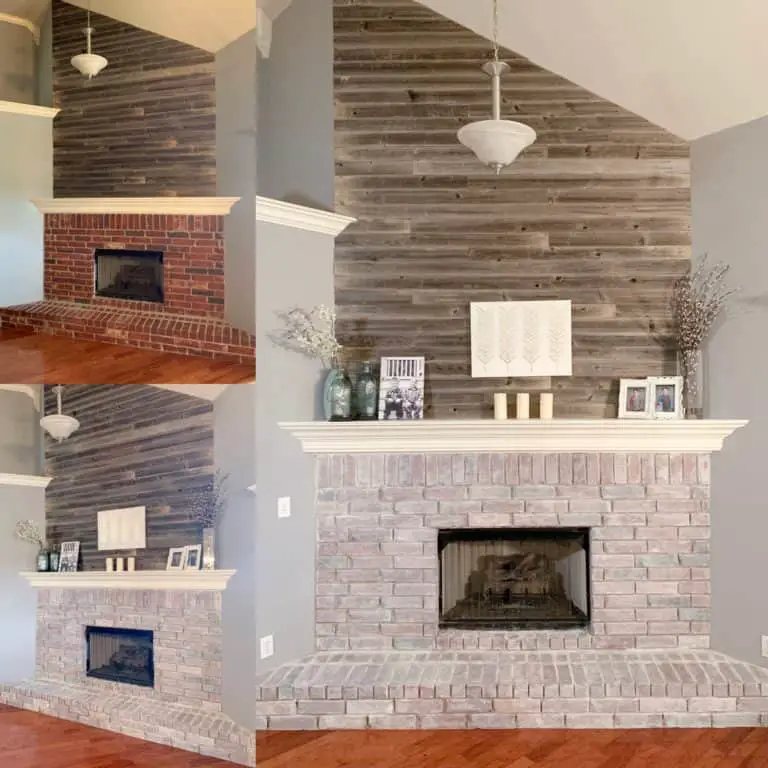
How to Make Basement Office Built-Ins

Basement Office Built In Book Shelves
Oh, office spaces. The one purpose you serve is to be an organized, useful space for people to do adulting. But many times you fail us. You collect papers, books, trinkets, dirty cups, old ice cream bowls, small children shark toys. And here I am, just a girl, trying to solve world problems; building bookshelves for all those cluttered, badly behaving office spaces out there. And I’m damn good too….(sing that last part to the beat of Warren G, otherwise that is just an unnecessary curse word in an admittedly unnecessary sentence).
Disclaimer: In the name of full transparency, please be aware that this blog post contains affiliate links and any purchases made through such links will result in a small commission for me (at no extra cost for you). As an Amazon and Home Depot Associate I earn from qualifying purchases.
Stuff to Know
Length of time for project: Realistically this will take a full dedicated weekend of work or 1+ weeks of nap times and free time, if you work like me. This is a more intermediate level project.
Cost: I’ll try to break it down a bit below…but right around $100! Which is a steal!
What you’ll need:
- White satin paint- $25
- 3/4″ MDF- 4′ x 8′ piece- $22
- 1 x 2s for trim- $4 each and I bought about 3 (so $12)
- Crown molding- $35ish for 3 8′ pieces
- Caulk- This I had but it costs about $4, add more if you don’t have a caulking gun
- Kreg jig and 1 1/4″ kreg screws (I’m not adding these in the price because, to me, screws are like salt in a recipe. It’s expected that you have it on hand.) You could do this project without the kreg jig, you’d just have to fill more screw holes.
- Inside Corner trim– $3, click link if you don’t have a clue what I’m talking about here.
- Miter saw to make all your cuts. You could use a hand saw I suppose, but that would be awful.
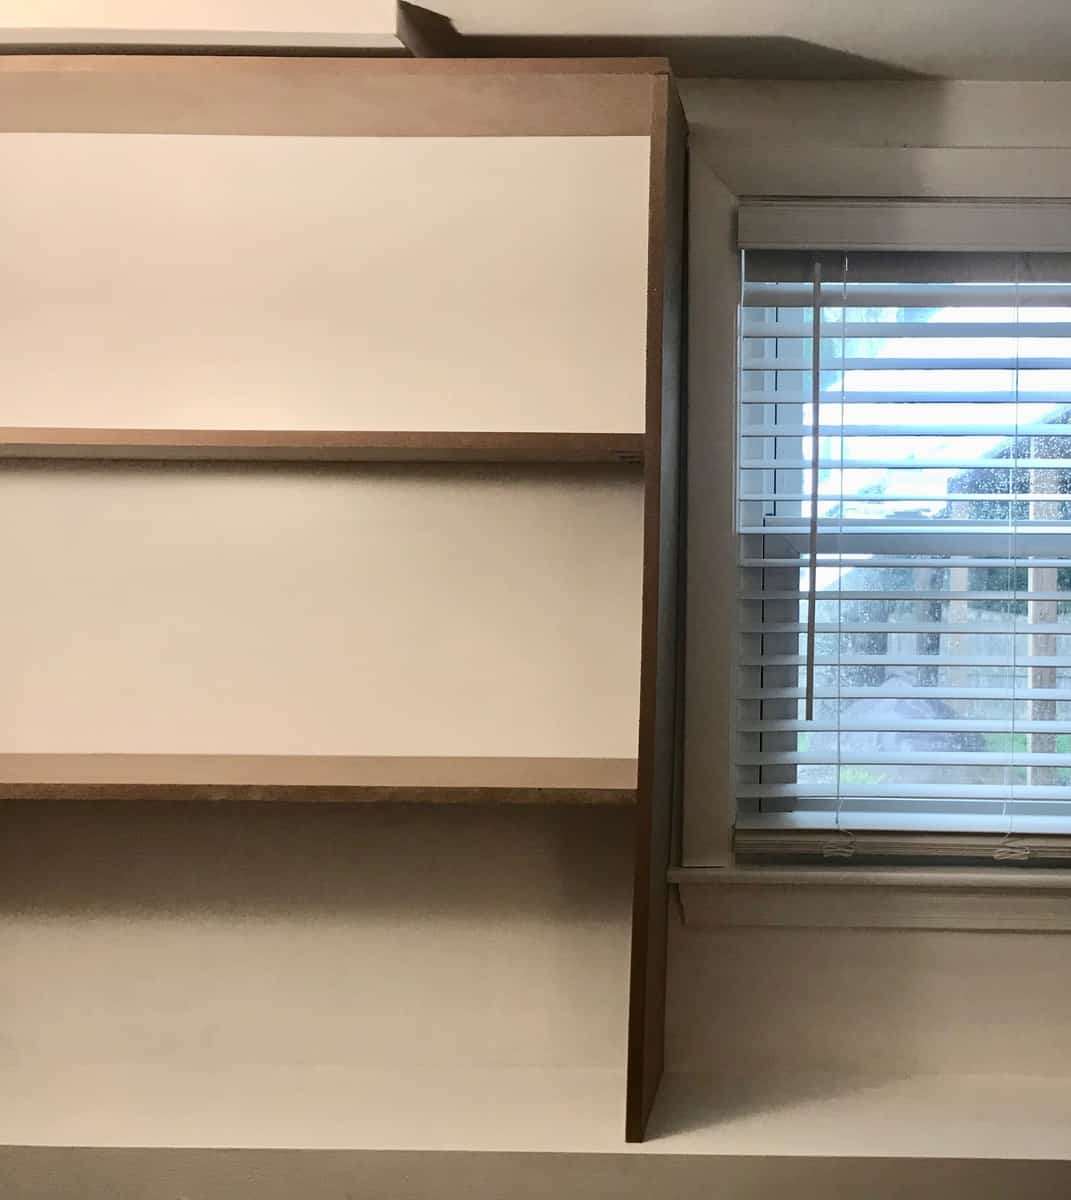
What I learned: Oh, goodness, so many things! Where do I begin? I learned that houses and window trim are not necessarily even and square. Who knew? (Oh, everyone? Right.) So if you are butting right up to a window, best to plan for extra trim time fun or maybe leave a few inches of space between the bookshelf and the window trim so the unevenness isn’t quite so pronounced.
Also, measure twice, cut once. Insert eye roll here. Of course this is like the hallmark of all woodworking. And yet, somehow I ended up cutting the bookshelf sides a bit shorter than I should have. You’ll see in the pics below that I stacked the top shelf rather than using the kreg jig to put it inside, just to add a bit of extra height.
Let’s Get This Post on the Road!
OK. My husband is probably going to be very embarrassed by me showing these pictures of his office. And quite honestly, he should be. I mean look at this disaster. It’s a mess. But, to be fair, he just relocated his office from a bigger room into this much smaller, darker room, and we did it in a bit of a hurry. So there really hasn’t been much organizing going on. I apologize in advance for these photos. This room is tough to photograph. It is small. And dark. And brown.


That said, this room is in need of some serious help! It is dark and dingy and has basically zero storage. There’s not even a closet in this room, just a freestanding wardrobe which will likely be removed at some point also. So the plan with the early phases of this project was just to brighten up the room a bit and add some storage. Down the line I plan to update lighting, flooring, and furniture too.
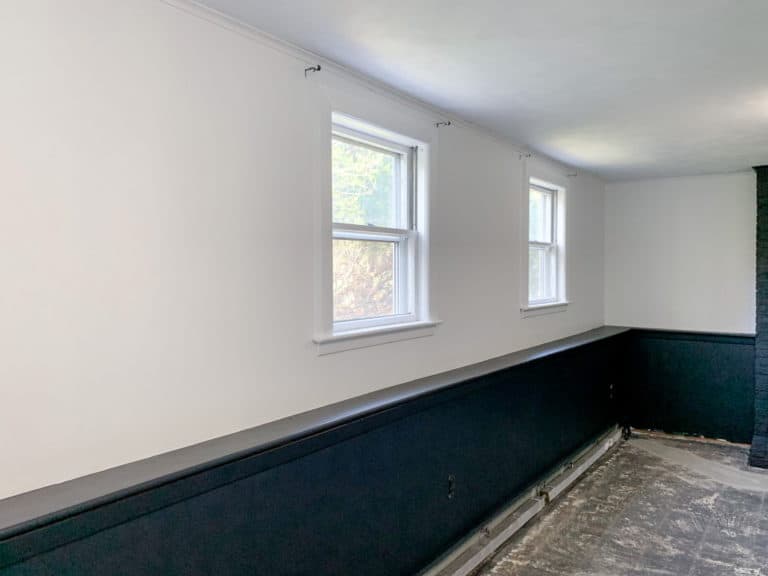
Before- Basement Retainer Wall
All of our basement walls have this ugly concrete half wall as part of the house foundation (notice the shelf like area on that back wall just collecting stuff). I wanted to try to utilize that into my design in order to take advantage of some of the space that half wall takes up and try to hide it a bit.
The way it juts out you really can’t put anything up against it so I was thinking it might be nice to add some custom bookshelves to the top to turn it into a built in. I really love the look of built in bookshelves and thought by adding some around the windows, changing the window covering, and painting everything white that it would really brighten everything up and update the space. Let me know what you all think! I’m going to post before and after photos and also some photos that I took during the process to explain a little bit how I did all of this.
Getting Started- Painting
Step 1: Paint the walls!
Now this may sound silly and you may be wondering why I am painting the walls if I’m just going to cover most of it up…but to be honest it is SO much easier to paint before you start putting things on/in front of the walls! Then you are just quickly painting a flat surface. Much faster than painting around all the shelves! I also decided that rather than adding a backing to my built in bookshelves that I would just use the wall as my backing. Why you ask? Because I’m cheap. Ahem, cost conscious. Our walls down here are pretty smooth and I just didn’t really feel like buying another piece of MDF or plywood to put on the back of these shelves would add much value.


Bookshelf building
Step 2: Build the bookshelves.
I used 3/4” MDF to build my bookshelves because A) it is straight and you don’t have to worry about finding pieces that are not warped, B) it is smooth and easy to paint (and if I don’t have to sand I am a happy lady!), and C) I am cost conscious and really looked for the most cost effective option. I was able to make both of these bookshelves out of one piece of 4’ x 8’ MDF panel, which cost just a little over $22 at Home Depot! Isn’t that amazing?! I was pretty proud of myself.
What product to use
Now this stuff is HEAVY. I typically pride myself on being strong and I rarely ask for help, even when I should. But this stuff is so freaking heavy that I decided I HAD to ask the Home Depot worker for help to get it off the shelf. In fact, he asked another person for help too because it was that heavy.
Then I had him rip it down to 9” x 8’ strips for me. Try not to go when it is super busy (like mid-day on the weekend), otherwise they will be none too thrilled when you ask them to make like 5 cuts. Now your widths, heights, etc. may be very different from mine, as a built in should be customized to your space. But my concrete ledge is about 9 7/8” wide and I knew I was going to be adding a 3/4” trim piece to the front of my shelves to finish them off. So they aren’t perfectly flush, but close enough for me.
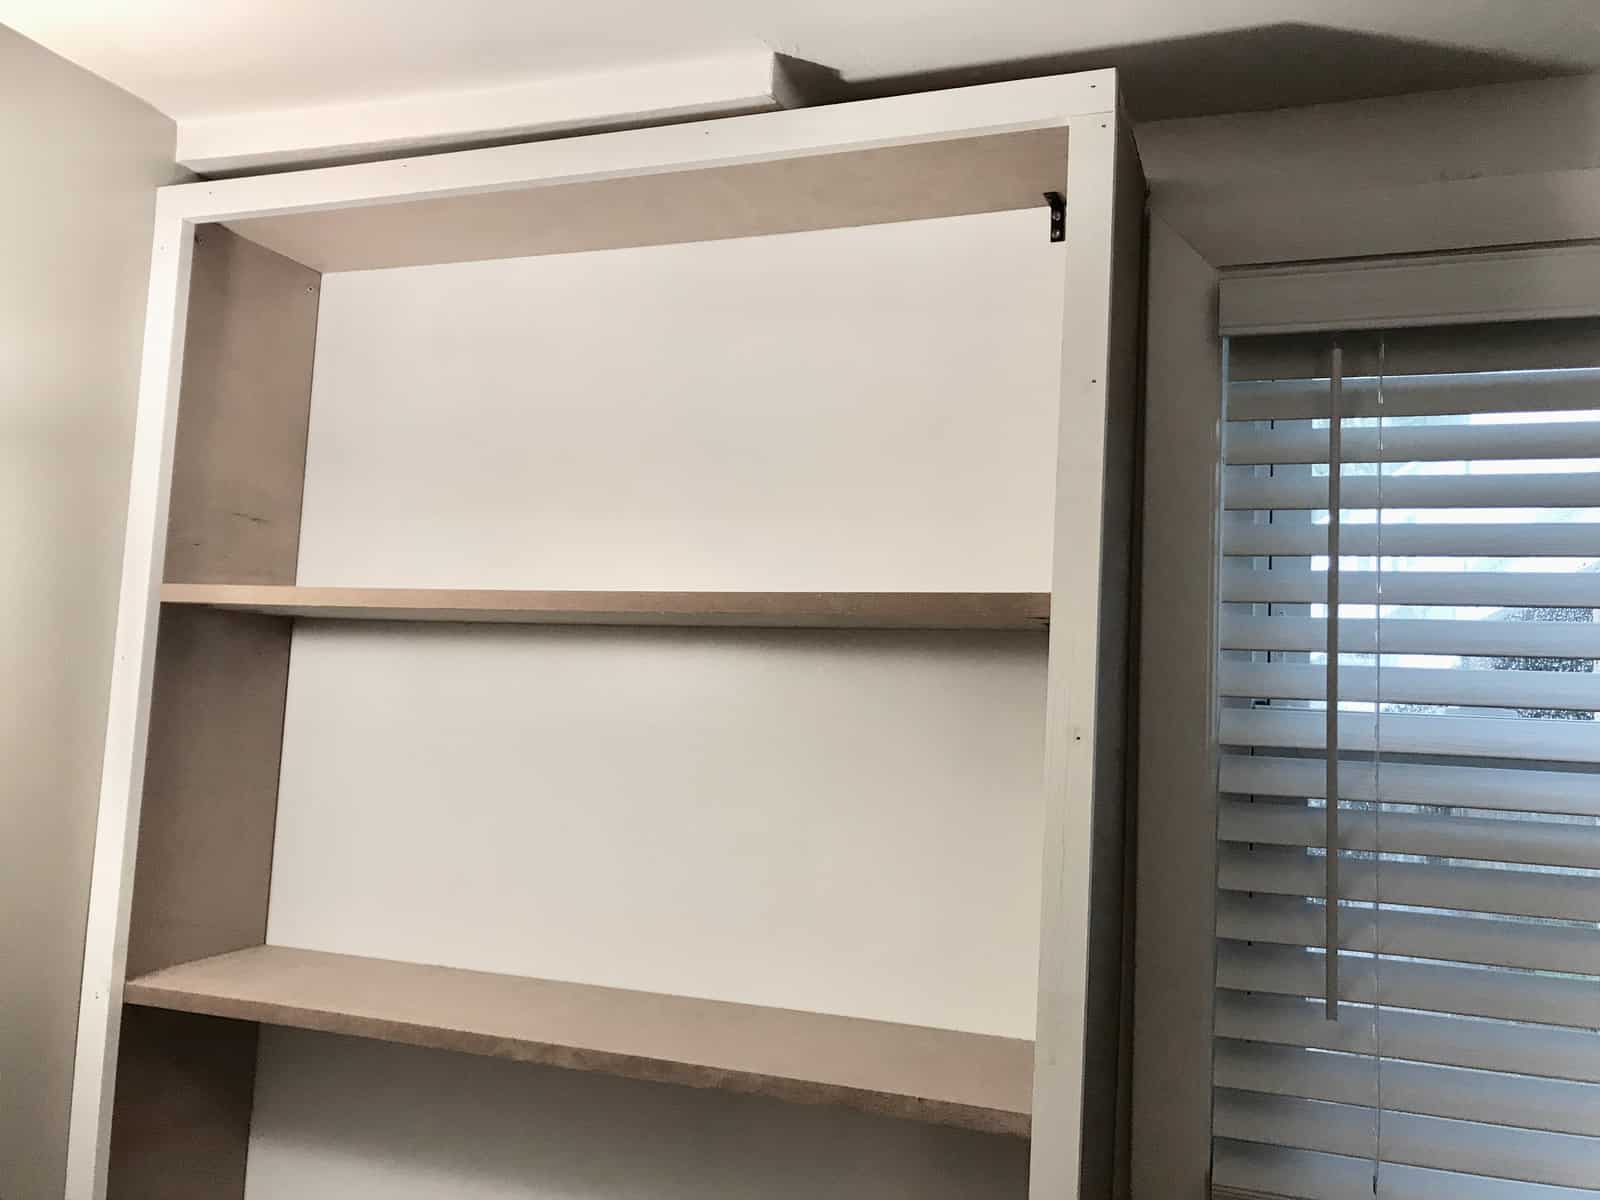
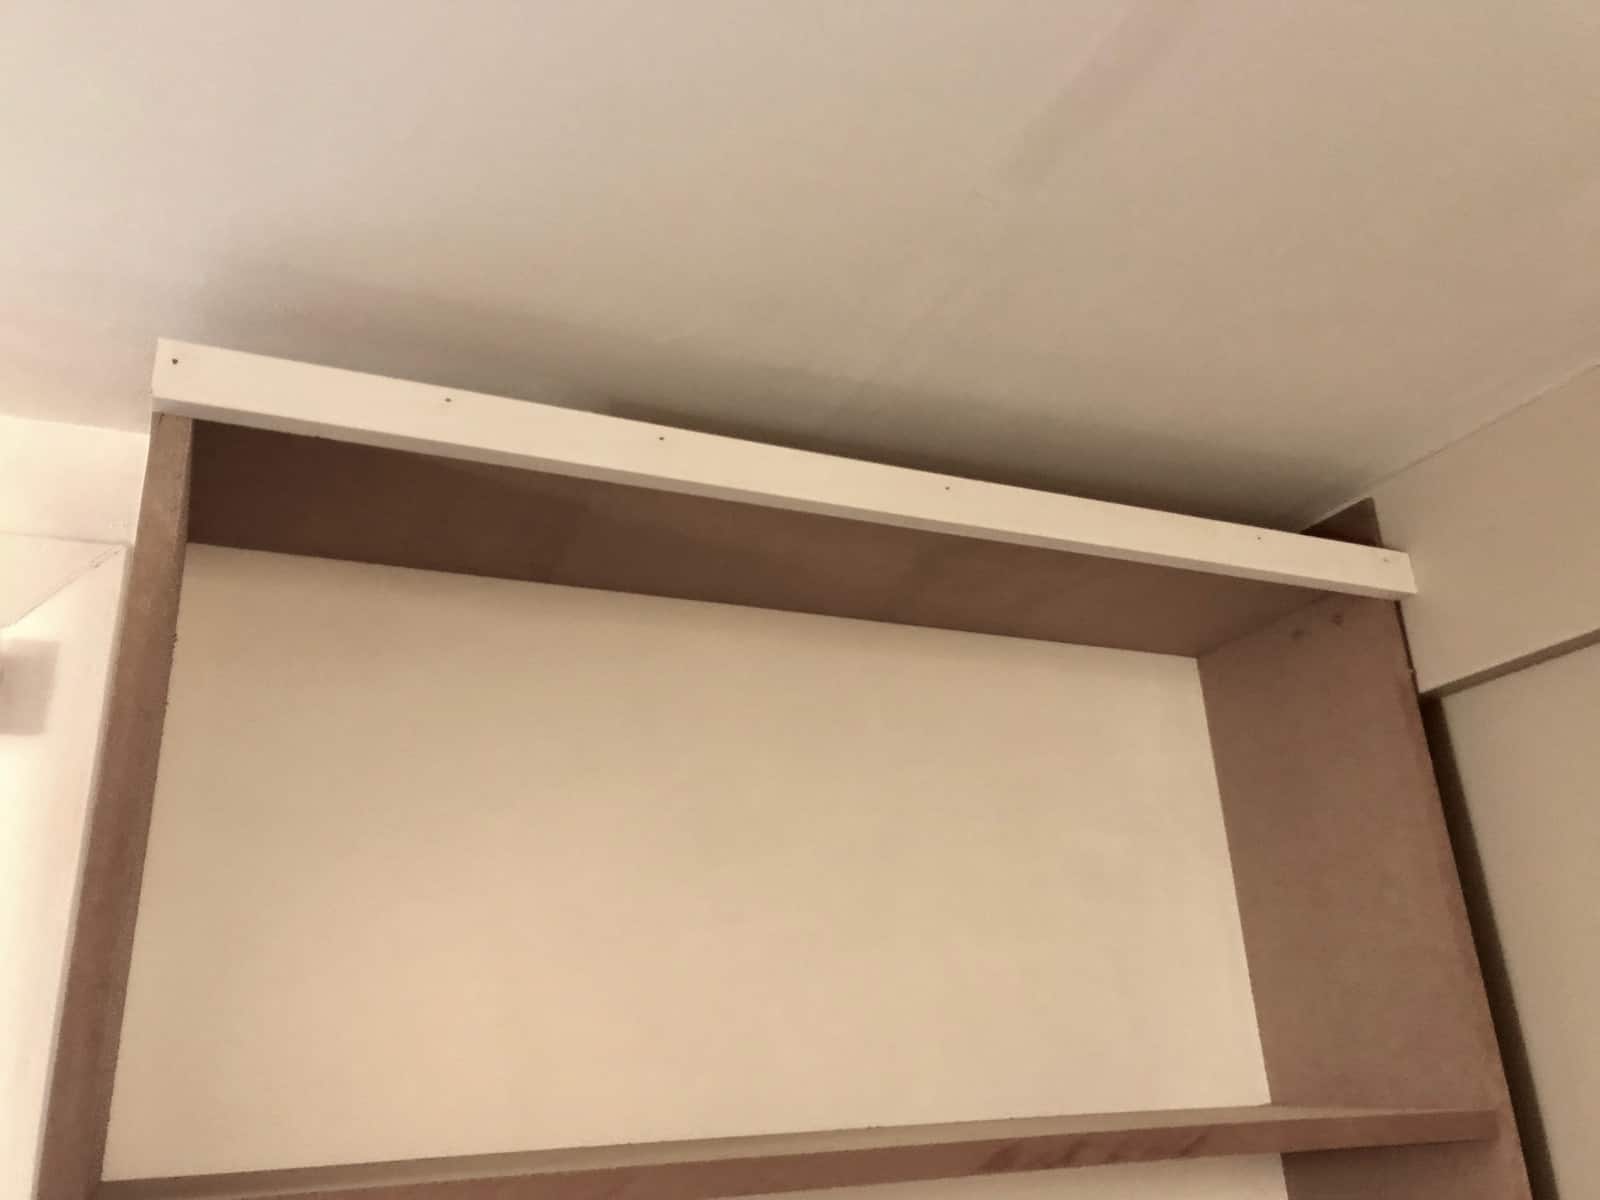
Anyway, I transported home my strips and used my miter saw to cut them to length. Again, your lengths will be custom to your space. I cut 4 pieces into about 41” lengths to use as the vertical sides of my two bookcases. Then I cut 3 pieces per shelf to the appropriate width (mine were two different lengths because the window is not perfectly centered in the wall space. Go figure.) Then I used my kreg jig to attach the top and two shelves. I just used the top of the half wall as the bottom of my shelf. The bookshelves were then attached to the wall using screws (use your stud finder to screw it in properly. Be better than me.). I also used a few screws into the ceiling where I could and a couple of corner brackets where I couldn’t.


Trim work
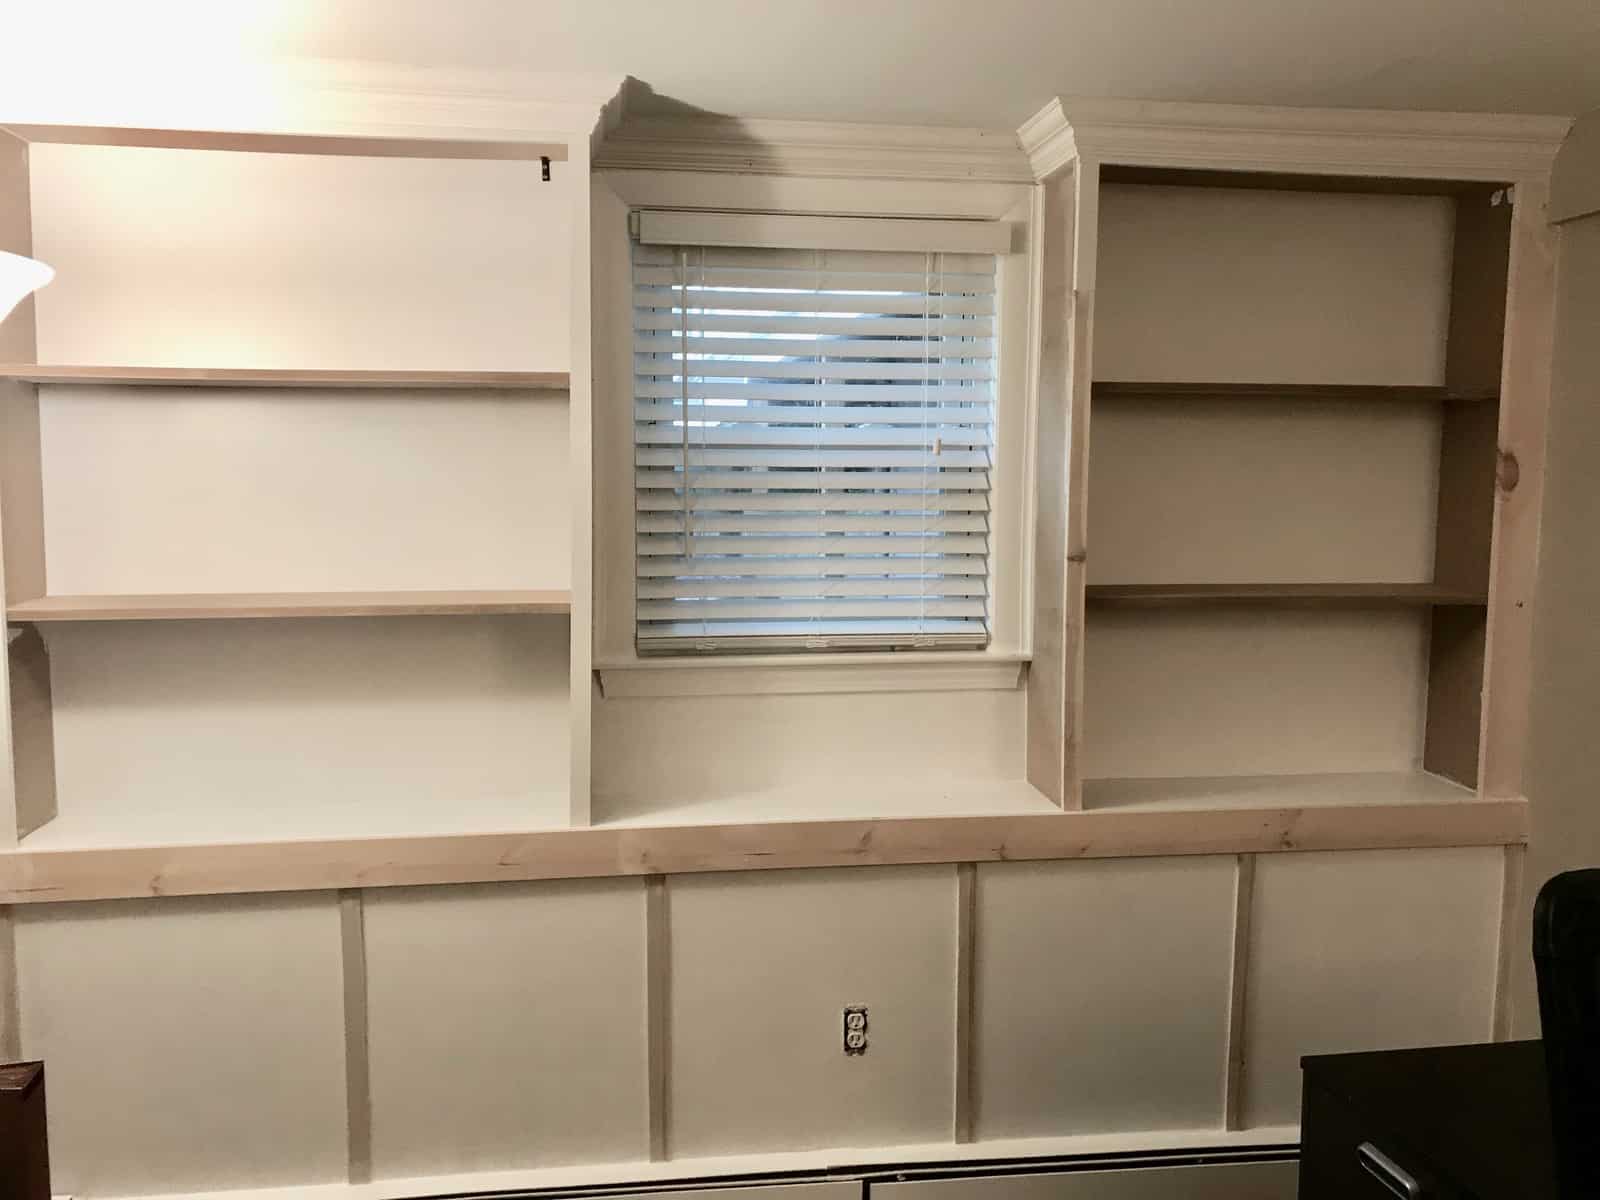
Step 3: Trim out your bookshelf.
Not only is my window not centered, but the window trim is also not square. Gotta love old houses. If I had allowed more space between my bookshelves and the window frame, it probably would not have been that noticeable. But I had them butt right up to the edge, so it was pretty obvious that it wasn’t flush and of course that was the only thing my husband noticed when he walked in. This is typically the time in the project when he starts to freak out and decides he doesn’t like something I have done. So, obviously, this is also the time in the project when I get super stubborn and start justifying why the way I did things is the ONLY right way to get things done. Ahhh, good times. Quite the relaxing hobby I have chosen.
Anyway, trim in these cases can be your best friend. It hides a lot and really makes it look like a finished product. First I cut the 1×2 boards to length to make the face front of the shelves. These can be attached using wood glue and a nail gun. Then I made my 45th trip to Home Depot and bought some inside corner trim to use between the bookshelf and the window frame. Still not perfect but MUCH better. I always try to remind myself that perfection is the enemy of the good. Only you will see the imperfections. Or you and your husband, if yours happens to be as detail oriented as mine.

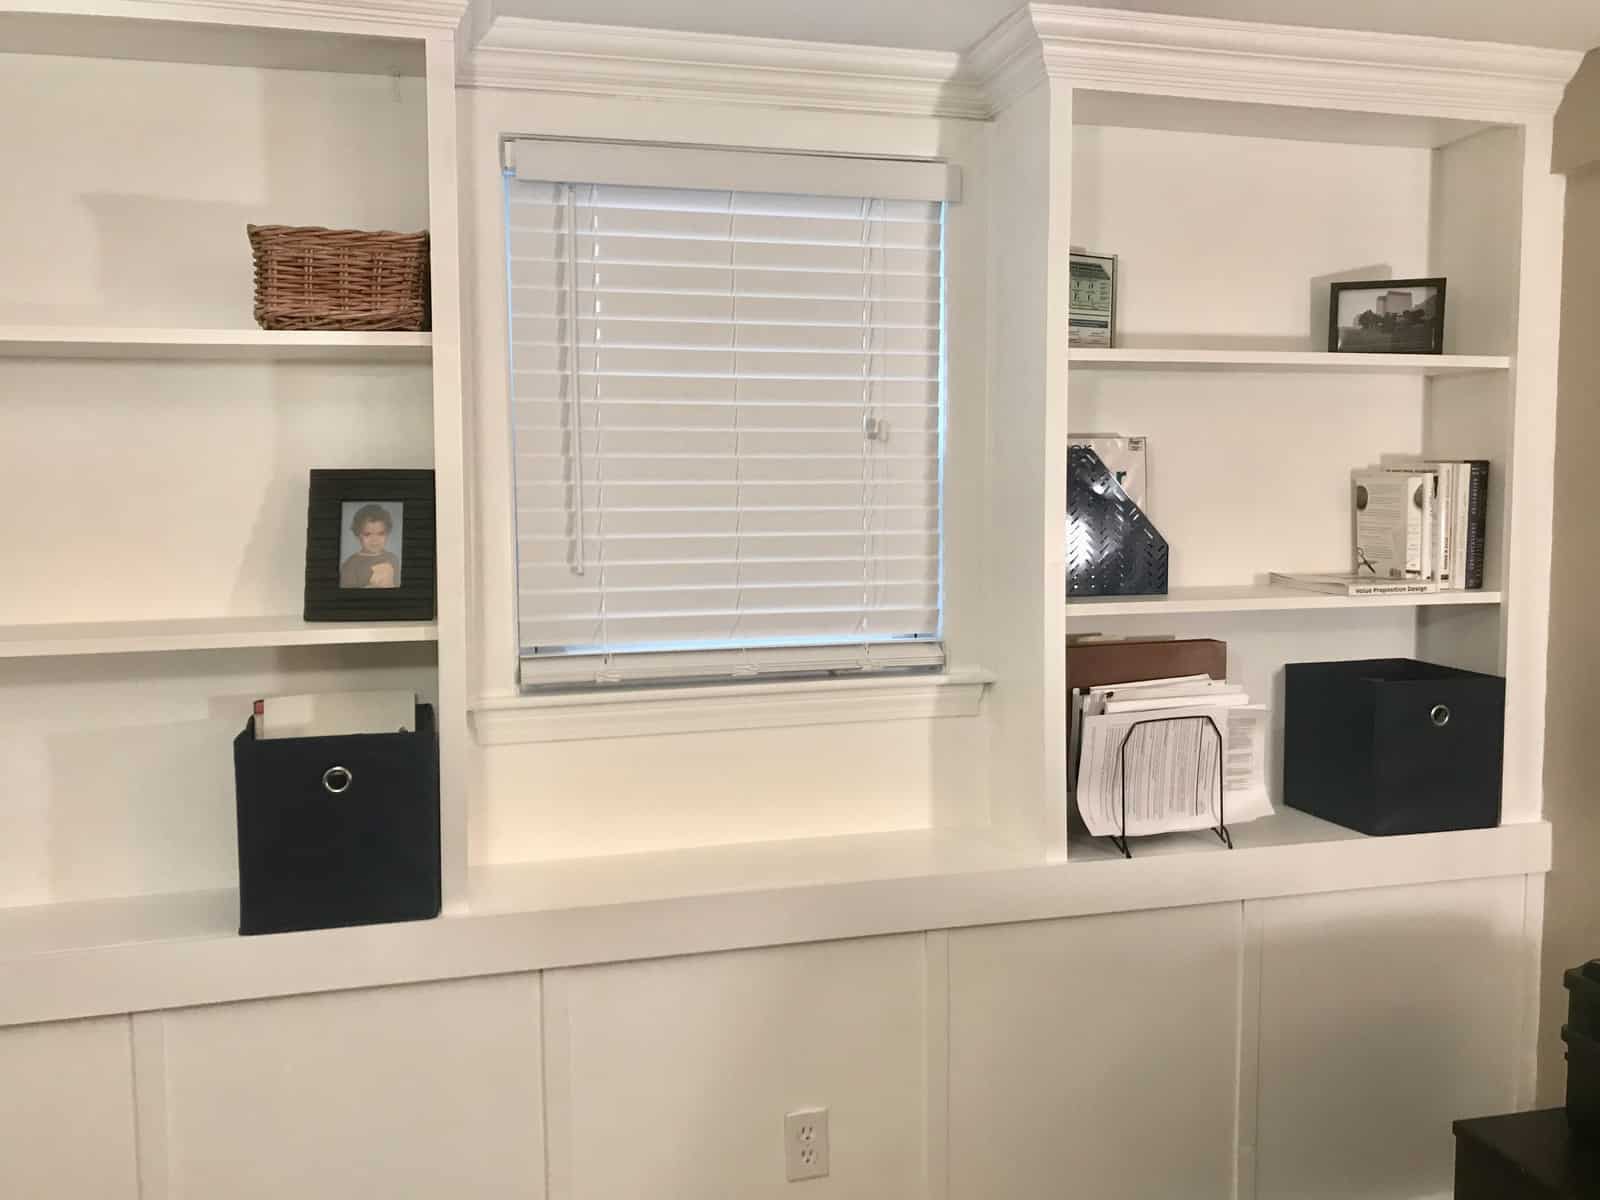
One side with trim around window, the other without
Finishing Touches
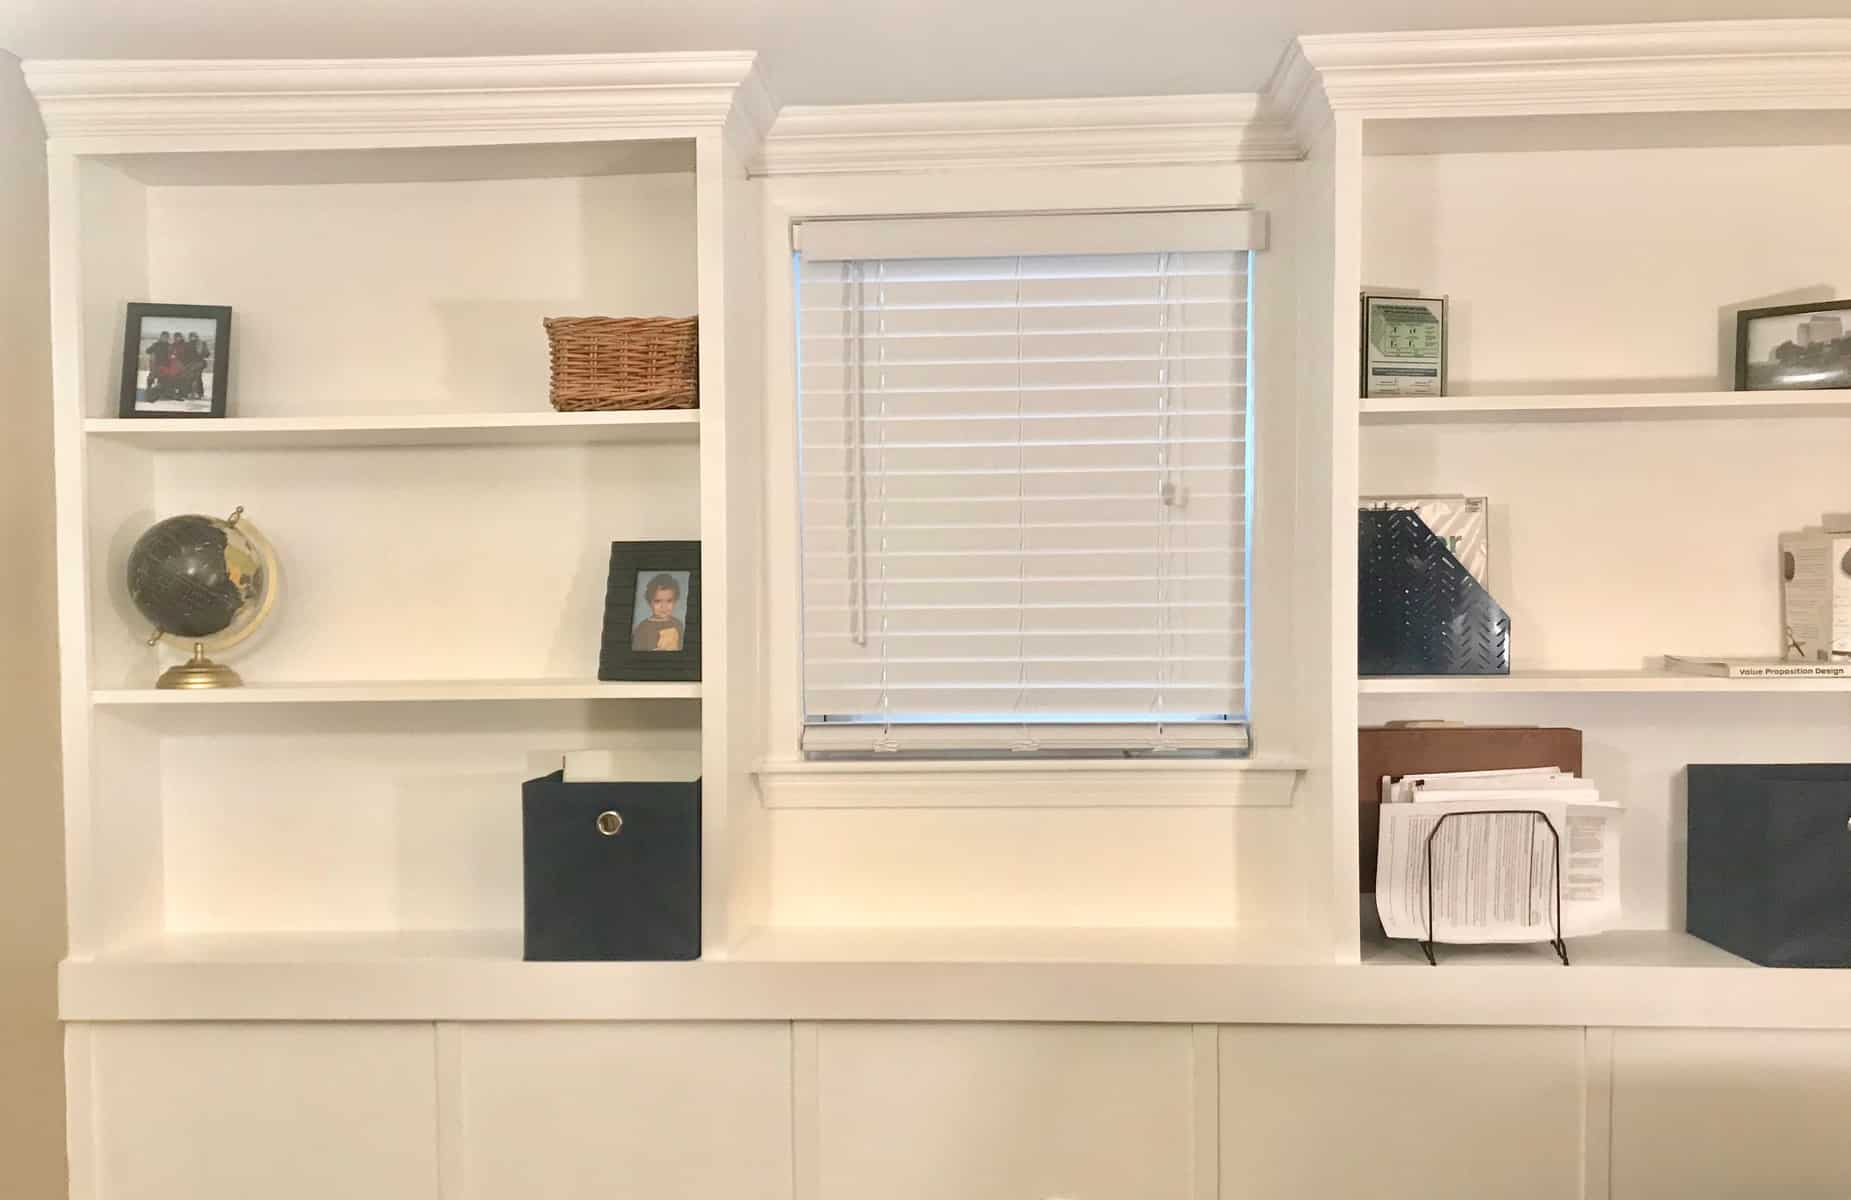
Lastly I trimmed out the top with crown molding. I will not be covering that topic in this post because crown molding is a whole different animal. And let’s be honest, this post is already too long. So if you guys have an interest in how to do crown molding, please let me know! I’m definitely not an expert, but I’ve found a few good youtube videos along the way that I can share and also a few tips on how to get it done with a minimum amount of errors (i.e. waste).

Finishing touches
Step 4: Caulk all of the edges with silicone caulk and wipe away excess with a damp paper towel.
I know I said trim is your best friend, and that is true, but caulk is like your best friend forever and ever because it hides A LOT of imperfections and really makes the project look more professional and complete. Seriously. Don’t skip this step.
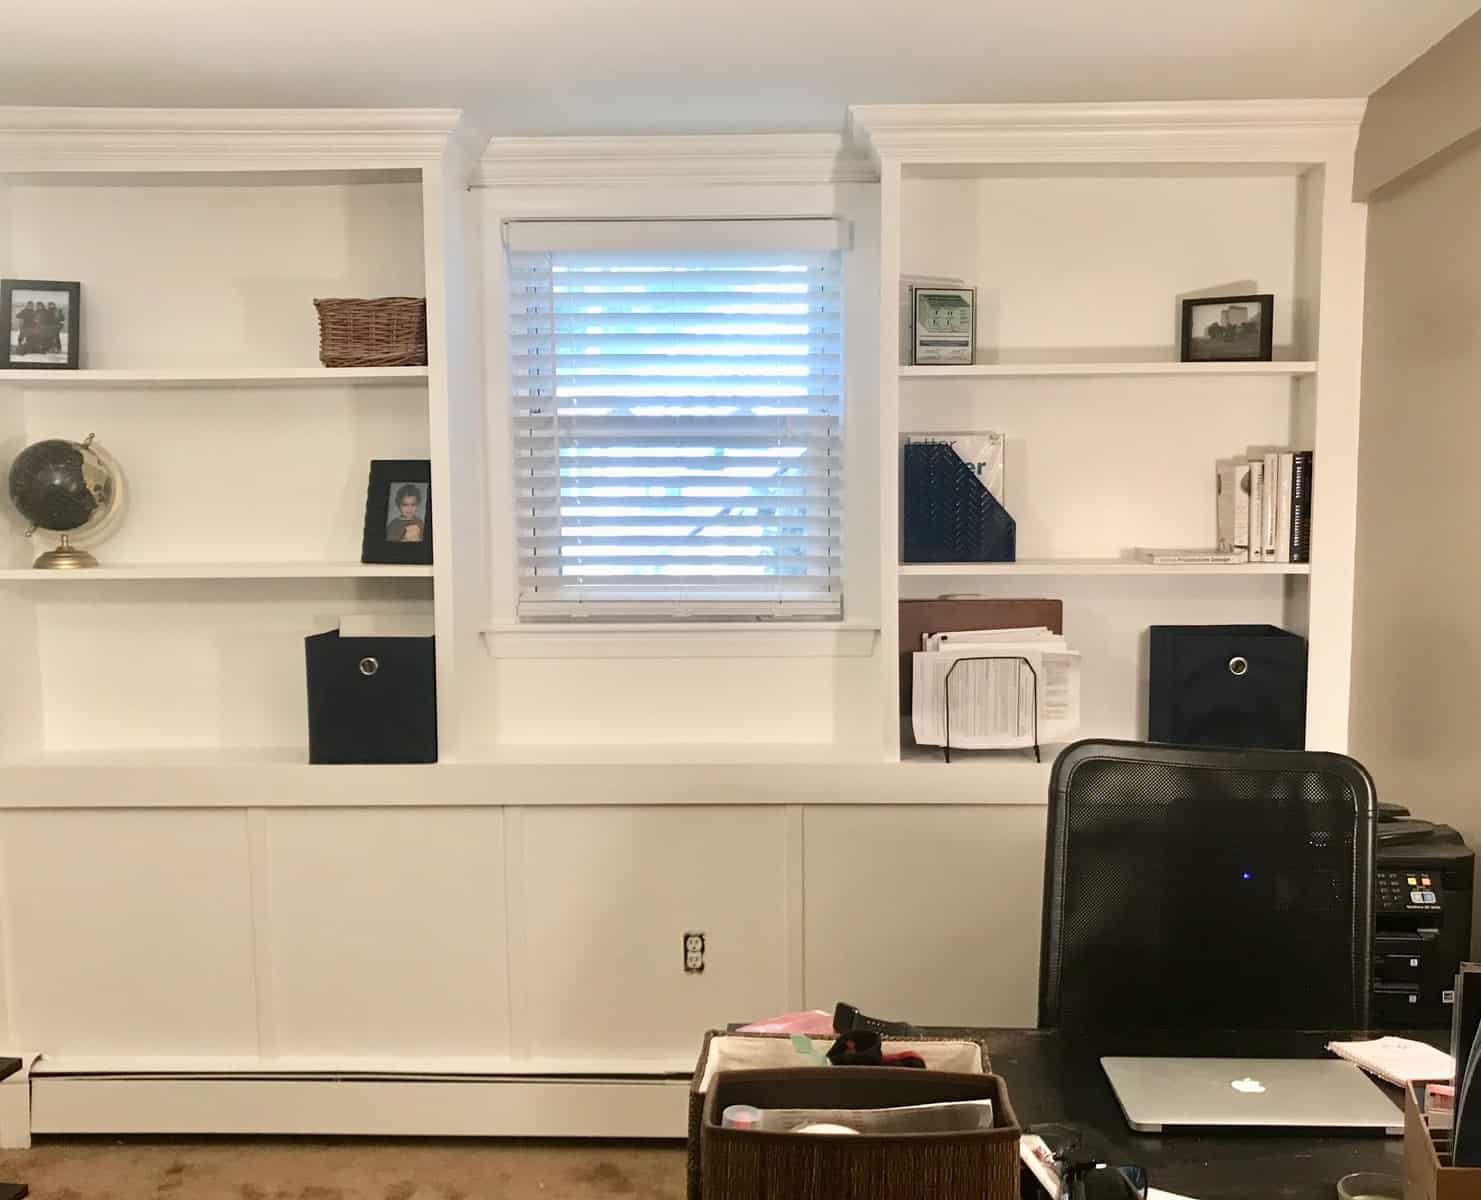
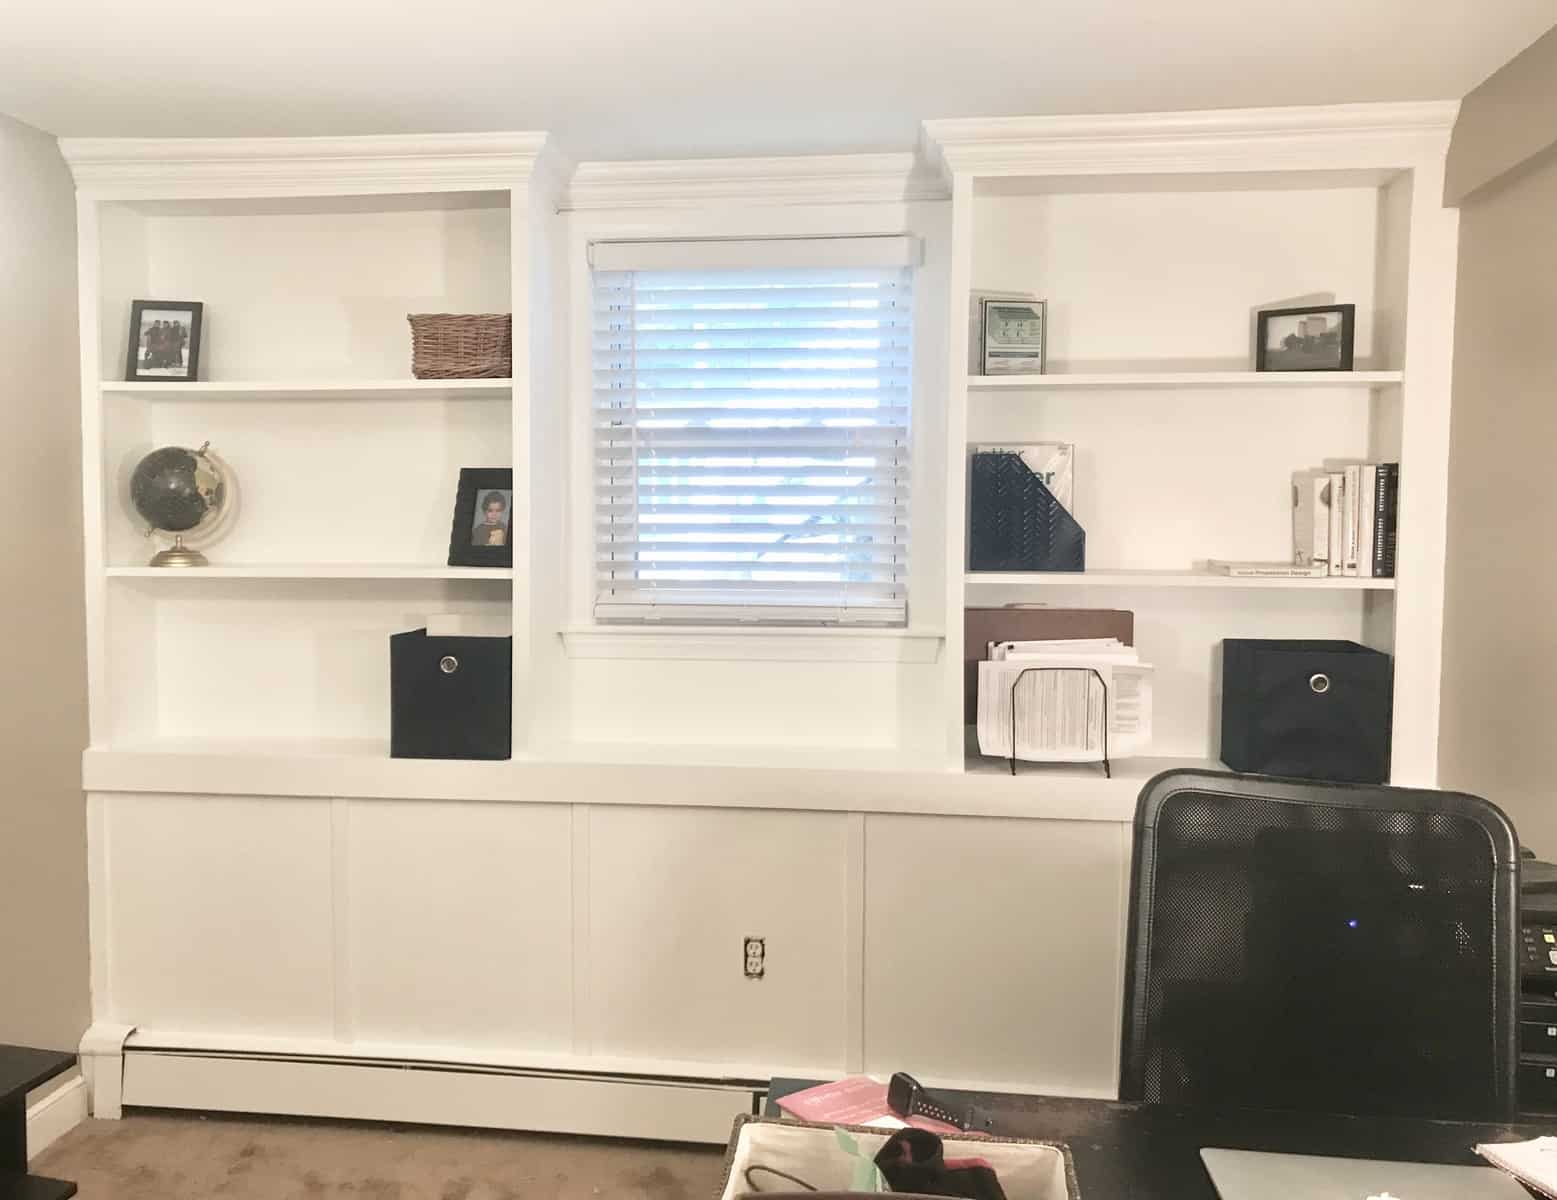
Once that is all dry, paint again! This is just to finish it up and tie it all together.

And there you have it! Nice new built in storage in a bright white that hopefully makes this space look a little more livable! And yes, you may have noticed I added a little board and batten to the bottom of the wall. I’m contemplating running that around the whole room and, if I do, I will share how I did it! That little bit was super easy….a whole room might be a different story.

Just in case you needed a little BEFORE reminder…
As always, thanks for reading and leave comments if you have any tips, tricks, questions, requests! And please subscribe to my blog for any and all upcoming projects!