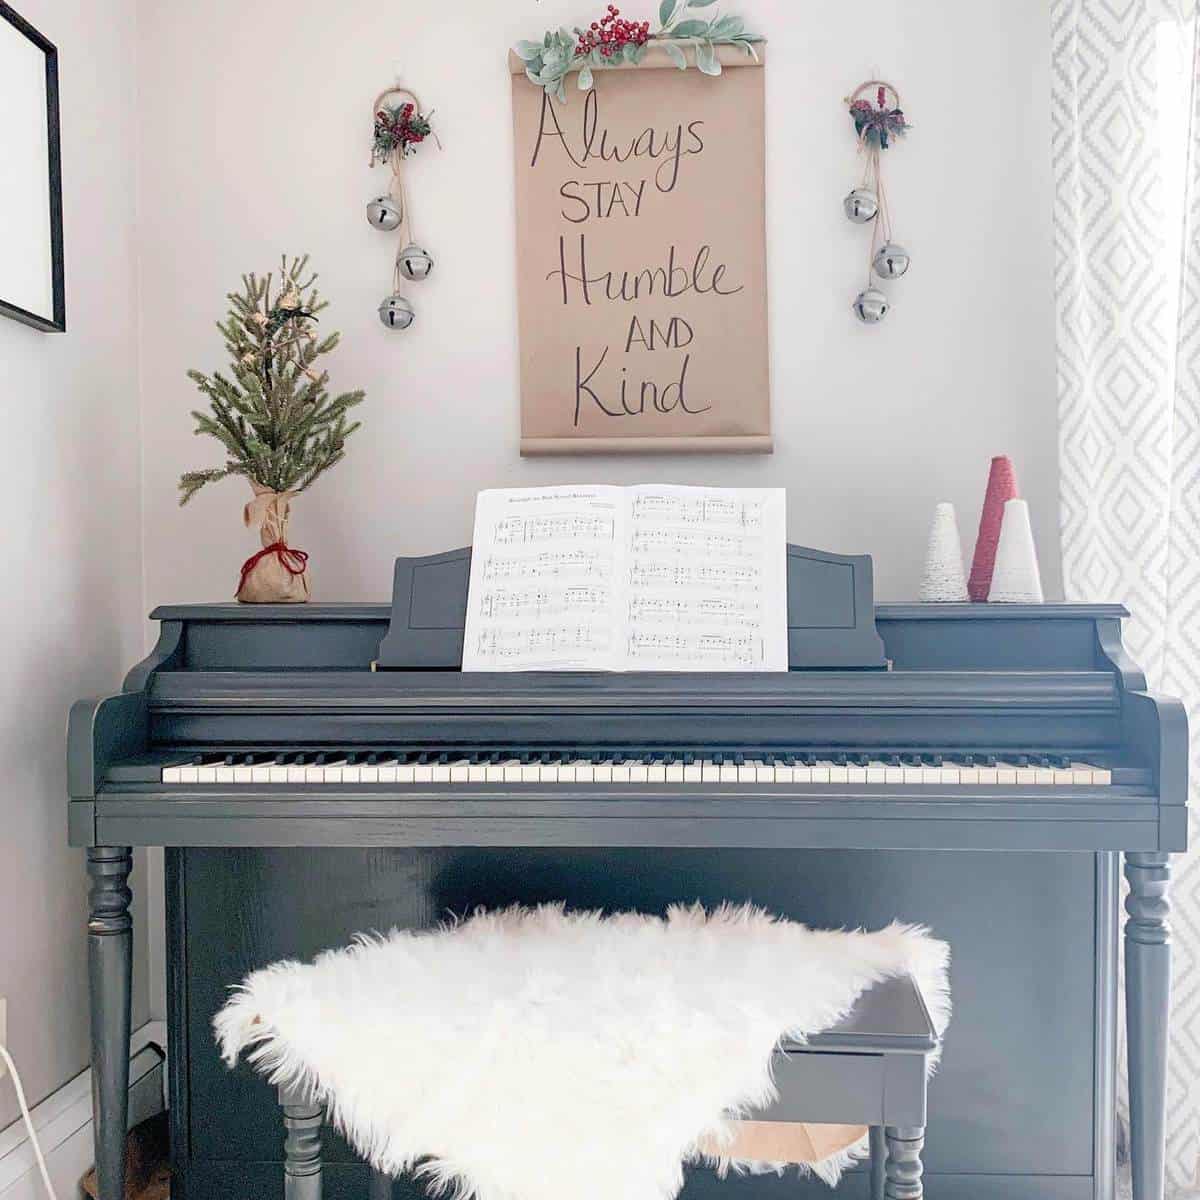
How to Makeover a Piano with Paint
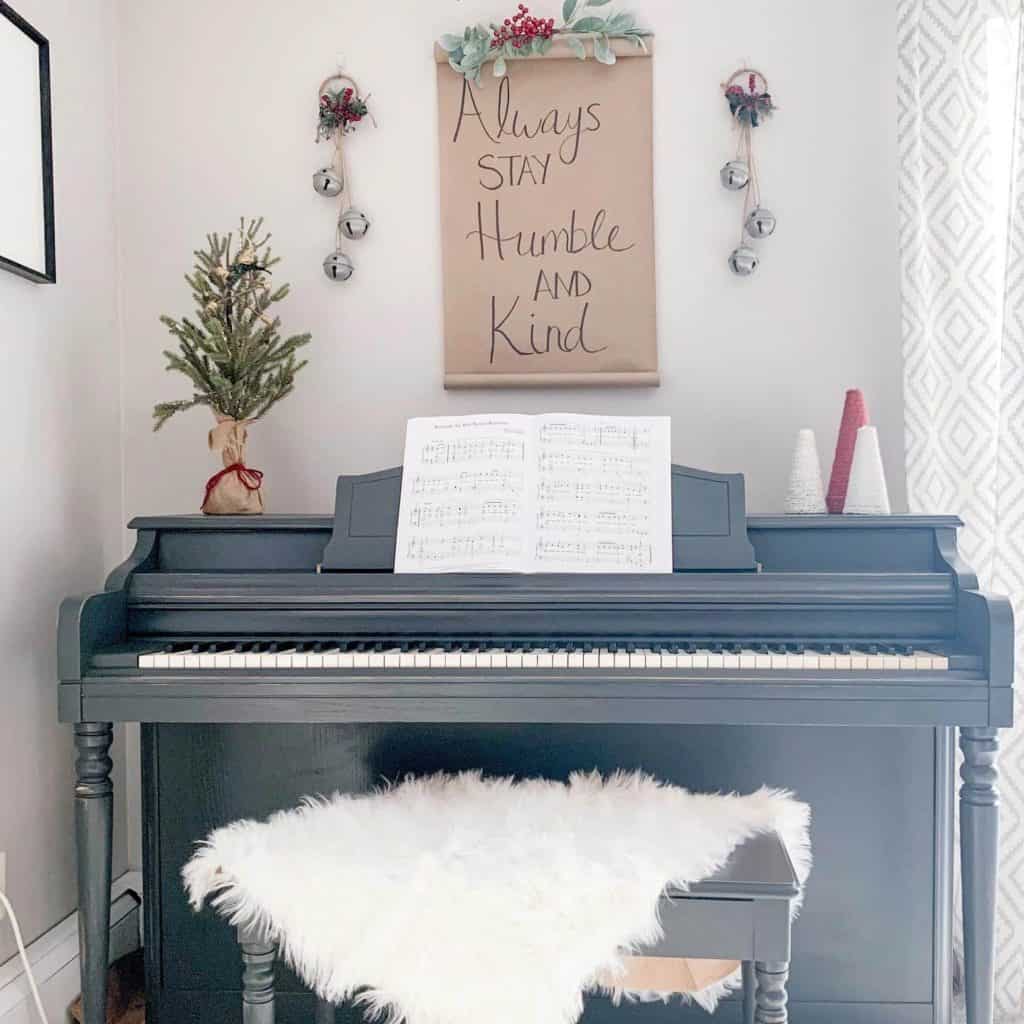
If you have ever looked on Facebook marketplace then you will know that there are lots of upright pianos available for free (if you are willing to move them)! So if you are in the market for an upright piano in your home to either play or use for decor, then this is the post for you! You can totally find one that needs a little love and make it over to be something that is perfect for your home. Below I will share how I updated this gorgeous but a bit out of date piano to fit my space by just using paint.
Disclaimer: In the name of full transparency, please be aware that this blog post may contain affiliate links and any purchases made through such links will result in a small commission for me (at no extra cost for you). As an Amazon and Home Depot Associate I earn from qualifying purchases. Thank you for supporting me.
Supplies:
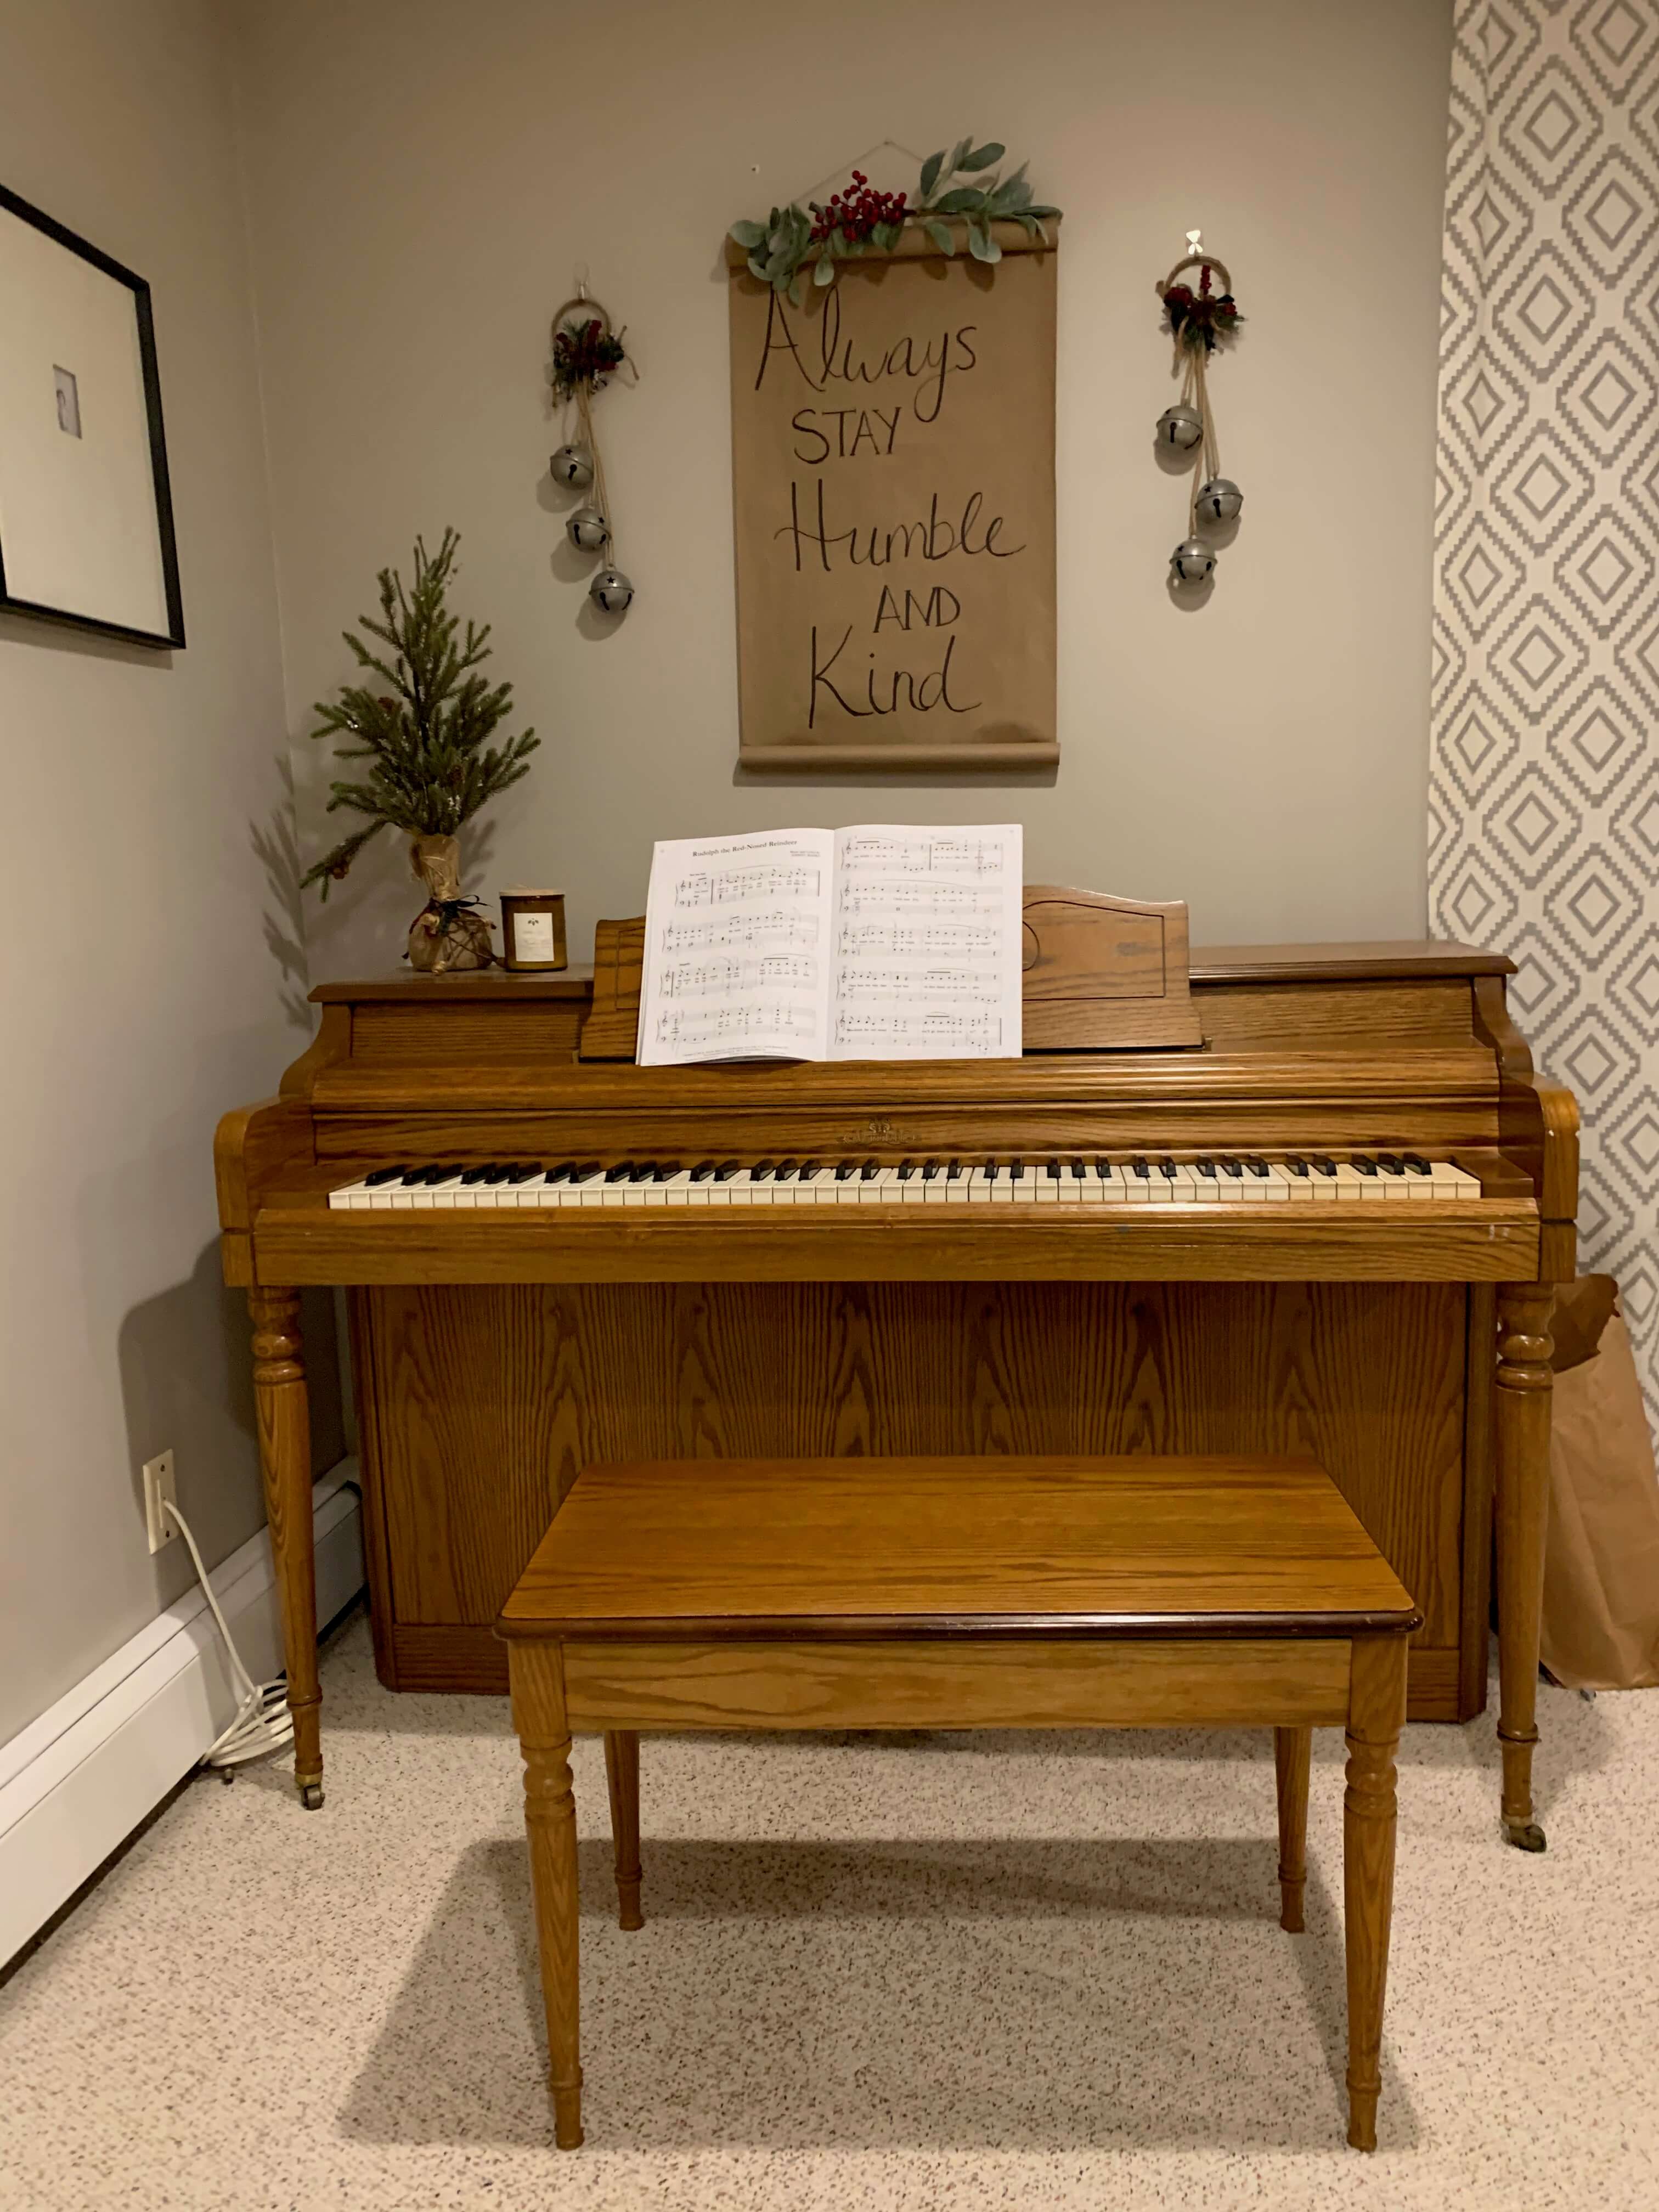
Piano- Before
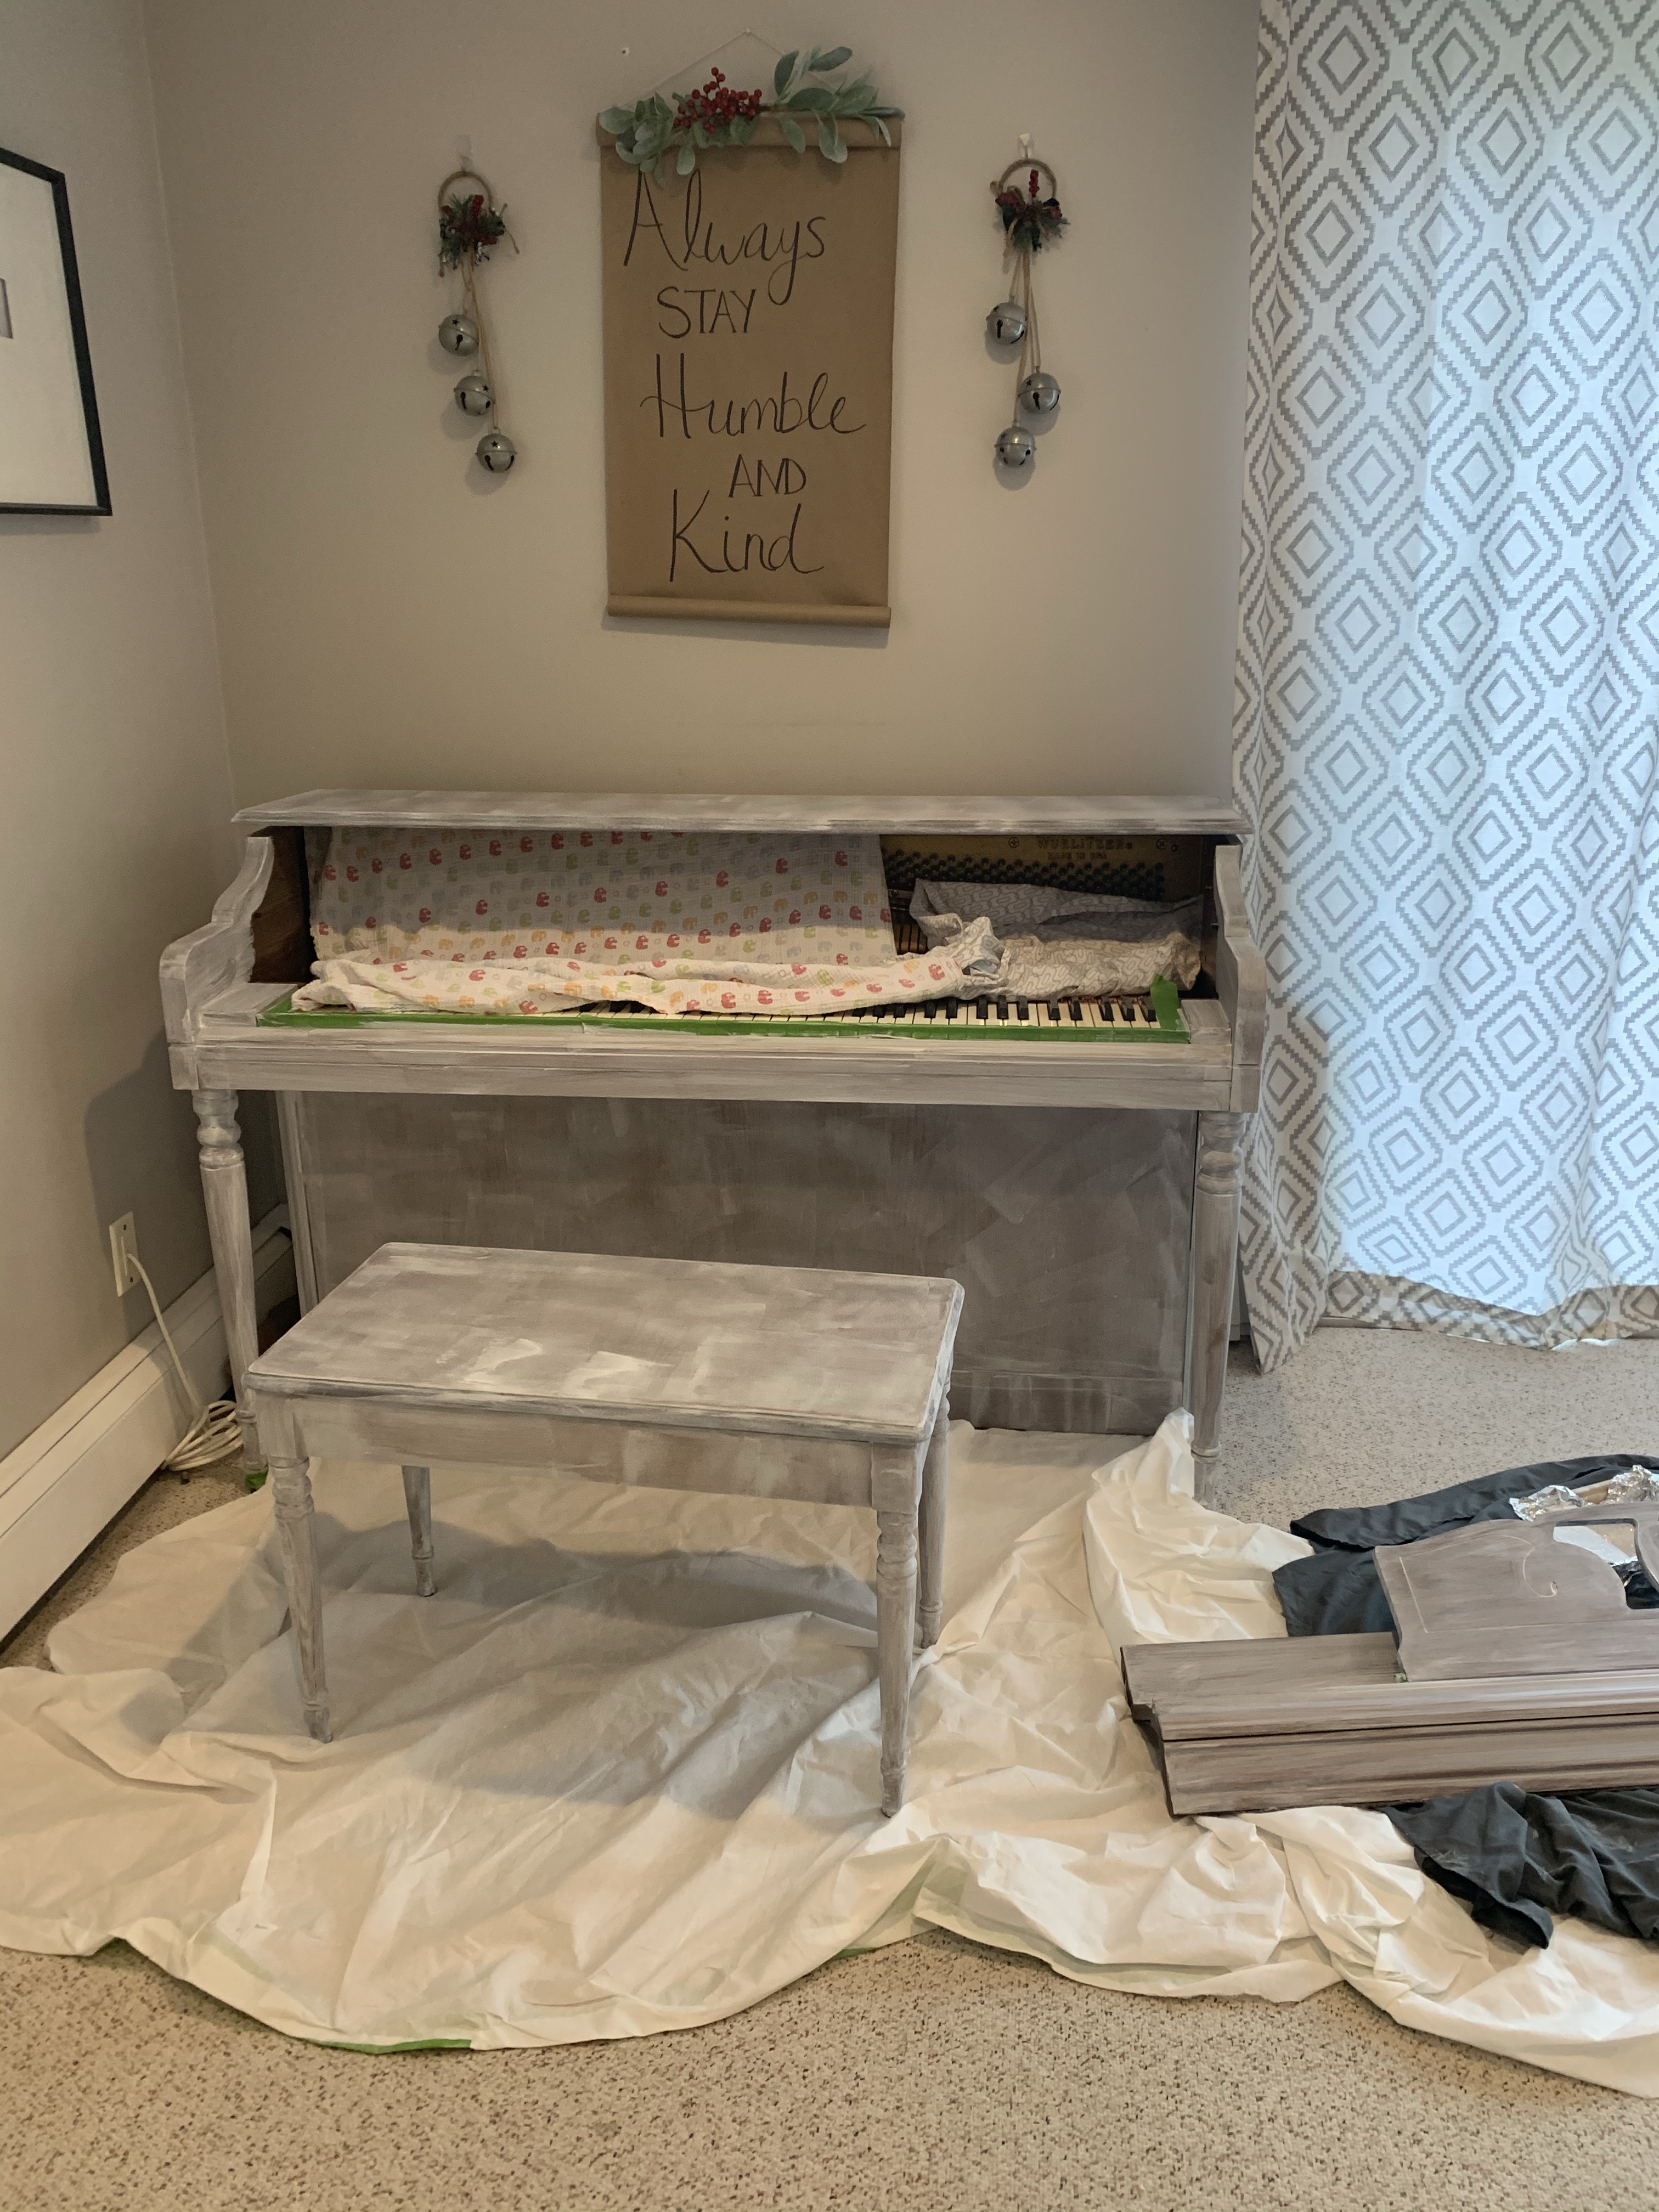
Piano Prep
Start by first taking apart what you can. It is totally fine to leave everything intact while painting if you’re unsure what can or can’t be removed from your piano. Just make sure you prep well so that the keys are covered and protected from dust and paint.
Give everything a rough sand with an 80-120 grit sanding block first. Then wipe away dust with a clean tack cloth.
Then apply one coat of a water-based primer. I used a combination of brush and foam roller application. A brush is best for the spots with cracks or irregular contours. Then go over it with the foam roller to make sure that it’s nice and smooth.
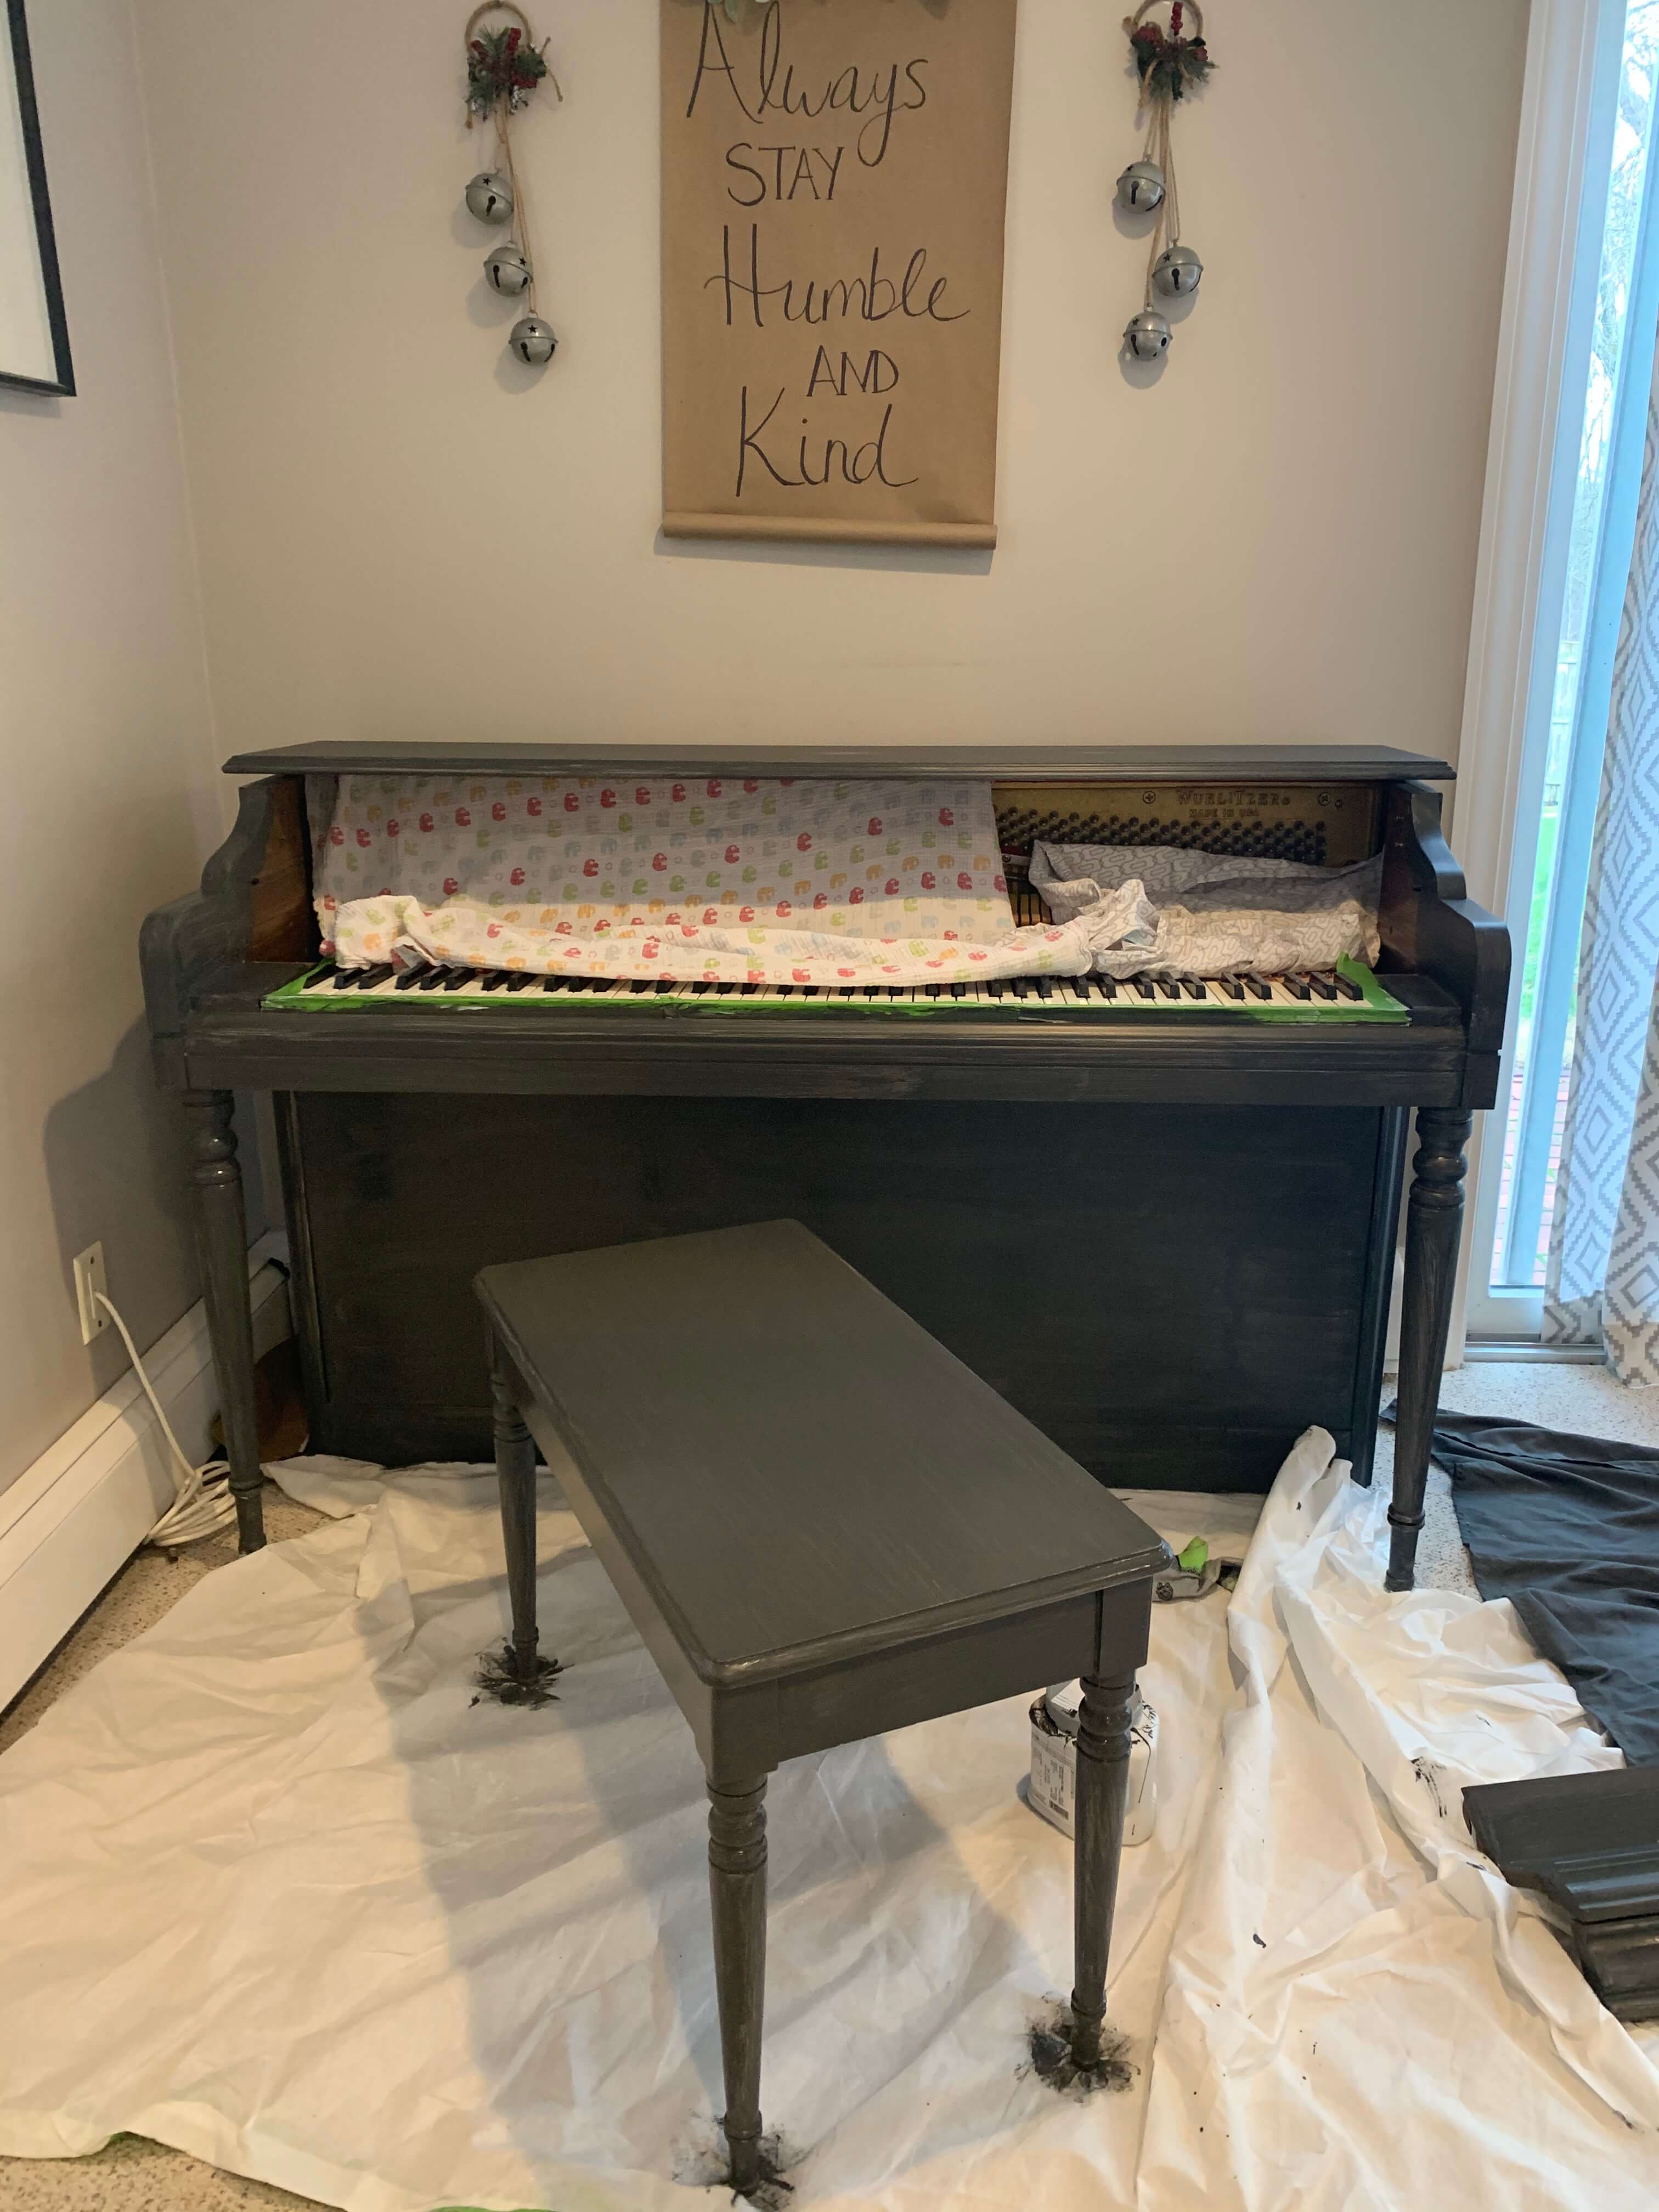
Time to Paint!
Now it’s time to paint! I personally prefer to apply my paint with a good quality brush. This time around I used a product that I added to the paint to help ensure there are no brush lines. It’s called Floetrol and it can be added directly into your paint container per the directions. Stir it up and you are ready to go!
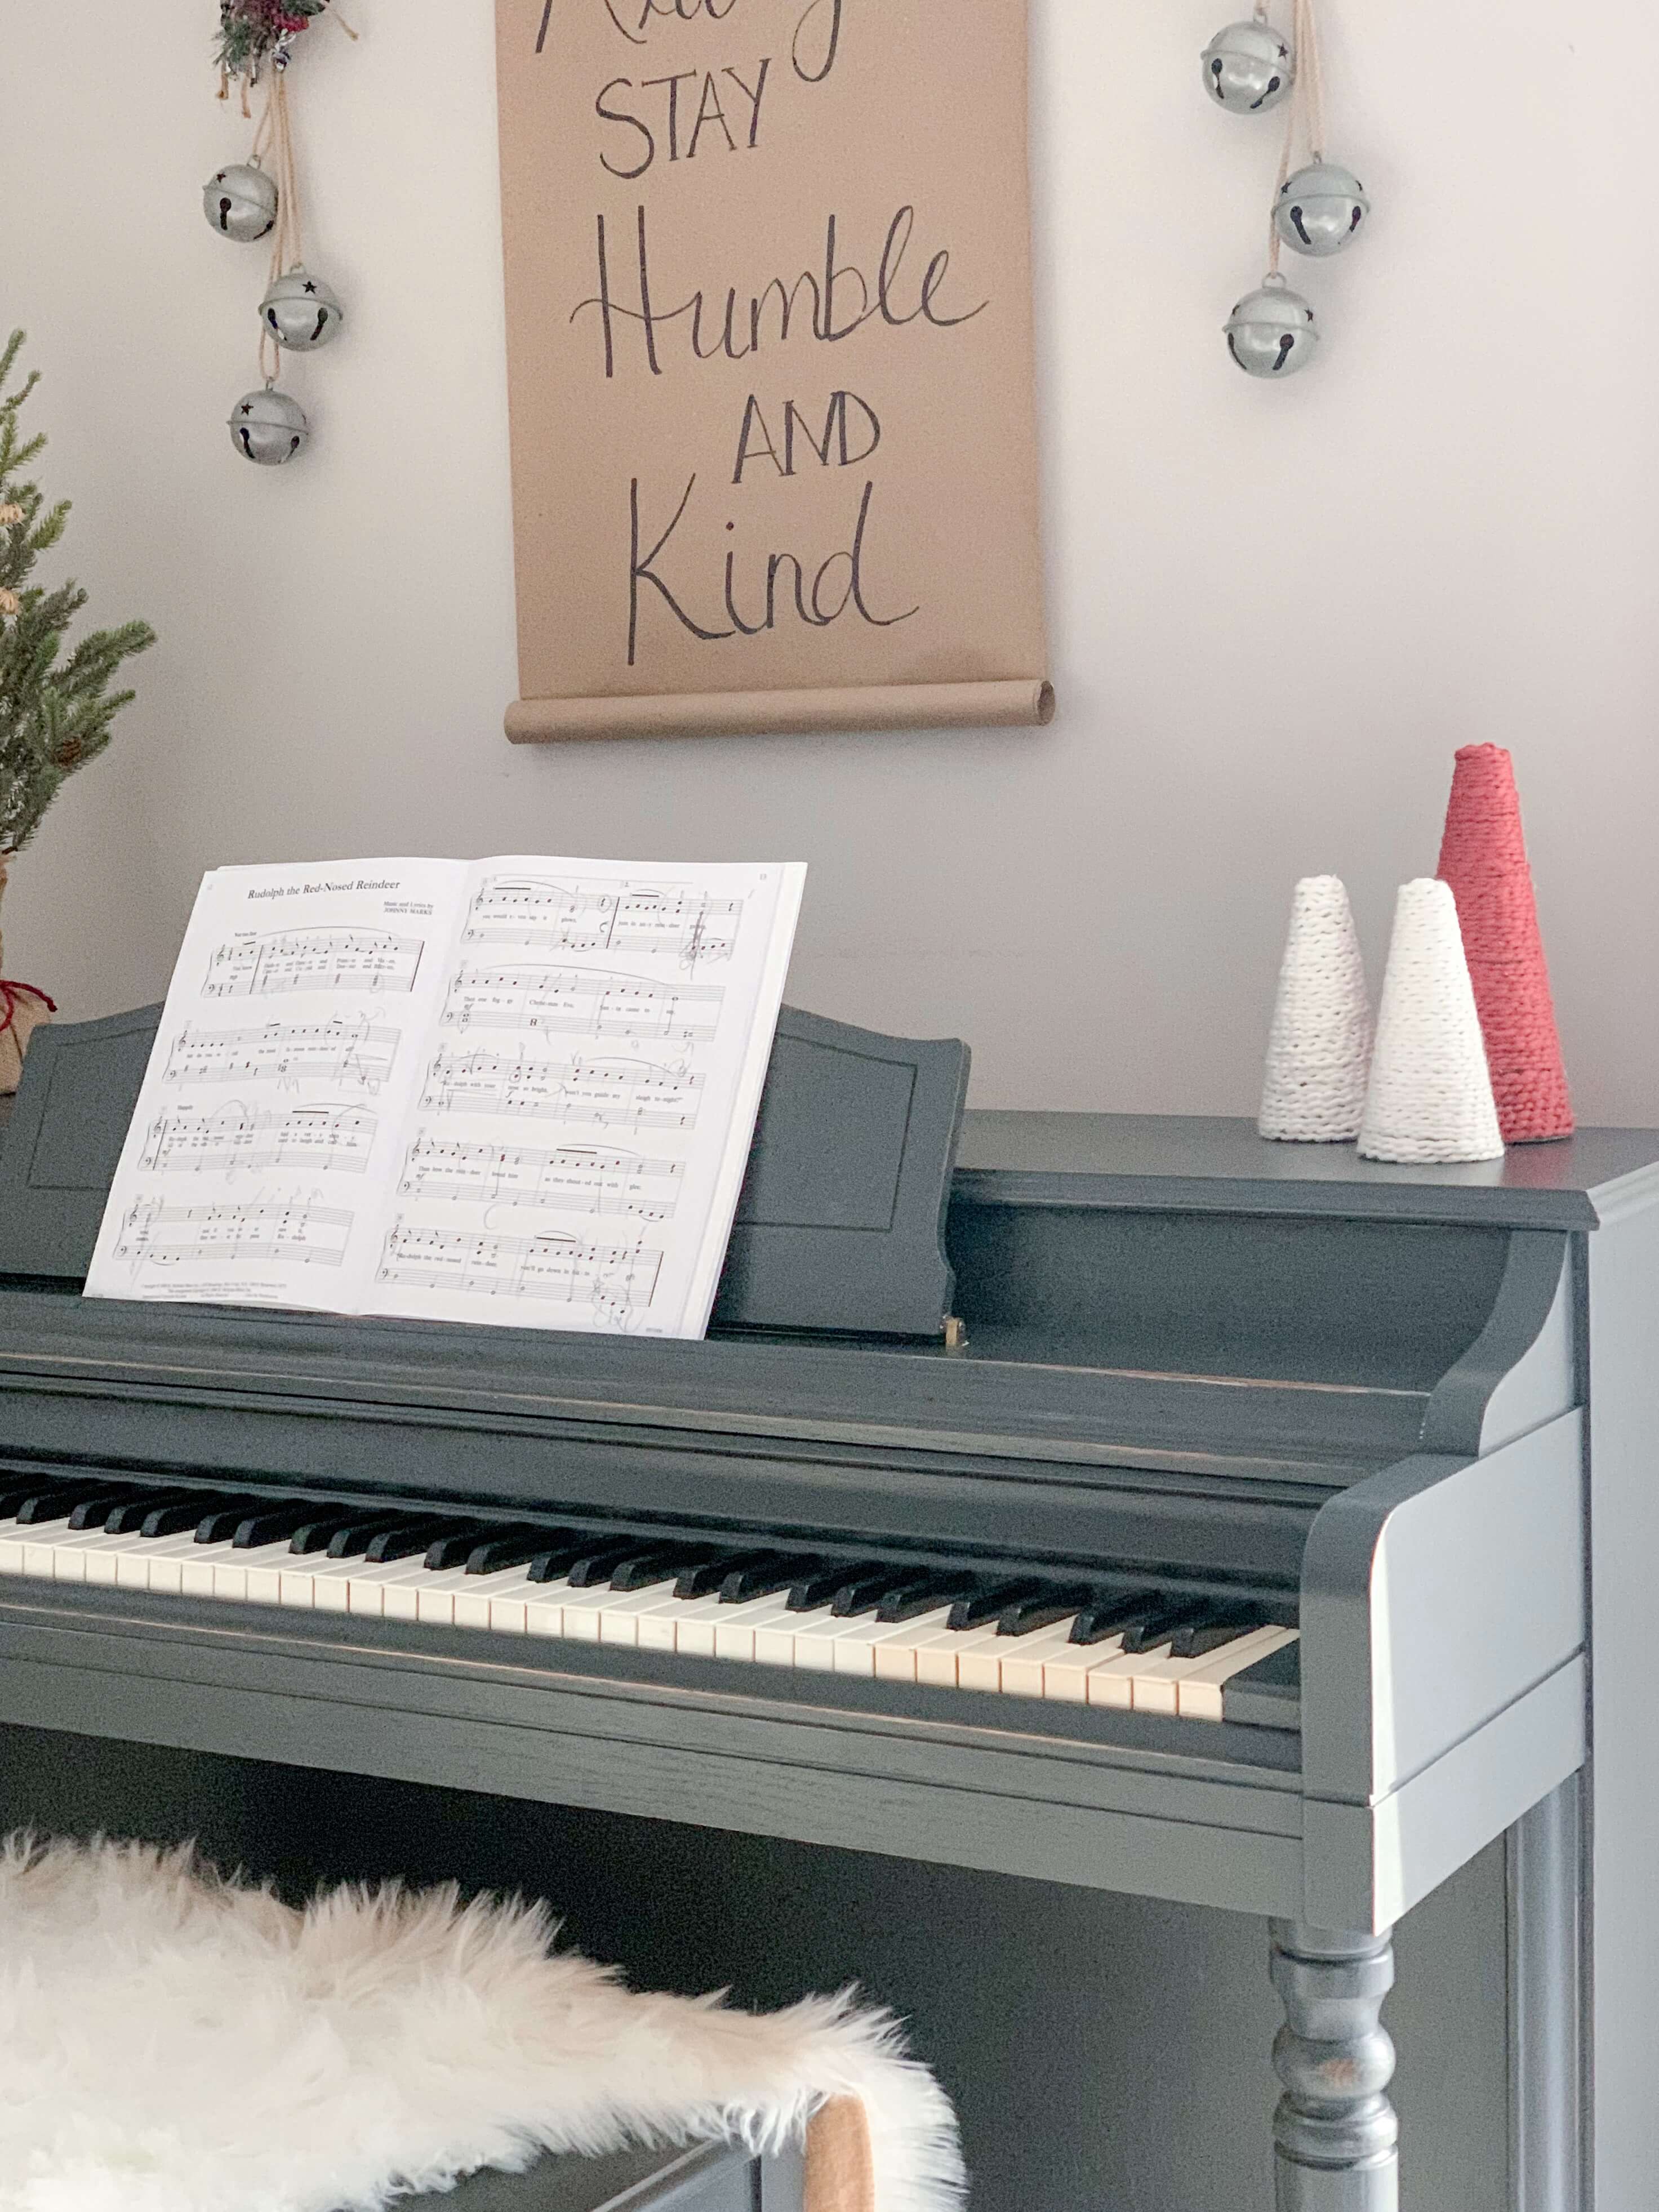
I applied two coats of Sherwin-Williams Iron Ore paint to the piano. Dry time was approximately 1 to 2 hours in between coats.
Distress and Finish
Once the second coat is completely dry, distress the paint to your liking. I chose to run my sanding block over all of the edges and legs just to allow some of the warm wood to show through. Also, this piece is going to get a lot of wear and tear and, by distressing in advance, you save yourself the hassle of things getting a bit beat up (in a non-uniform way) down the road.
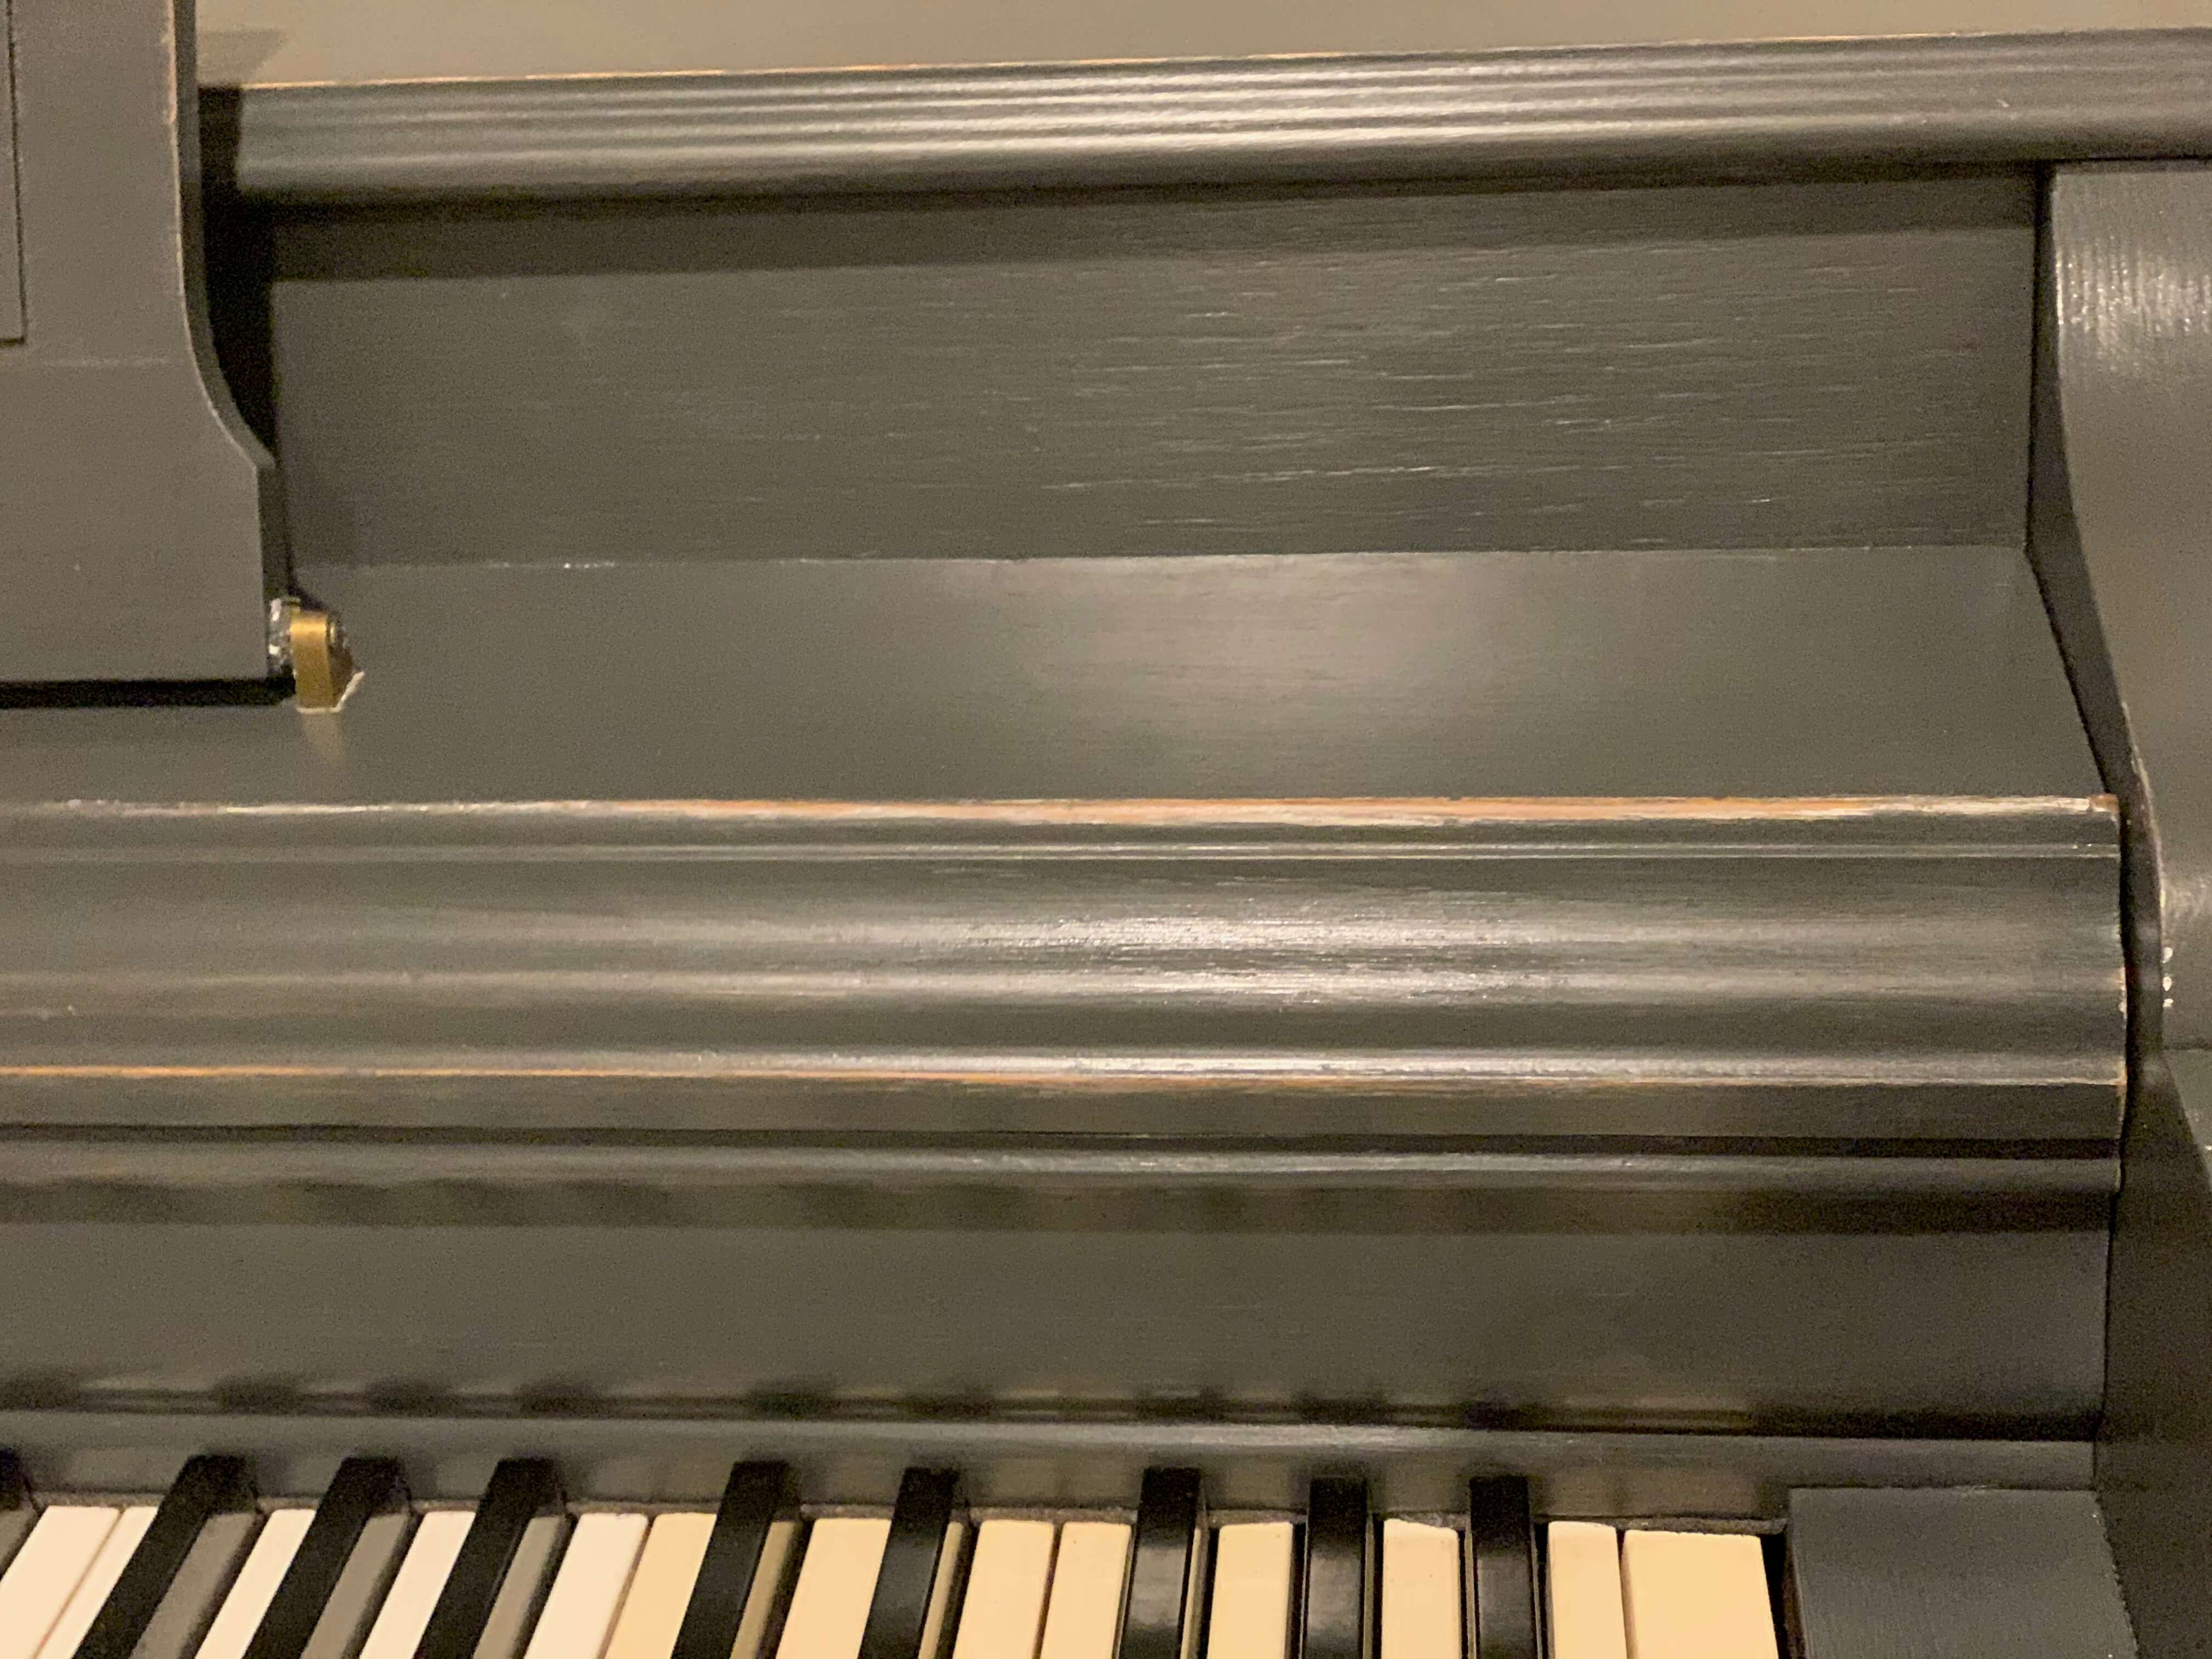
Lastly, apply a coat of clear water-based polyurethane to protect the paint and avoid further scratches and chipping.
Once everything is done, remove the tape and have some fun decorating!!
Looking for more tips on how to paint furniture? Check out this post discussing chalk paint and gel stain!